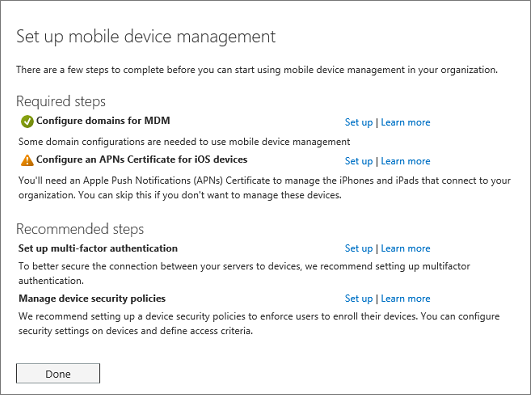
Create an APNs Certificate for iOS devices
To manage iOS devices like iPad and iPhones in Mobile Device Management for Office 365 you must create an APNs certificate.
To do this, follow the steps from the Set up link on the portal page. (Go to Security & Compliance Center > Security policies > Device management > Manage settings.)

-
Next to Configure a APNs Certificate for iOS devices, select Set up.
-
Select Download your CSR file and save the Certificate signing request to a somewhere on your computer that you'll remember.

-
Select Next.
-
Create an APN certificate.
-
Select Apple APNS Portal to open the Apple Push Certificates Portal.

-
Sign in with an Apple ID.
Important: Use a company Apple ID associated with an email account that will remain with your organization even if the user who manages the account leaves. Save this ID because you'll need to use the same ID when it's time to renew the certificate.
-
Select Create a Certificate and accept the Terms of Use.
-
Browse to the Certificate signing request you downloaded to your computer from Office 365 and select Upload.
-
Download the APN certificate created by the Apple Push Certificate Portal to your computer.
Tip: If you're having trouble downloading the certificate, refresh your browser.
-
-
Go back to Office 365 and select Next to get to the Upload APNS certificate page.
-
Browse to the APN certificate you downloaded from the Apple Push Certificates Portal.

-
Select Finish.
Go back to Security & Compliance Center > Security policies > Device management > Manage settings to complete setup.
No comments:
Post a Comment