Tasks are displayed in three locations in Outlook — in the To-Do Bar, in Tasks, and in the Daily Task List in Calendar. If you subscribe to a SharePoint task list, any task assigned to you from this list also appears in all three locations.
-
On the navigation bar, click Tasks.
-
Click a task to view it in the Reading Pane, or double-click it to open it in a new window.
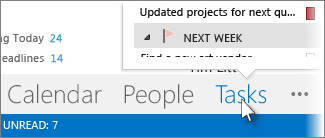
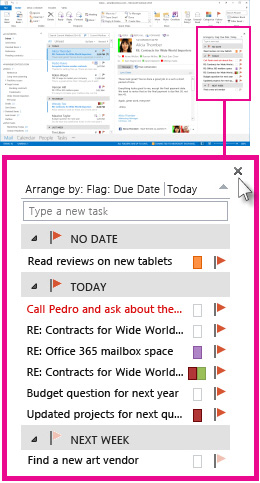
Another way to see tasks, including flagged to-do items, is the Tasks peek.
-
Point to Tasks on the Navigation Bar.
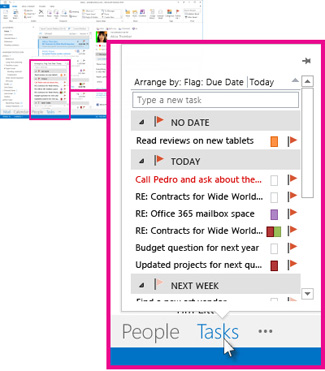
The Tasks peek pops up. To keep the Tasks peek in view, pin it by clicking
 .
.
-
Tip: Sort your task list by clicking Tasks > Home and choosing one of many Current View options available. 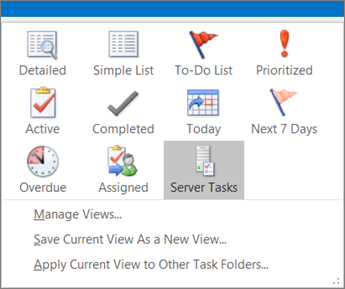
To view your tasks, do any of the following:
-
In the Navigation Pane Click Tasks. Click a task to view it in the Reading Pane, or double-click it to open it in a new window.
Tip: You can change the task list appearance by clicking a style in the Current View group on the Home tab.
-
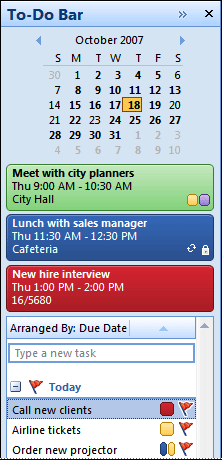
In the To-Do Bar The Tasks List is at the bottom of the To-Do Bar, below Appointments. You can get more information about your tasks by expanding the To-Do Bar, or double-click a task to open it in a new window.
Tip: To show more or fewer tasks, click the top border of the Tasks List when your pointer becomes a
 , and then drag up or down.
 -
In the Daily Task List The Daily Task List appears only in the Day and Week views in your Outlook Calendar. To display only the count of current tasks, in Calendar, on the View tab, in the Layout group, click Daily Task List and then click Minimized.

View your tasks in the To-Do Bar
The To-Do Bar appears in all Outlook views by default. You can turn the To-Do Bar on or off. In addition, you can choose a minimized version of the To-Do Bar that uses less screen space.
When you turn the To-Do Bar on or off, or view it minimized in a specific view, the setting applies only to that view. For example, if you turn off the To-Do Bar in Mail, it remains off whenever you are in Mail, including the next time that you restart the program. However, it remains on in other views such as Calendar, Notes, and Tasks.
-
Click View, point to To-Do Bar, and then click Normal, Minimized, or Off.
View your tasks in Tasks
-
In the Navigation Pane, click Tasks.
Tip: You can change how the task list is presented by changing the Current View setting in the Navigation Pane.
View your tasks in the Daily Task List in Calendar
The Daily Task List appears only in the Day and Week views in your Outlook Calendar. To toggle the Daily Task List on or off, in Calendar, click View, point to Daily Task List, and then click Normal or Off.
To display only the number of current tasks, in Calendar, click View, point to Daily Task List, and then click Minimized — or, alternately, click the top edge of the Daily Task List when your pointer becomes a , and then drag up or down.
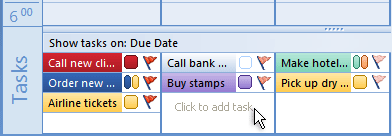
Tip: To create new tasks in the Daily Task List, you must use the Normal Daily Task List setting.

 , and then select PowerPoint.


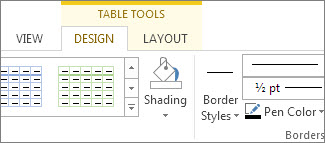
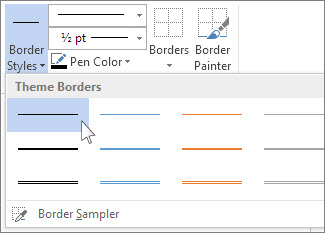
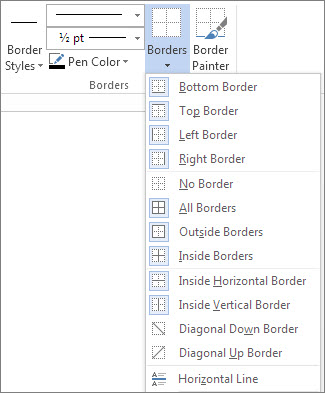
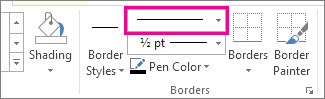
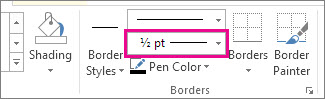
 , and then click the borders that you want.
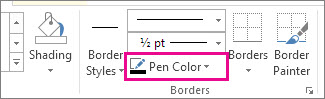
 , and then click the line color that you want.
 .
.