When the drawings you create contain real-world objects that are larger than the printed page, such as the furniture in an office, you need to draw to scale. This article explains how you can change the scale in a Microsoft Visio drawing.
-
Display the page for which you want to change the drawing scale.
You can set a different drawing scale for each page in your drawing.
-
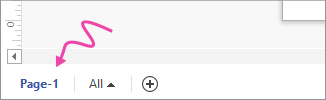
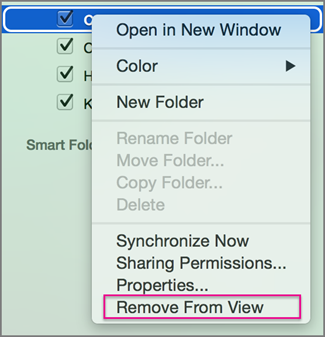
First locate the page tab of the page you want to change. The page tab is in the lower-left corner of the drawing area. In the following example, the page tab is represented by Page-1, but your page tab may have a different name like VBackground-1 for a background page.
-
Right-click the page tab, click Page Setup, and then click the Drawing Scale tab.
-
Select Pre-defined scale, and then click a pre-defined architectural, metric, or engineering scale; or select Custom Scale and type your own scale values.
-
To change the measurement units (such as feet or meters), click the Page Properties tab, and in the Measurement units list, click the units that you want.
-
Click Apply to save your changes and update the drawing page.
To give the background pages the same drawing scale, click the background page (for example, VBackground-1) and perform the same steps.
-
Display the page for which you want to change the drawing scale.
You can set a different drawing scale for each page in your drawing.
-
On the File menu, click Page Setup, and then click the Drawing Scale tab.
-
Click Pre-defined scale, and then click a pre-defined architectural, metric, or engineering scale; or click Custom Scale and type a custom scale.
-
To change the measurement units (such as feet or meters), click the Page Properties tab, and in the Measurement units list, click the units that you want.
-
Click Apply to save your changes and update the drawing page.
To give the background pages the same drawing scale, display the background page and follow steps 1–5.
The drawing shows the new settings. Shapes might appear larger or smaller, but their real-world size does not change. Rulers show the new measurement units.
What is drawing scale in Visio?
The drawing scale determines how a distance on the page represents a distance in the real world. For example, 1 inch on an office layout might represent 1 foot in the actual office. In metric drawings, 2 centimeters might represent 1 meter. You can change the drawing scale in any Visio drawing.
Some templates, such as the Office Layout template, open with a pre-defined drawing scale. These drawings are called scaled drawings.
Some templates, such as the Basic Flowchart template, open with a drawing scale of 1:1, which means that 1 inch or centimeter on the printed page represents 1 inch or centimeter in the real world. These drawings are sometimes called unscaled drawings; you use them to create abstract drawings that don't represent actual objects in the real world.
Drawing scales are sometimes expressed as a ratio without measurement units. For example, the metric scale for an office layout might be expressed as 1:50, which is the same as 2 cm = 1 m if you measure distances in centimeters and meters.
The smaller the ratio, the larger the area you can represent:
-
With a scale such as 1:100 (metric units) or 1/8" = 1' (US units), you can draw an entire floor on one page.
-
With a scale such as 1:10 (metric units) or 1" = 1' (US units), you can focus in on one cubicle.
When you choose a drawing scale, Microsoft Office Visio sets the measurement units and page units automatically.
Measurement units represent sizes or distances in the real world. In an office layout with a drawing scale of 2 cm = 1 m (1:50), meters are the measurement unit. In a drawing scale of 1/4" = 1', feet are the measurement unit.
Page units represent sizes or distances on the printed page. In an office layout with a drawing scale of 2 cm = 1 m (1:50), centimeters are the page unit. In a drawing scale of 1/4" = 1', inches are the page unit.
Shapes are designed to work with the template they come with. Building plan shapes, for example, work best with scaled drawings, while flowchart shapes work best with unscaled (1:1) drawings.
When you drag a shape onto a drawing page, the shape resizes to match the drawing scale. If the scale of the shape is much larger or much smaller than the scale of the drawing page, the shape is not resized. Consider using another shape designed to work with a scaled drawing.


 or press Alt+Shift+Left, to make the task a subtask.
 or press Alt+Shift+Right, to move the task to the level of the task above it.
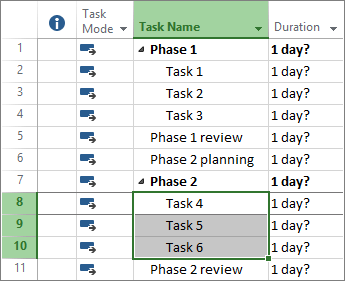
 or press Ctrl+F2.


 on your phone.
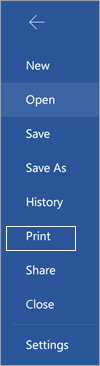

 on your phone.
 .
.
 .
.