The Actual Finish field shows the date and time when a task or assignment was actually completed.
There are several categories of Actual Finish fields.
Data Type Date
Actual Finish (task field)
Entry Type Calculated or entered
How Calculated The Actual Finish field contains "NA" until there is zero remaining work or you set the task's % Complete field or the task or assignment's % Work Complete field to 100. When the work complete reaches 100 percent, Microsoft Project sets the Actual Finish field to the status date or scheduled finish date. If you enter the actual finish date, the scheduled finish date changes to match the actual finish date.
Best Uses Add the Actual Finish field to the sheet portion of the Task Usage or Resource Usage view when you want to display, filter, or edit actual finish dates for assignments. If you enter actual work or percent complete, you can have Project calculate the actual finish date for you according to the status date or scheduled finish date. You can also type the actual finish date in this field.
Examples Jamie has just completed an assigned task. In the Task Usage view, you add the % Work Complete and Actual Finish fields. Next, you enter 100 in the % Complete field. Project recalculates the date in the Finish field, and changes the "NA" in the Actual Finish field to the status date or the scheduled finish date.
Sean has also completed an assigned task. In the Actual Work field, you enter the time Sean has spent on this assignment, which is the same as the total work assigned to Sean. Project recalculates the date in the Finish field, and changes the "NA" in the Actual Finish field to the status date.
Finally, Chris completed an assigned task last Friday. In the Actual Finish field, you enter last Friday's date. Regardless of the information in the % Work Complete field or the Actual Work field, the Actual Finish field contains last Friday's date, and sets the % Work Complete field to 100.
Remarks When you specify that a task is 100 percent complete, Project automatically adjusts the actual finish date based on either the current status date or the scheduled finish date. The date that is used depends on your calculation preferences. You can examine and set these preferences in the Project Options dialog box.
You can also set the status date to a date other than today's date in the Project Information dialog box.
Actual Finish (resource field)
Entry Type Null
Best Uses Add the Actual Finish field to the Resource Usage view when you want to display actual finish dates for assignments. No information is displayed in the Actual Finish resource field; it merely makes the corresponding Actual Finish assignment field information available.
Example You are reviewing actual finish dates for tasks assigned to various resources. You add the Actual Finish field to the Resource Usage view. No information appears in the Actual Finish field next to the resource names. However, the actual finish dates for their assignments appear in the Actual Finish assignment rows below each resource name.
Actual Finish (assignment field)
Entry Type Calculated or entered
How Calculated The Actual Finish field contains "NA" until there is zero remaining work or you set the % Complete or % Work Complete field to 100. When the work complete reaches 100 percent, Project sets the Actual Finish field to the status date or scheduled finish date. If you enter the actual finish date, the scheduled finish date changes to match the actual finish date.
Best Uses Add the Actual Finish field to a task view when you want to display, filter, or edit actual finish dates for tasks. If you enter total actual work or percent complete, you can have Project calculate the actual finish date for you according to the status date or the task's schedule. If you want more control over the information in this field, you can type the actual finish date in this field.
Examples The "Develop estimate" task has just been completed. You add the % Complete field to the Tracking Gantt view, and then enter 100. Project recalculates the date in the Finish field, and changes the "NA" in the Actual Finish field to the status date or the scheduled finish date.
The "Write proposal" task is also now completed. In the Actual Work field, you enter the time the assigned resources have spent on this assignment, which is the same as the total work for the task. Project recalculates the date in the Finish field, and changes the "NA" in the Actual Finish field to the status date or the scheduled finish date.
Finally, the "Conduct client meetings" task was completed last Friday. In the Actual Finish field, you enter last Friday's date. Regardless of the information in the % Complete, % Work Complete, or Actual Work fields, the Actual Finish field contains last Friday's date. The % Complete and % Work Complete fields are set to 100, and the actual work value equals the value in the Work field.
Remarks When you specify that a task is 100 percent complete, Project automatically adjusts the actual finish date based on either the current status date or the scheduled finish date. The one used depends on your calculation preferences. You can examine and set these preferences in the Project Options dialog box.
You can also set the status date to a date other than today's date in the Project Information dialog box.


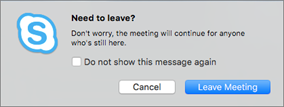
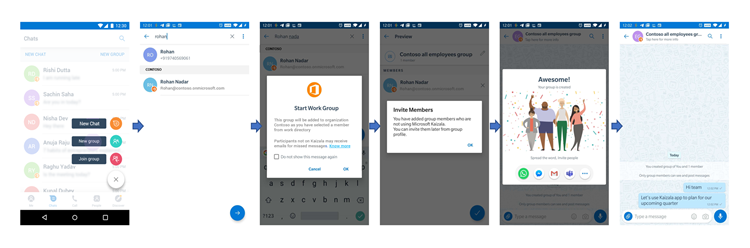
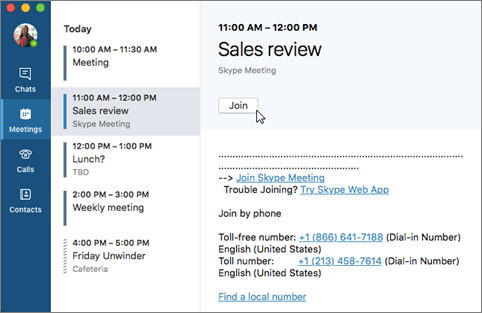
 and click it. When it looks like this
  , people in the meeting can hear you.
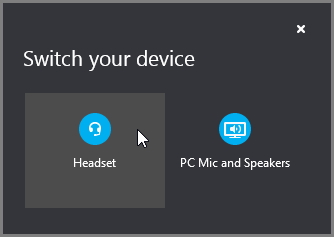
 , then click Devices.
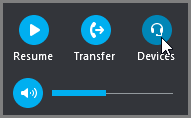

 button.
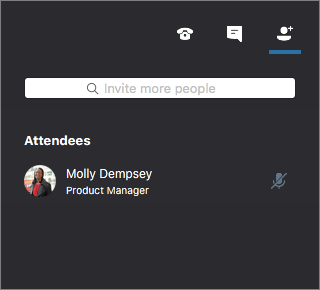
 button.
 to send the message.
 button.
 button.
 button.