Attach files, photos, or links to a task
In Planner, you can attach files, photos, and links directly to the tasks themselves, making the plan a central location for everyone to collaborate and get work done.
Note: If you've just created your plan, Planner may still be setting up your plan's OneDrive and SharePoint location. If you see a message about this, you'll need to wait a bit before attaching files.
Add an attachment
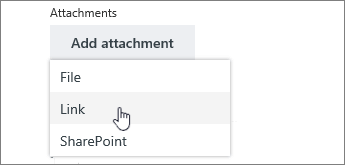
To attach a file or link, select the task to bring up its details, click Add attachment, and then choose File, Link, or SharePoint.

-
File: Upload a document or file from your local computer. Files you upload are stored in the SharePoint document library associated with your plan.
-
Link: Fill in a URL and the text you'd like displayed in Planner.
-
SharePoint: Choose files already stored in the SharePoint document library associated with your plan.
The first time you attach a photo, it will automatically become the task's preview picture. If you'd prefer a document as the preview picture for the task, click Show on card for the document. The preview picture is shown on the Board, and offers a quick way to identify the task and get to work. Want to change the preview picture for a task?

Work on the attachment
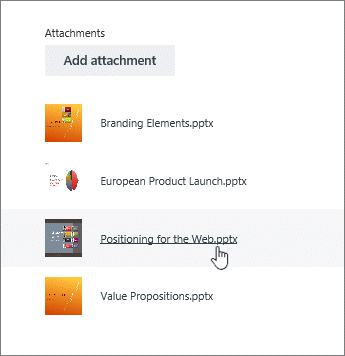
After you've attached an Office file, you can click the file link shown on the card to open it in Office Online.

With real time co-authoring in Office Online, you can make changes at the same time as your teammates without worrying about losing work! Learn more.
If you want to work on an Office file that you're not using as the preview, select the task to bring up its details, and then choose the file name for the file you want to work on.

No comments:
Post a Comment