Create an EPC (Event-driven Process Chain) diagram
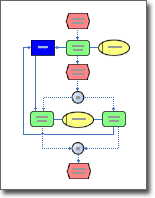
EPC (Event-driven Process Chain) diagrams illustrate business process work flows and are an important component of the SAP R/3 modeling concepts for business engineering. EPC diagrams use graphical symbols to show the control-flow structure of a business process as a chain of events and functions. Using the EPC Diagram template in Microsoft Office Visio, you can quickly and easily create a high-level, visual model of your business process.
The building blocks used in EPC diagrams are:
-
Functions, which are the basic building blocks of the diagram. Each function corresponds to an executed activity.
-
Events, which occur before or after a function is executed or both. Functions are linked by events.
-
Connectors, which associate activities and events. There are three types of connectors: AND, OR, and exclusive OR (XOR).
After it is completed, you can use the EPC diagram as a reference for modeling the SAP R/3 system.

Create an EPC diagram
-
On the File menu, point to New, point to Business, and then click EPC Diagram.
-
From EPC Diagram Shapes, drag the shapes that you want to represent your business process onto the drawing page.
-
Connect the shapes:
-
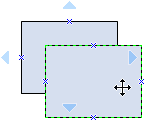
Drag a shape from a stencil onto the drawing page and position it near another shape.

-
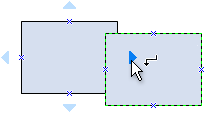
While still holding down the mouse button, move the pointer over one of the blue triangles. The triangle turns dark blue.

-
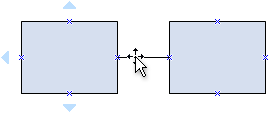
Release the mouse button. The shape is placed on the drawing page, and a connector is added and glued to both shapes.

Tip: To reverse the direction of the arrow on a connector, on the Shape menu, point to Operations, and then click Reverse Ends.
-
-
To add text to a shape, select it, and then type. When you finish typing, click outside the text block.
Notes:
-
To edit text, double-click the shape, place the cursor where you want to change the text, and then type.
-
To hyperlink a shape to supporting or explanatory documents, select the shape, and then on the Insert menu, click Hyperlinks.
-
To align multiple shapes vertically or horizontally, select the shapes you want to align, and then on the Shape menu, click Align.
-
To distribute three or more shapes at regular intervals, select the shapes, and then on the Shape menu, click Distribute.
-
No comments:
Post a Comment