Create and update an index
An index lists the terms and topics that are discussed in a document, along with the pages that they appear on. To create an index, you mark the index entries by providing the name of the main entry and the cross-reference in your document, and then you build the index.
You can create an index entry for an individual word, phrase, or symbol, for a topic that spans a range of pages, or that refers to another entry, such as "Transportation. See Bicycles." When you select text and mark it as an index entry, Word adds a special XE (Index Entry) field that includes the marked main entry and any cross-reference information that you choose to include.
After you mark all the index entries, you choose an index design and build the finished index. Word collects the index entries, sorts them alphabetically, references their page numbers, finds and removes duplicate entries from the same page, and displays the index in the document.
Mark the entries
These steps show you how to mark words or phrases for your index, but you can also Mark index entries for text that spans a range of pages.
-
Select the text you'd like to use as an index entry, or just click where you want to insert the entry.
-
On the References tab, in the Index group, click Mark Entry.

-
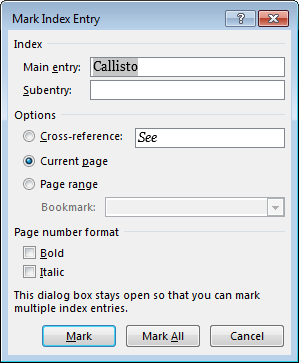
You can edit the text in the Mark Index Entry dialog box.
-
You can add a second-level in the Subentry box. If you need a third level, follow the subentry text with a colon.
-
To create a cross-reference to another entry, click Cross-reference under Options, and then type the text for the other entry in the box.
-
To format the page numbers that will appear in the index, select the Bold check box or Italic check box below Page number format.
-
-
Click Mark to mark the index entry. To mark this text everywhere it shows up in the document, click Mark All.
-
To mark additional index entries, select the text, click in the Mark Index Entry dialog box, and then repeat steps 3 and 4.
Create the index
After you mark the entries, you're ready to insert the index into your document.
-
Click where you want to add the index.
-
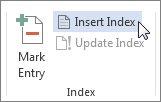
On the References tab, in the Index group, click Insert Index.
-
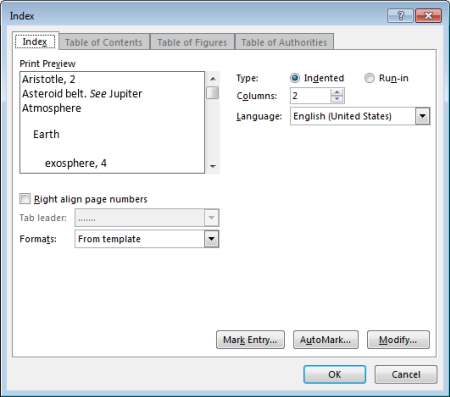
In the Index dialog box, you can choose the format for text entries, page numbers, tabs, and leader characters.
-
You can change the overall look of the index by choosing from the Formats dropdown menu. A preview is displayed in the window to the top left.
-
Click OK.
Edit or format an index entry and update the index
If you mark more entries after creating your index, you'll need to update the index to see them.
-
If you don't see the XE fields, click Show/Hide
 in the Paragraph group on the Home tab.
 -
Find the XE field for the entry that you want to change, for example, { XE "Callisto" \t "See Moons" }.
-
To edit or format an index entry, change the text inside the quotation marks.
-
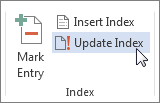
To update the index, click the index, and then press F9. Or click Update Index in the Index group on the References tab.
If you find an error in the index, locate the index entry that you want to change, make the change, and then update the index.
Delete an index entry and update the index
-
Select the entire index entry field, including the braces ({}), and then press DELETE.
If you don't see the XE fields, click Show/Hide
in the Paragraph group on the Home tab. -
To update the index, click the index, and then press F9. Or click Update Index in the Index group on the References tab.
No comments:
Post a Comment