Select individual objects on a slide
Use the Select options in the Editing group at the far right end of the Home tab to see and select individual objects in PowerPoint:


Click the object to select it. If that does not select it, on the Home tab, in the Editing group, click Select and do one of the following:
-
To select all of the objects and placeholders on the slide, click Select All.
-
To select objects that are hidden, stacked, or behind text, click Select Objects, and then click and drag over the objects.
-
To open the Selection pane, where you can select, multi-select, show, hide, or change the order of objects, click Selection Pane, and then click the options that you want.
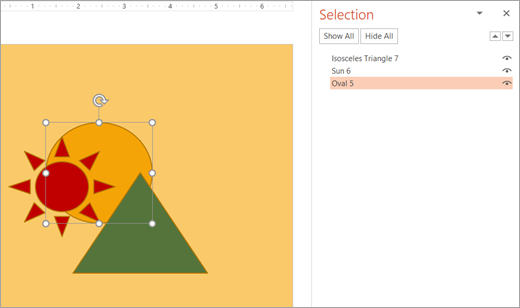 In this example, we can easily select the oval shape in the Selection pane, whereas on the slide, the oval is buried under the sun and triangle shapes.
After you have selected the object, you can apply PowerPoint commands and features to that object as usual.
Open the Selection Pane any time: On the Home tab, select Arrange > Selection Pane.
Using the Selection Pane
Once you've inserted shapes, text boxes, SmartArt graphics, images, or other objects, you can open the Selection Pane to keep track of them all.
-
Select one of the objects you want to manage.
-
Select the ... Format tab that appears on the ribbon when you select the object, and then choose Selection Pane (or Arrange > Selection Pane).

-
The Selection Pane opens with all your objects listed, and you can do any of the following:
-
Drag an item up or down in the list to change the order. In the example below from PowerPoint, moving the curved connector to the top of the list also brought it forward in front of the two oval shapes (and everything else on the slide).

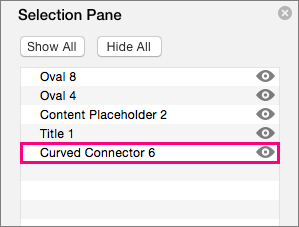
The connector is at the bottom of the list, and is behind the two oval shapes.
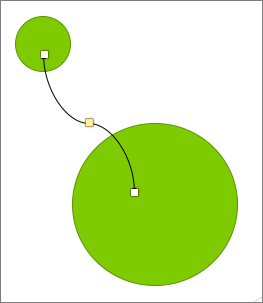

After the connector is moved to the top of the list, it shows up in front of the two oval shapes. -
Choose to show or hide objects from the Selection Pane. To hide an object, click the eye icon in the Selection Pane indicating that the object is Showing
 . The icon will change to a simple icon indicating that the object is Hidden
  from view. To show the object once again, simply click the Hidden icon , and the object will reappear.
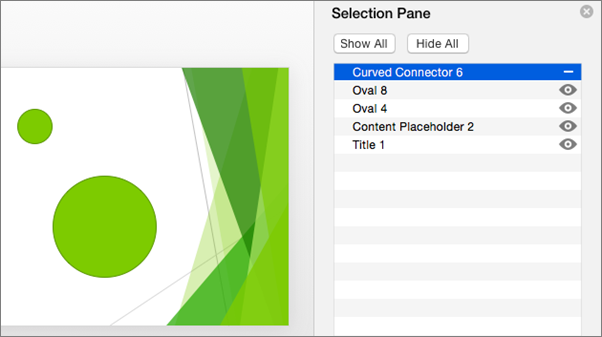
The connector in the example above is hidden, and does not appear on the slide. -
Group or ungroup objects listed in the Selection Pane. If you select multiple objects by using Command + Click, you can then group them or ungroup them by selecting Group Objects on the ribbon in the Format tab.

-
No comments:
Post a Comment