Add or move a scene in 3D Maps
By adding more scenes to your tour, you can create new views of your data that focus on specific geographic locations, or time periods.
When you add a new scene to a tour, it's not empty—it's based on the currently selected scene in the Tour Editor pane. After you make changes to the new scene, you can move it wherever you want in the tour.
Create a tour-
In an Excel table, select any cell or range of cells that contains your data.
Doing so before you create the tour makes it easier to hook up the data to the new tour.
-
On the Insert tab, in the Tours group, click 3D Maps, and then click Open 3D Maps.
-
If the Enable the Data Analysis add-ins to use this feature dialog box appears, click Enable.
-
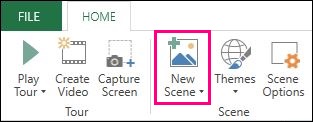
In the 3D Maps window, click the Home tab, and then click the New Scene down arrow.

Three options appears.
-
Select one of the following scene options:
-
Copy Scene
-
World Map
-
New Custom Map
The new scene appears directly below the selected scene in the Tour Editor pane.
-
-
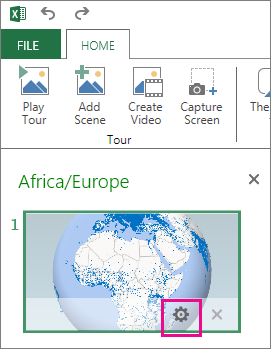
To access scene options, click the Settings icon that appears when you hover over the scene thumbnail.

You can use the scene option settings to:
-
Change the scene's name.
-
Change the length of the scene's play time.
-
Change the length of the transition time from the previous scene.
-
Add an effect to the scene, such as a flyover, zoom (push in), or globe rotation.
-
Make an effect more dramatic by increasing its magnitude.
-
Speed up or slow down an effect.
-
Move a scene
If you have multiple scenes, you can change their order by dragging a scene to another location in the Tour Editor pane.
No comments:
Post a Comment