Sync files with the OneDrive sync client on Mac OS X
The new OneDrive sync client lets you sync files from your OneDrive for Business and even from SharePoint sites if your admin enabled it. (If you're the IT admin for your organization, see Enable users to sync SharePoint files with the new OneDrive sync client.)
Note: The new OneDrive sync client is supported on OS X version 10.9 and above. To use the OneDrive desktop app to sync your work files, you need an Office 365 business account.
Install and set up
If you have signed in to the OneDrive sync client with a Microsoft account (for example, someone@outlook.com), you should already have the OneDrive desktop app and you can skip to step 2 below.
-
Important: If you are currently using the OneDrive Mac Store app, you must first uninstall it before installing the latest build of the OneDrive desktop app.
-
Start OneDrive Setup.
Method 1: If you have no accounts signed in to OneDrive
If you're not signed in to OneDrive with any account, start OneDrive to connect a work or school account.
-
Start OneDrive by pressing cmd+Space to launch a Spotlight query and type OneDrive. This starts OneDrive Setup.
-
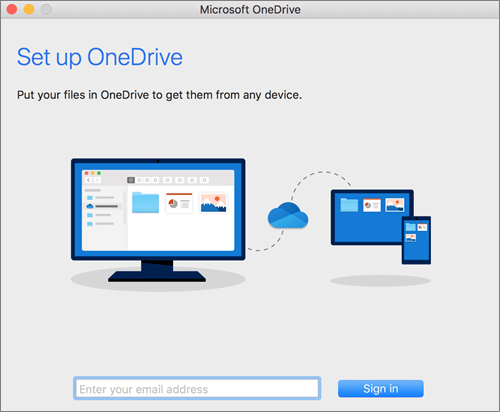
Enter your work or school account and then select Sign in to set up your account.
Method 2: If you already have a personal account signed in to OneDrive
If you already have a personal account signed in to OneDrive, you'll want to add a work or school account in OneDrive Preferences.
-
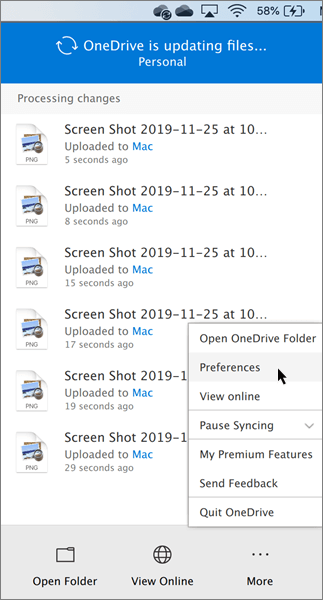
Click the OneDrive cloud icon up in your Menu bar, click the three dots to open the menu, and select Preferences.
-
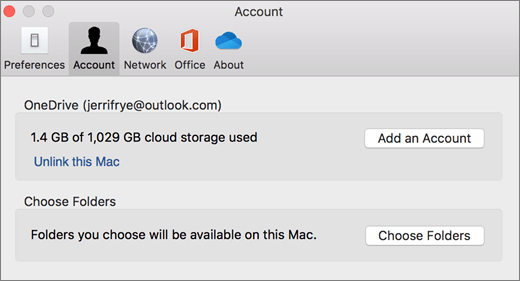
Click the Account tab, and then select Add an Account to start OneDrive Setup.
-
Enter your work or school account and click Sign in.
Key parts of OneDrive Setup
There are a few points of OneDrive Setup that are helpful to watch for:
-
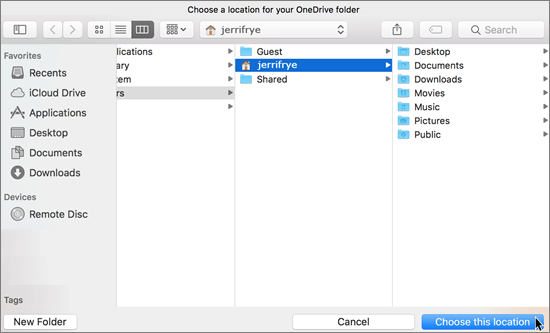
On the This is your OneDrive folder screen, click Choose OneDrive Folder Location.
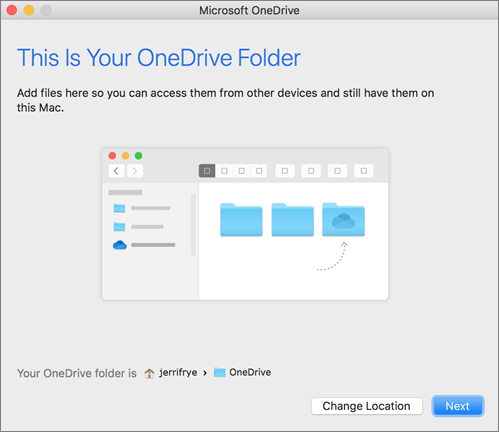
Select a location where you would like to save your OneDrive files and click Choose this location.
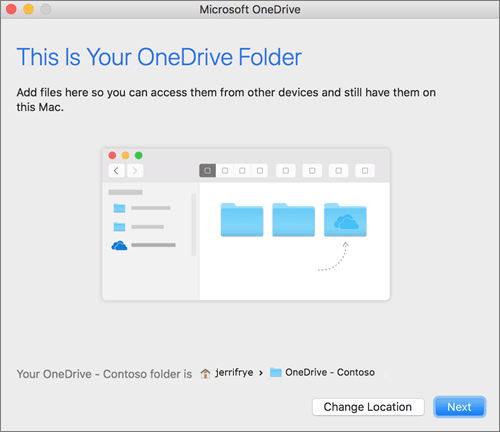
When you see the This is your OneDrive folder screen, you'll now see a path to the folder you selected. Click Next to continue.
-
On the Sync Files from Your OneDrive screen, you can choose the folders you want to sync to your computer, and click Next. This conserves space on your computer, and reduces bandwidth needed for the sync processes.
-
When you see Your OneDrive Is Ready for You, the last thing to do is make sure you select Open at login so my files sync automatically. This will ensure that OneDrive runs at login and you always have the most up to date version of all your files.

After you enable OneDrive to open at login, you're done! Click Open your OneDrive folder to see your files sync to your folder.
You can find OneDrive up in your Menu bar. You'll have a cloud icon for every account you've connected to OneDrive. So you'll have one cloud if you're only syncing a work or school account, one cloud if you're syncing only a personal account, or two clouds if you're syncing both.

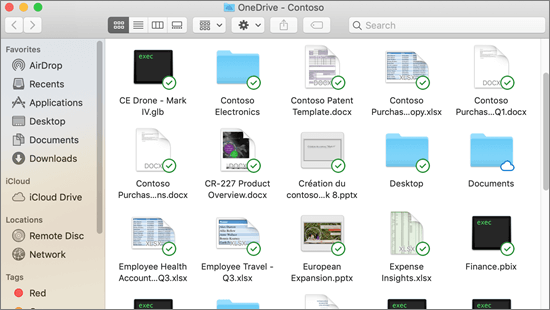
You'll also see a folder in Finder called OneDrive – YourTenantName.
Turn on Finder integration
If you're on OSX 10.10 or higher, get sync status directly from Finder by enabling Finder overlays in Settings.
First, click the Apple logo in the top left corner of your Mac Desktop and select System Preferences, then select Extensions in the top-level menu (shown in the 3rd row from the top).
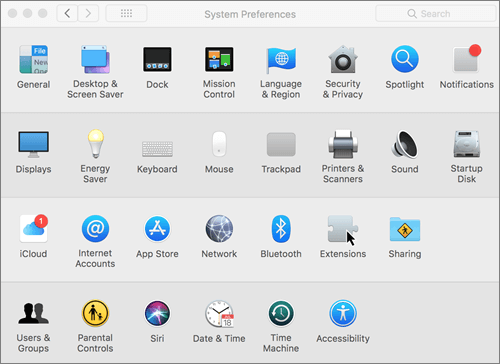
Toggle on the OneDrive Finder Integration to enable Finder overlays.

You're all set. Open up your OneDrive folder in Finder to see overlays on your files and folders.
If you're an admin and want to enable sync icon overlays on multiple computers, you can use this Terminal command:
/usr/bin/pluginkit -e use -i com.microsoft.OneDrive-mac.FinderSync
Sync SharePoint sites
To sync libraries and folders
-
Click the Office 365 app launcher
 , and then click SharePoint.
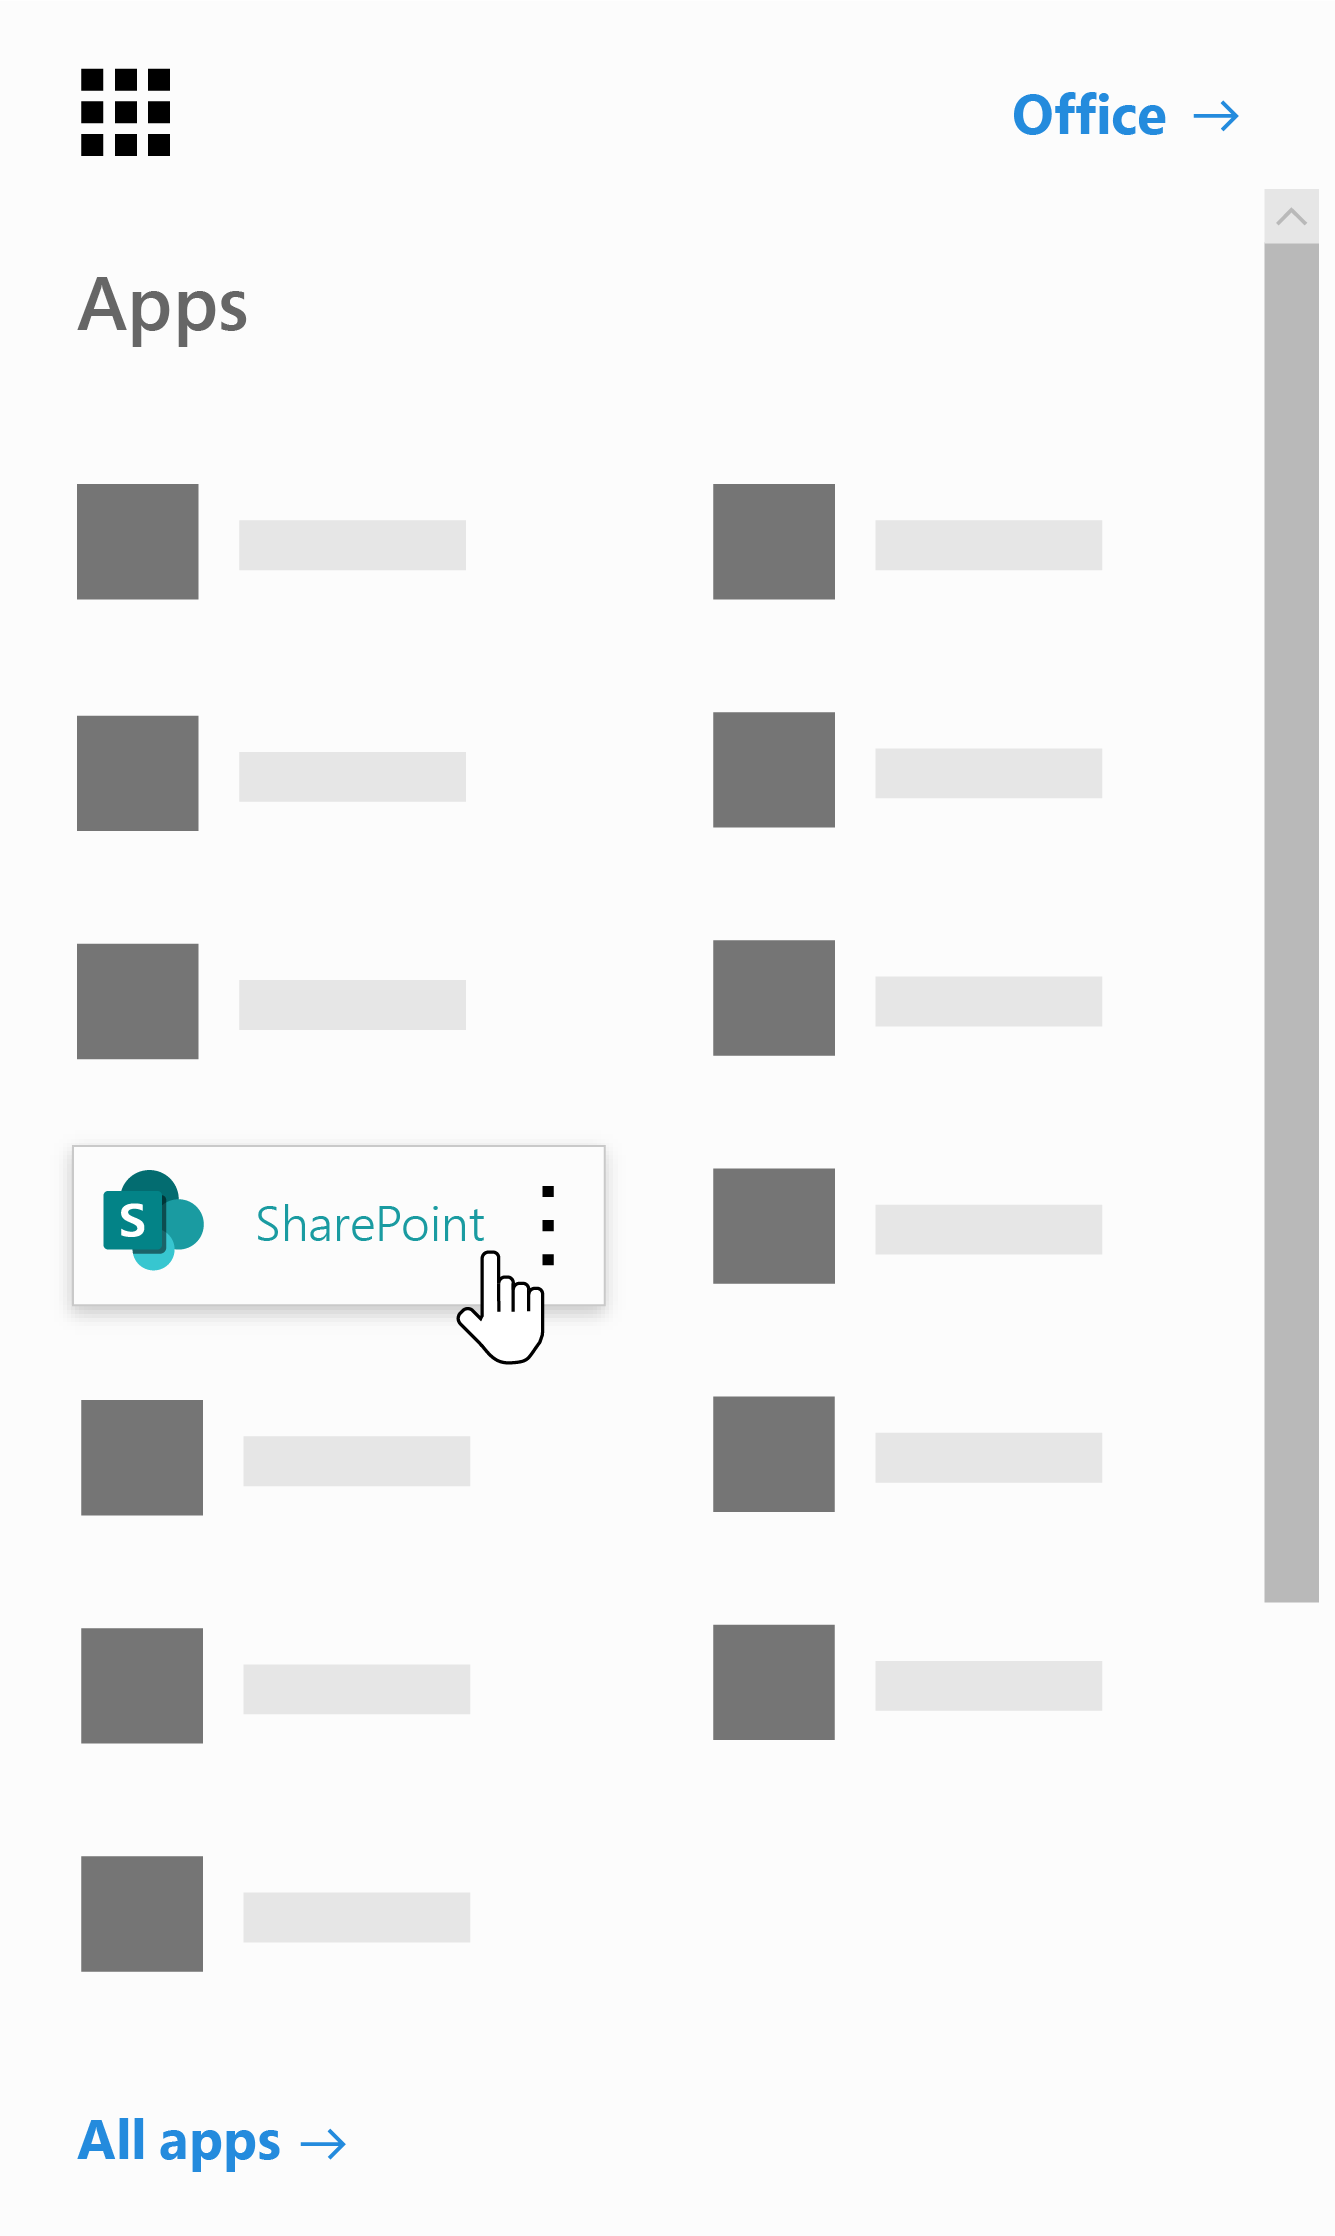
-
Click the site that you want to sync.
-
Click Documents or navigate to the subfolder that you want to sync.
-
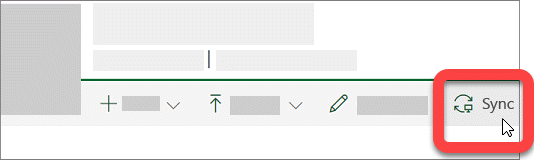
Click Sync.
-
If your browser requests permission to use "Microsoft OneDrive," confirm that this is okay.
Note: Your organization needs to enable SharePoint site syncing with the OneDrive desktop app for you to sync sites on your Mac. If you're the IT admin for your organization, see Enable users to sync SharePoint files with the new OneDrive sync client. If you're not the IT admin, contact your IT department.
-
Choose the folders that you want to sync, and then click Start sync.
SharePoint team sites sync under a folder with your tenant name. This folder is automatically added to the left navigation pane in Finder.
Manage your syncing sites
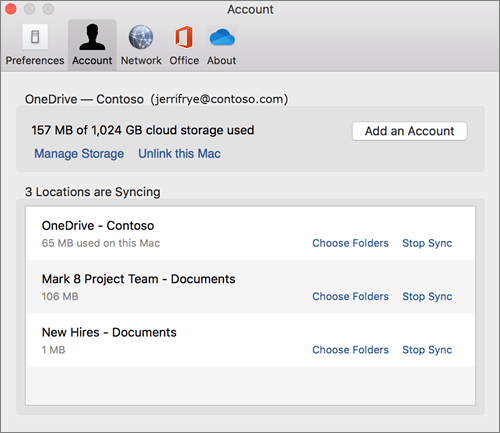
You can manage your syncing sites in the sync client settings.
-
Click the OneDrive icon in the menu bar.
-
Click Preferences, and then click the Account tab.
-
To change the folders that you're syncing, click Choose Folders for that location, and then choose the folders that you want to sync. To stop syncing a site, click Stop Sync next to the site. (Copies of the files remain on your computer. You can delete them if you want.)
Additional resources
For additional resources about the OneDrive desktop app:
| Title | Description |
| Learn how administrators can deploy the OneDrive desktop app on OS X to users in their enterprise environment. | |
| Release notes about the OneDrive desktop app. | |
| Knowledge base article covering limits and restrictions (such as invalid characters in file names). |
Need more help?
| | Get online help |
| | Email support One Drive for Business Admins can also view the OneDrive for Business Tech Community, Help for OneDrive for Business Admins, or contact Office 365 for business support. |
| | Tips All fixed? If you contacted us and OneDrive starts working again, please let us know by replying to the email we sent you. |


No comments:
Post a Comment