Approve or reject items or files in a site list or library
Some lists and libraries on sites are set up so that only approved items or files can be published in them. Blogs are a good example. Most organizations are careful to vet blog entries so they can screen out inappropriate language, offensive rhetoric, or unsolicited commercial e-mail.
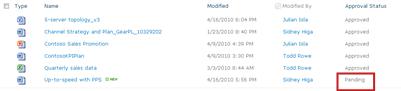
If someone submits an item or file to such a list or library, it is in Pending status until it is approved by someone who has the necessary permissions to do so. While it is waiting for approval, or after being rejected, it remains in Pending status. Usually, when an item or file is in Pending status, only the creator of the item or file and people who have permissions to manage lists and libraries can see it. It becomes visible to others only after its status changes from Pending to Approved. Rejected items and files stay in the list or library until someone who has the necessary permissions deletes them, or until the originators delete them,
Important: If security in the library is configured to allow any user to read items, then anyone who has Read permissions to the site can see all items in the list or library, whether or not the items are in Approved status.
What do you want to do?
Approve or reject items or files in a site list or library
Only persons who have Full Control or Design permissions can approve or reject items or files in a list or library that requires approval. Other site users can only view what they have permission to view or what they have uploaded themselves.
Important: Approval or rejection of items or files in lists or libraries must be done one at a time. You cannot approve or reject multiple items or files in one operation.
Approve an item or a file
-
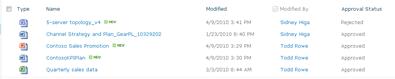
Navigate to the library or list where the Pending item or file is located.
-
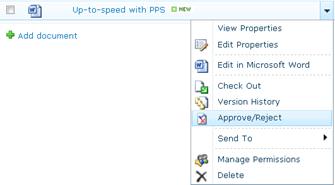
Hover over the item, click the arrow, and then, in the drop-down box next to the item or file name, select Approve/Reject.
-
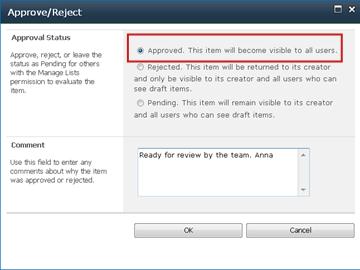
In the Approval Status section of the dialog box that opens up, select Approved.
-
In the Comment section, type a comment about why the item was approved. This step is optional, but recommended for history purposes.
-
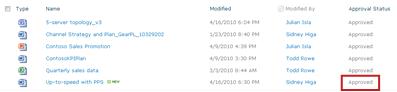
Click OK. When the Approve/Reject dialog box closes, the Approval Status of the file is Approved.
Reject an item or a file
-
Navigate to the library or list where the item or file is located.
-
Hover over the item, click the arrow, and then, In the drop-down box next to the item or file name, select Approve/Reject.
-
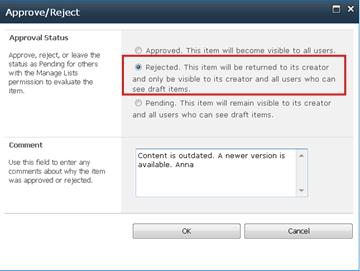
In the Approval Status section of the dialog box that opens up, select Rejected.
-
In the Comment section, type a comment about why the item or file was rejected. This step is optional, but recommended for history purposes, especially when the item or file is rejected.
-
Click OK. When the Approve/Reject dialog box closes, the Approval Status of the item or file is Rejected.
Note: The rejected item or file is not automatically deleted. Either the person who has Approver permissions can delete it, or the creator of the item or file can delete it.
To delete a file in a site library Either select the drop-down box next to its name and select Delete, or select the check box next to its icon and, on the Documents tab of the ribbon, select Delete Document.
To delete an item in a site list Either select the drop-down box next to its name and select Delete Item, or select the check box next to its icon and, on the Items tab, click Delete Item.
No comments:
Post a Comment