Add or remove shading in a table in Word 2016 for Mac
Adding shading to a table can help make certain rows, columns, or cells—or the entire table—stand out in your document. For example, you could add shading to the header row of a table to make it distinctive. The easiest way to add colored shading to a table is to use the Shading option on the Table Design tab.
Add shading to a table
-
Select the cells you want to change.
-
To select an entire table, click in the table, and then click the Table Move Handle in the upper-left corner.
-
To select a row, column, cell, or group of cells, click and drag your mouse pointer to highlight the cells you want.
-
-
On the Table Design tab, the arrow next to Shading.

-
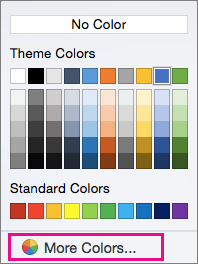
Under Theme Colors or Standard Colors, select the shading color you want. Or, for more color options, click More Colors.

Remove shading from a table
-
Select the cells you want to change.
-
To select an entire table, click in the table, and then click the Table Move Handle in the upper-left corner.
-
To select a row, column, cell, or group of cells, click and drag your mouse pointer to highlight the cells you want.
-
-
On the Table Design tab, click the arrow next to Shading.
-
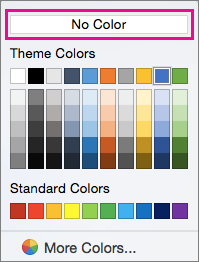
Click No Color.

No comments:
Post a Comment