Change the default font in Word for Mac
To use your favorite font in Word all the time, set it as the default.
If you've already changed the default font and the new setting isn't sticking, scroll down to read about checking permissions.
-
On the Format menu, click Font, and then click the Font tab.
You can also press and hold
 + D to open the Font dialog box.
 -
Under Font, click the font you want to use, and then under Size, click the size you want to use for the body text.
-
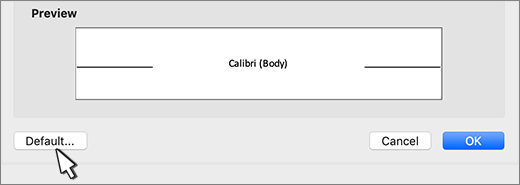
Click Default in the bottom left corner, and then click Yes to apply the change to all new documents based on the template. Click OK when finished.
If the default font setting doesn't persist
Sometimes, a company's permission settings change the default font back to the original font. If that's happening, try this:
Check permissions
-
Open Finder, and in the Search box, type Normal.dotm.
-
On the File menu, click Get Info. Or, press and hold
+ I. -
Click General, and make sure Locked is unchecked. If it's checked, uncheck it.
-
Click Sharing & Permissions, and next to your name, make sure you have Read & Write permission under Privilege.
If you aren't able to uncheck the Locked box or if you don't have Read & Write permission, contact the person who's in charge of your company's computer systems.
Microsoft Office Tutorials: Change The Default Font In Word For Mac >>>>> Download Now
ReplyDelete>>>>> Download Full
Microsoft Office Tutorials: Change The Default Font In Word For Mac >>>>> Download LINK
>>>>> Download Now
Microsoft Office Tutorials: Change The Default Font In Word For Mac >>>>> Download Full
>>>>> Download LINK cU