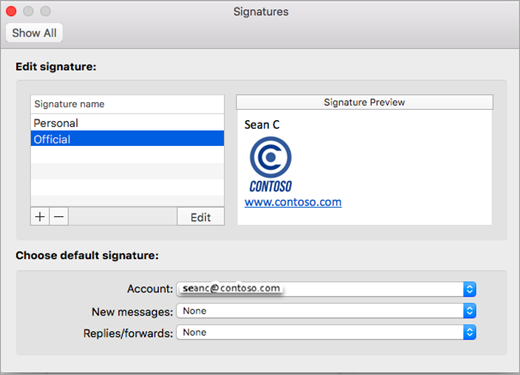
The signature attached to your emails can be customized to reflect your personal tastes, your company logo, or a particular mood. Signatures can contain text, links, and pictures; for example, you can create a signature for a business email that includes your name, job title, phone number, and company logo. Here's an example:
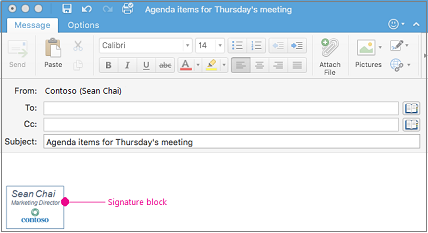
You can add signatures manually to individual email messages, or you can have a signature automatically added to every message that you send.
Create an email signature
-
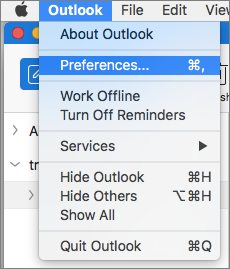
On the Outlook menu, select Preferences.
-
Under Email, select Signatures.
-
Double-click Untitled, and then type a name for the signature you created.
or
-
Select
 to add a new signature.
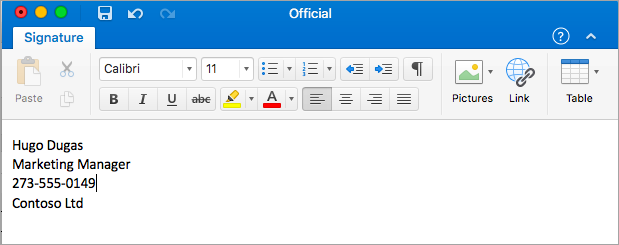
-
In the Signature editor, type the text that you want to include in your signature. You can:
-
Apply formatting such as font, font style, font size, font color, or highlighting. Select the text before applying any formatting.
-
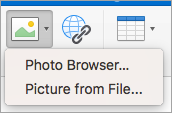
Add photo, logo or picture to your signature by inserting Pictures from Photo Browser or Picture from file
-
Add a hyperlink to your portfolio or company website. Choose Link
 , type the Text to Display and Address and select OK.
 -
Insert a table.
-
-
After you are done creating your signature, close the editor window.
-
Close the Signatures window.
Add a signature to an email or calendar invite
-
Click in the body of your message.
-
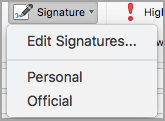
On the Message tab, select Signature, and then choose a signature from the list.
Add a signature automatically to all messages
You can set a default signature for each of your mail accounts.
-
On the Outlook menu, select Preferences.
-
Under E-mail, select Signatures.
-
Under Choose default signature, select the account for which you'll set a default signature.
If you have multiple accounts, you must set the default signature separately for each account.
-
If you want to add a signature to all new messages, set the New messages option accordingly.
-
If you want to add a signature to all messages you reply to or forward, set the Replies/forwards option accordingly.
-
Close the Signatures window.
Important: Office for Mac 2011 is no longer supported. Upgrade to Microsoft 365 to work anywhere from any device and continue to receive support.
Upgrade now
Create a signature
-
On the Outlook menu, click Preferences.
-
Under E-mail, click Signatures.
. -
Click Add
. -
Double-click Untitled, and then type a name for the signature.
-
In the right pane, type the text that you want to include in the signature.
-
Do any of the following:
To
Do this
Apply formatting such as font, font style, font size, font color, or highlighting
Select the text, and then on the Format menu, click the option that you want.
Add a hyperlink
Position the cursor in the signature where you want to add a link, and then on the Format menu, click Hyperlink.
Add a picture
Drag a picture from the desktop to the position where you want it to appear in the signature
-
Tip: If you want, you can create multiple signatures and have Outlook insert them at random into e-mail messages. To include a signature as one of these random selections, select the check box in the Random column next to the Signature name.
-
Close the Signatures dialog box.
Note: If a signature is added to a plain-text message, any formatting or pictures are not used. Hyperlinks are converted to plain text.
Create well-designed text with a logo for use as a signature
-
Open Word.
-
On the Tables tab, under Table Options, click New, and then click and drag across two rows and columns.
-
Select the top two cells, click the Table Layout tab, and then under Merge, click Merge.
-
Type your name in the top cell.
-
To format your name, select the text, and then on the Home tab, under Font, click Increase Font Size
 and Font Color
  .
. -
Drag your logo from your desktop into the lower left cell.
Tip: If you want to resize the logo, select it and use the sizing handle.
-
In the lower right cell, type your address and phone number.
Tip: To make sure that Outlook will not add any additional lines between your address and phone number, press SHIFT + RETURN to move to the next line in the table cell.
-
To add your company web site, on the Insert menu, click Hyperlink.
-
In the Link box, type the address for the link, and then in the Display box, type the text that you want to appear in your signature.
-
Rest the pointer on a column border until
 appears, and then drag the column until the table is the size that you want.
 -
Select the table, and on the Table tab, under Draw Borders, click Borders, and then click None.
-
Save the document, but don't close. Go on to Use the signature you created in Word.
Use the signature you created in Word
-
Select the table you created in Word, and then click Copy
 .
. -
Open Outlook.
-
On the Outlook menu, click Preferences.
-
Under E-mail, click Signatures.
. -
Click Add
.A new signature appears under Signature name with the name Untitled.
-
Double-click Untitled, and then type a name for the signature. This name does not appear in the signature in your messages; it is only for your reference.
-
In the right pane, paste the signature that you created in Word.
-
Close the Signatures dialog box.
No comments:
Post a Comment