To get a quick start on creating an org chart, download a pre-designed org chart template, and then customize it.
Get the template for a chart
-
In PowerPoint, on the File tab, click New.
-
In the Search for online templates and themes box, type org chart, and then click
 .
. -
Choose an org chart from the search results.
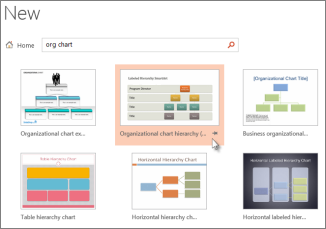
Many aspects of the chart can be customized, so don't hesitate to pick one just because of its color or layout.
-
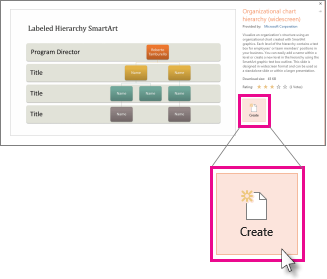
Click Create.
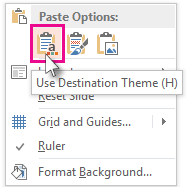
If you copy and paste the org chart slide into another presentation, to match the destination presentation's format, in Paste Options, be sure to choose Use the Destination Theme.
-
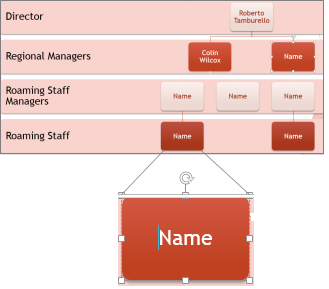
To replace the placeholder text with your own, click inside each shape, highlight the text that you want to change, and then type your text.
Customize the org chart
-
(Optional) To apply a different color and design scheme to the entire template you've opened, select the Design tab on the ribbon, and choose a theme from the gallery of themes.

-
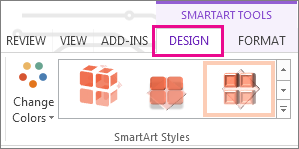
Click a shape in the org chart and when SmartArt Tools appear on the ribbon, click either the Design or Format tab.
-
Do one or more of the following:
-
On the Design tab:
-
Add more shapes to your org chart (to contain more names) or move shapes around in the Create Graphic group.
-
Change the style of the org chart in the SmartArt Styles group.
-
Change the org chart colors by clicking Change Colors.
-
Change the layout of the org chart in the Layouts group.
-
-
On the Format tab:

-
Reformat the text in the WordArt Styles group.
-
Change the shapes in the Shape Styles group.
-
Rearrange the shapes in your org chart in the Arrange group.
-
Change the size of a shape in the Size and Shapes groups.
-
-
Create your own chart instead
You can also create your own SmartArt Graphics org chart.
No comments:
Post a Comment