With Excel for the web you use your web browser to create, view, and edit your workbooks.
Create an online workbook
-
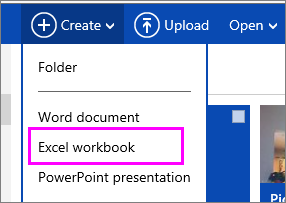
From your OneDrive, click Create > Excel workbook.
-
To rename the workbook, click the default file name and type a new one.

Share workbooks online
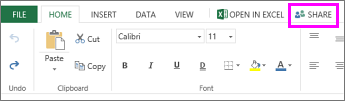
To share a workbook, click Share and either type email addresses of people you want to share with or get a link that you can email to your contacts.
Edit in the browser
If you try to enter data, set up a formula, add charts, or apply basic formatting and nothing happens, you're probably in read-only view. Switch to editing view:
Click Edit Workbook > Edit in Excel for the web.
For more advanced editing options, click Edit in Excel.
Excel for the web saves your work automatically however, if you change your mind about any changes you've just made, use Undo or press Ctrl+Z.
Work together on the same worksheet
When you're working with others in Excel for the web you can edit the worksheet as you usually would. If others are also editing the worksheet, Excel for the web shows their presence and the updates right away. Everyone has to be working in Excel for the web (not in the Excel desktop application).

Print in Excel for the web
-
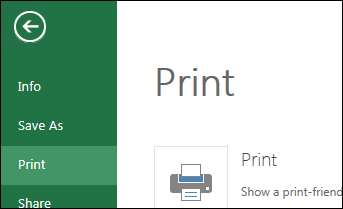
Select the cells or chart you want to print, and then go to File > Print. To print the whole worksheet, don't select anything before going to the Print command.
-
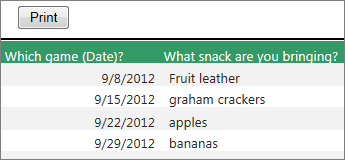
Click Print for a preview.
-
If you change your mind about printing a selected area, choose the Entire Sheet print option and click Print.
-
If the final print preview looks right, click Print.
Увеличение количества команд и матчей повышает количество факторов неопределённости: новые сборные, плотный календарь, разные условия проведения матчей и высокая ротация игроков https://chempionatmira2026.ru/forecasts/. Всё это снижает предсказуемость результатов и делает турнир более сложным для точных прогнозов, но более интересным для анализа и ставок.
ReplyDelete