Create return address labels in Word 2016 for Mac
If you send many letters and packages, you can save time by making your own return address labels.
For a basic label, you can type your address in Word and print sheets of the same return address. If you want a label with a picture or a special background, try starting with a template.
Tip: When you create labels, Word can automatically fill in your mailing address if you've added it in Word Options. To add your mailing address to Word Options, click Preferences on the Word menu, and then under Personal Settings, click User Information. Then, enter your address in User Information.
What do you want to do?
Create a basic return address label
Start with a sheet of labels from any major supplier, and follow these steps:
-
Create a blank document.
-
Click Mailings > Labels.

-
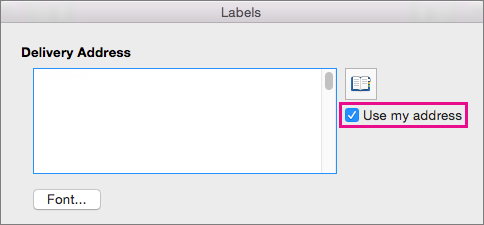
Type your return address in the Delivery Address box.
If you've added your mailing address in Word Options, you can select Use my address to have Word automatically fill in that address.

-
Under Number of Labels, verify that Full page of the same label is selected.
-
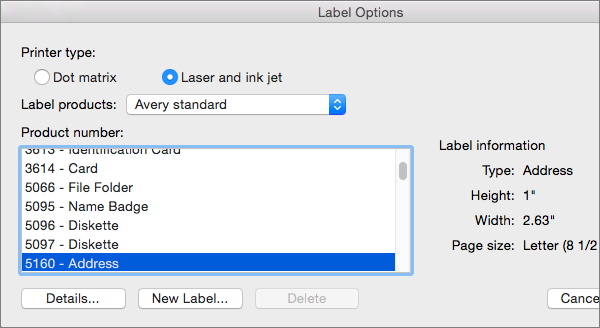
In Labels, click Options.
Word displays the Label Options dialog box.

-
Under Printer type, select the type of printer you are using.
The type of printer that you select affects the list of label products that Word displays.
-
Select your label supplier in the Label products list, and then select the label type in the Product number list.
-
Click OK to accept your selection and close Label Options.
-
Click OK in the Labels dialog box to create a new document with the address that you specified laid out for a sheet of the labels that you selected.
Tip: To see the borders between labels, on the Layout tab, click View Gridlines.
-
If your full address doesn't fit on the labels, press
 +A to select all the labels in the sheet. Then change the font size, line spacing, and paragraph spacing to make the address fit on the labels.
 For more information about line spacing and space before and after paragraphs, see Change the line spacing.
-
Print a test sheet on plain paper by clicking Print on the File menu, and then click Print.
-
If the test sheet looks good, load the labels into your printer, click Print on the File menu, and then click Print.
-
Save the document so you can use it again the next time you make labels.
Create a fancier label by using a template
For a fancier label, start with a template.
-
Start Word, or click File > New from Template.
-
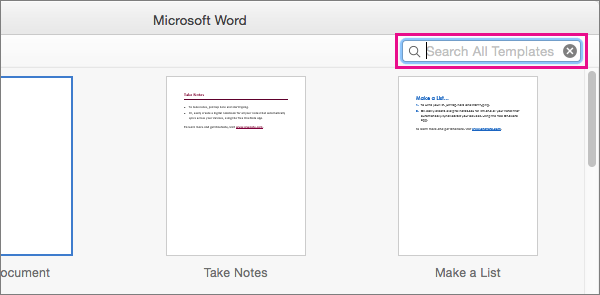
Type return address label in the Search All Templates box and press Enter.

-
Click the picture of the template you want to select, and then click Create.
Tip: If you choose an Avery template, you might have some extra options. For more information, see Use Avery templates in Word.
-
In the first label, click each line of the address and type the information for your return address.
Word updates all the labels when you click a new line or click in a margin.
-
Print a test sheet on plain paper by clicking Print on the File menu, and then click Print.
-
If the test sheet looks good, load the sheets of labels into your printer, click Print on the File menu, and then click Print.
-
Save the document so you can use it again the next time you make return address labels.
No comments:
Post a Comment