Note: This article has done its job, and will be retiring soon. To prevent "Page not found" woes, we're removing links we know about. If you've created links to this page, please remove them, and together we'll keep the web connected.
You can add, copy, or delete text boxes in your Microsoft Office for Mac applications. A text box lets you add text anywhere in your file. For example, you can create pull quotes or sidebars that call attention to important information.
-
On the Insert menu, click Text Box.
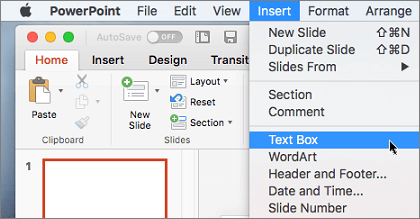
Note: In Word 2016 when you click Insert > Text Box you'll have two options. Text Box will let you draw a regular text box. Vertical Text Box lets you draw a text box where the text is rotated 90 degrees.
-
Click in your file where you'd like to insert the text box, hold your mouse button down, then drag to draw the text box the size that you want.
-
After you've drawn the text box click inside it to add text.
No comments:
Post a Comment