When you add newsletter style columns to a document, Word automatically sets the width of each column to fit your page. If the default formatting doesn't work for your layout, open the Columns dialog box to make adjustments.
-
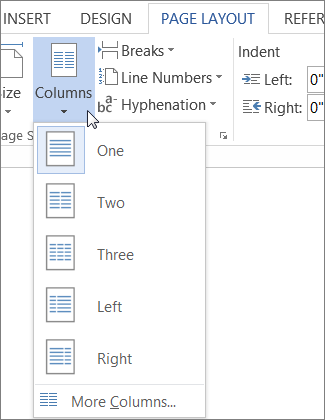
On the Page Layout or Layout tab, click Columns. At the bottom of the list, choose More Columns.
-
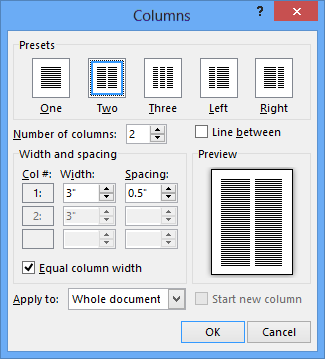
In the Columns dialog box, adjust the settings under Width and spacing to choose your column width and the spacing between columns.
-
If you want columns of varying widths, deselect the checkbox next to Equal column width.
Notes:
-
Insert a column break to control how text flows between columns. For example, insert a column break to end a paragraph in one column and start a new paragraph at the top of the next column.
-
To add a vertical line between columns, select the Line between check box in the Columns dialog box (shown above).
You can see newsletter-style columns in your document in Word for the web, but you can't create or resize them there.
You can add and manage columns of text in Word. If you have the Word desktop application, click the Open in Word command (or Edit Document > Edit in Word), and follow the steps in Adjust column widths on a page. When you're done and you save the document, it'll continue to be stored where you opened it in Word for the web, and when you reopen it, you'll see the new column widths.
No comments:
Post a Comment