Use the Accessibility Checker to find accessibility issues
Before sending your email message or sharing your document or spreadsheet, run Accessibility Checker to make sure your content is easy for people of all abilities to read and edit.
-
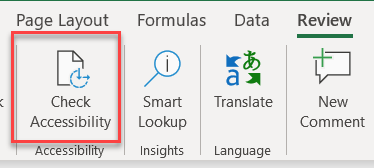
On the ribbon, click the Review tab.
-
Click Check Accessibility.

-
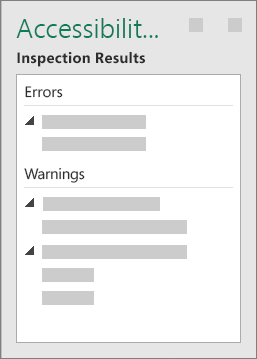
Review your results. You'll see a list of errors, warnings, and tips with how-to-fix recommendations for each. See Rules for the Accessibility Checker for more information.
Don't see Accessibility Checker?
If you don't see the Check Accessibility button on the Review tab, you might have an older version of Word, Excel or PowerPoint. Follow these steps to open the accessibility checker.
-
Click File > Info.
-
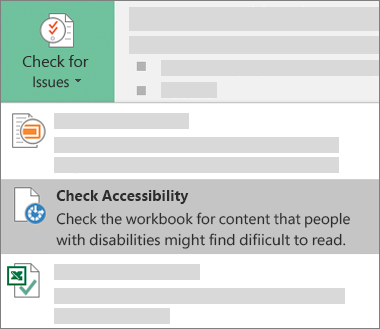
Select the Check for Issues button.
Tip: To the right of the Check for Issues button, under the Inspect heading, is a list of any potential issues.

-
In the Check for Issues drop-down menu, select Check Accessibility.

-
The Accessibility Checker task pane appears next to your content and shows the inspection results.

-
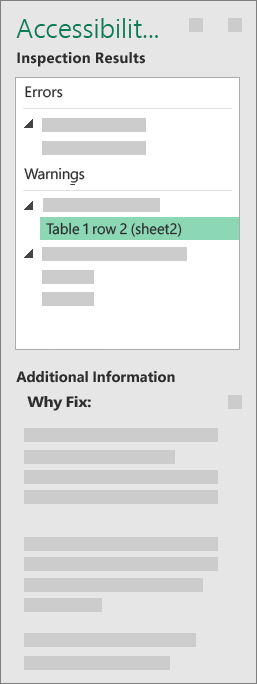
To see information on why and how to fix an issue, under Inspection Results, select an issue. Results appear under Additional Information, and you're directed to the inaccessible content in your file.

No comments:
Post a Comment