Move an object forward or backward
You can change the stack's layer order — also known as the z-order — of objects in your publication so that objects can appear on top of other objects.
-
Select the object you want to move. If the object is hidden, select any object, and then press TAB or SHIFT+TAB until the object you want is selected.
-
Do one of the following:
Bring an object to the front of the stack:
-
On the Home tab in the Arrange group, click the arrow next to or under Bring Forward, and then click Bring to Front.

Send an object to the back of the stack:
-
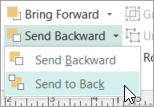
On the Home tab in the Arrange group, click the arrow next to or under Send Backward, and then click Send to Back.

Bring an object one step closer to the front:
-
On the Home tab in the Arrange group, click the arrow next to or under Bring Forward, and then click Bring Forward.

Send an object one step toward the back:
-
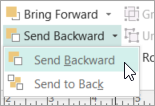
On the Home tab in the Arrange group, click the arrow next to or under Send Backward, and then click Send Backward.

-
-
Select the object you want to move. If the object is hidden, select any object, and then press TAB or SHIFT+TAB until the object you want is selected.
-
Do one of the following:
Bring an object to the front of the stack:
-
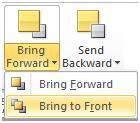
On the Home tab in the Arrange group, click the drop-down list in Bring Forward, and then click Bring to Front.

Send an object to the back of the stack:
-
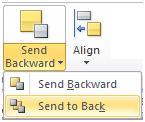
On the Home tab in the Arrange group, click the drop-down list in Send Backward, and then click Send to Back.

Bring an object one step closer to the front:
-
On the Home tab in the Arrange group, click the drop-down list in Bring Forward, and then click Bring Forward.
Send an object one step toward the back:
-
On the Home tab in the Arrange group, click the drop-down list in Send Backward, and then click Send Backward.
-
The object is one of the following:
-
An AutoShape
-
A table
-
A text box
-
Clip art or a picture
-
Select the object that you want to move.
If the object is hidden, select any object, and then press the TAB key or SHIFT+TAB repeatedly until the object that you want is selected.
To select more than one object at a time, hold down CTRL while you click the objects that you want to select, and then release CTRL.
-
On the Arrange menu, point to Order, and then do one of the following:
-
To bring an object to the front of the stack, click Bring to Front.
-
To send an object to the back of the stack, click Send to Back.
-
To bring an object one step closer to the front, click Bring Forward.
-
To send an object one step toward the back, click Send Backward.
-
Notes:
-
To display an inserted picture as a background behind text, right-click the text box, click Format Text Box on the shortcut menu, click the Layout tab, and then click None or Through under Wrapping Style.
-
To make an object in a stack transparent, click the object to select it (for a table, select the entire table), and then press CTRL+T. To make a transparent object opaque with a white fill, select it, and then press CTRL+T.
No comments:
Post a Comment