After you've successfully installed Data-Streamer on your PC, you should see a new "Data-Streamer" tab in the Excel ribbon. To begin, select this tab. The ribbon contains the primary controls for the add-in and follow these 3 steps:

Step 1: Connect a Data Source
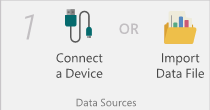
To visualize data in the worksheet, you'll need to choose a source for your data. Select Connect a Device to choose a microcontroller (Arduino, Adafruit Playground, etc.) to stream data from, or select Import Data File to open a previously recorded data file and play it back. We'll cover how to record data in Step 3.
Option A: Connect a Device
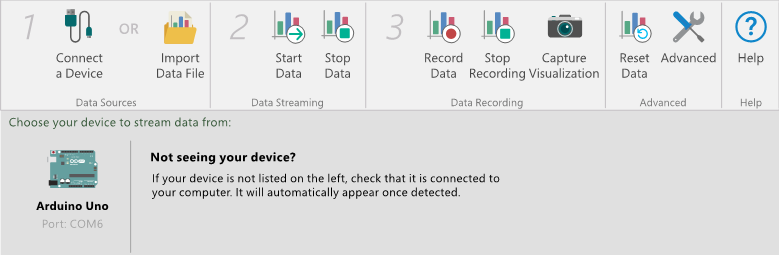
After you select Connect a Device, a sub-ribbon will appear that allows you to select a device that's currently plugged into to your computer. If you don't see any devices or your device isn't listed, make sure a compatible device is connected to your computer and that any necessary drivers are installed. Your device will automatically appear after you've connected it.
Note: your device may be listed as something generic like "Serial Device." If you know your device is plugged in and the only device you see listed is showing up as a generic USB or serial device, it might be the one you want.
Option B: Import Data File (pre-recorded data)
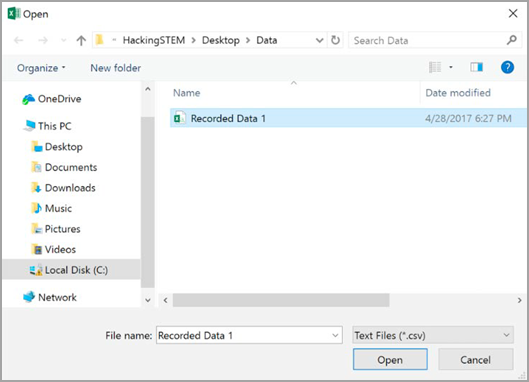
If you've previously recorded data, you can open it here. When you select the button, a file browser will open. Select the .csv file that you'd like to play back. Make sure it was recorded using the same Excel workbook you currently have open, or you may encounter data errors. Once the file is opened, select the Play Data button to visualize your recorded data.
Step 2: Stream Data
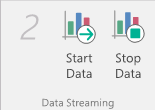
Now that you've chosen a source for your data, it's time to start streaming it into Excel!
For devices, select the Start Data button.
Step 3: Record Data (live data only)

If you'd like to record the live data coming from your device, select the import data file button. Recording will begin immediately.
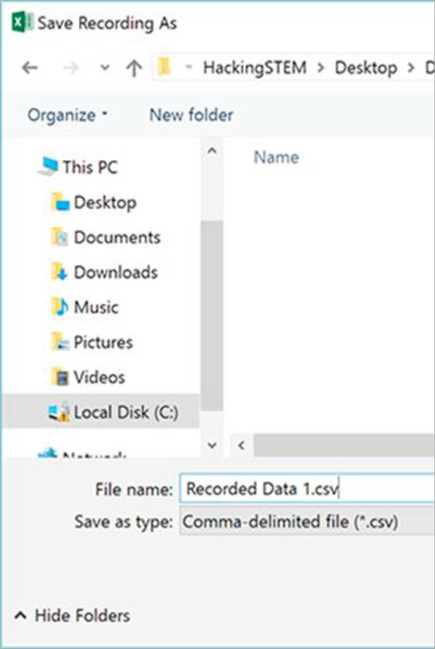
When you're ready to stop, select Stop Recording. You'll then be prompted to save the recorded data to a .csv file:
To replay your data, disconnect from your device (Data Sources > Disconnect Device) and then select Import Data File. Then, follow the steps in Option B above.
Capture Visualization
Selecting Capture Visualization will capture a .png file screenshot of the current Excel window. You can then share or print the image file.
Advanced
Warning: Changing settings in Advanced may break your workbooks. We suggest that you do not change anything under Advanced unless you are confident that you know what you're doing and are prepared to reverse your changes.
Console Tab
The console will display raw serial data when connected to a device. This is useful for troubleshooting connection issues with your device.
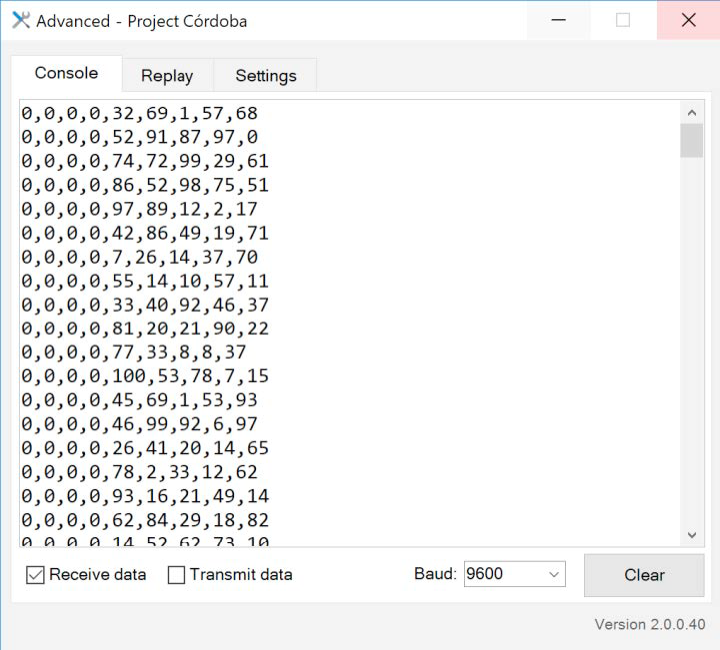
Select the Receive data checkbox to see received data and Transmit data to see transmitted data.
You can also adjust the Baud, as required by your device. The default setting is 9600.
Selecting Clear will clear the contents of the console.
Replay Tab
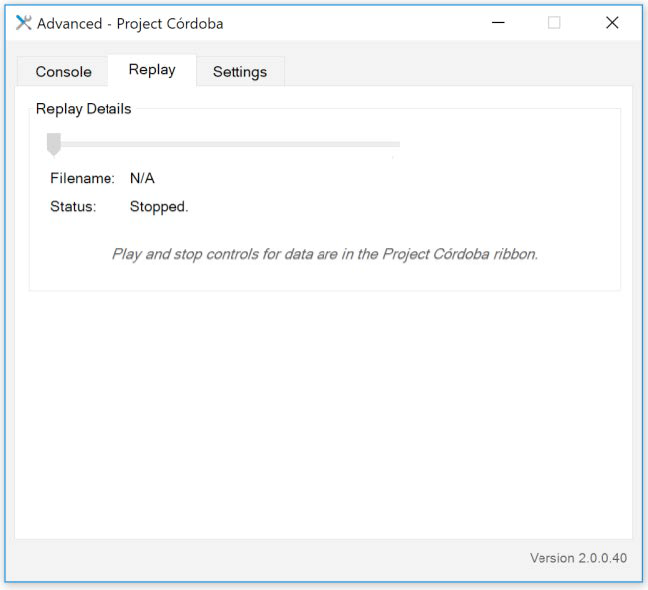
The Replay tab is used while playing back a previously recorded data file, as outlined in Step 1, Option B. While replaying, you can open Advanced and this window to scrub through the timeline of data and see which line number you are on.
Settings Tab
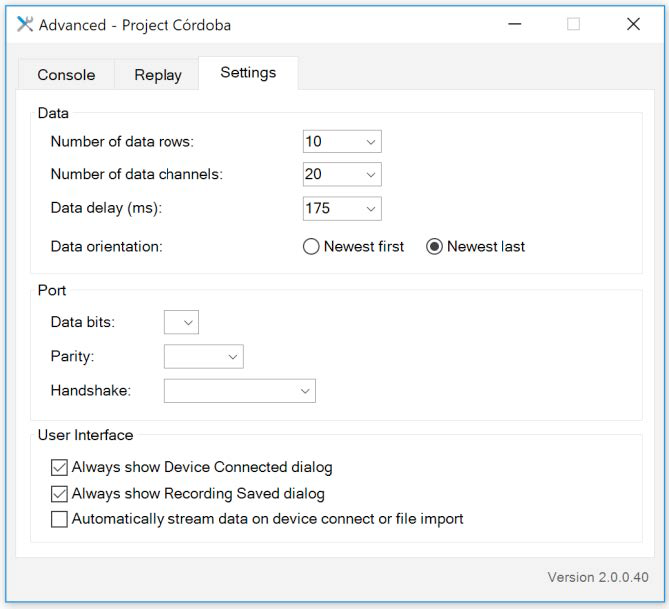
Data
Contains settings related to interpreting incoming data.
-
Number of data rows – Specifies the maximum number of rows of data to keep in the workbook. Some workbooks may require you to change this setting. Default is 15.
-
Number of data channels – Specifies how many channels (columns, fields) of data are in the incoming data stream. This number should be equal to or greater than the number of fields in each line of your .csv file. Some workbooks may require you to change this setting. Default is 20.
-
Data delay (ms) – Specifies the delay, in milliseconds, between each iteration of displaying data. Default is 175ms.
-
Data orientation – Specifies the order in which data should be added to the Data In worksheet. Newest Last will display the most recently read line at the bottom, while Newest First will display the most recently read line at the top. Some workbooks may require you to change this setting. Default is Newest Last.
Port
Contains settings related more generally to serial connections. These settings may be necessary if you're connecting a device that's not compatible with the default settings.
User Interface
Contains settings related to the user interface, such as adjusting when confirmation dialogs appear and streamlining the connection process.
-
Always show Device Connected dialog – Sets your preference on receiving the Device Connected confirmation dialog, which includes guidance on how to start seeing your data. Default is checked.
-
Always show Recording Saved dialog – Sets your preference on receiving the Recording Saved confirmation dialog, which includes receiving guidance how to replay your data. Default is checked.
-
Automatically stream data on device connect or file import – Want to visualize your data faster? Selecting this checkbox will automatically Start Data from your device or Play Data from a file you've selected. Default is unchecked.
No comments:
Post a Comment