Before sending your email message or sharing your document or spreadsheet, run the Accessibility Checker to make sure your Microsoft Office content is easy for people with disabilities to read and edit.
In this topic
Use the Accessibility Checker
-
On the ribbon, select the Review tab. If you're using Outlook, note that you'll only see the Review tab when writing or replying to messages.
-
Select Check Accessibility.

-
Review your results. You'll see a list of errors, warnings, and tips with how-to-fix recommendations for each. See Rules for the Accessibility Checker for more information.
Fix recommendations with ease
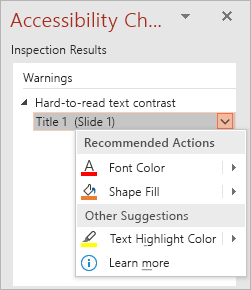
To easily address accessibility errors and warnings, select an issue to open the Recommended Actions list. You can apply a one-click fix by selecting an action, or select the arrow button next to an action for more options.
Don't see Accessibility Checker?
If you don't see the Check Accessibility button on the Review tab, you might have an older version of the app. Follow these steps to open the Accessibility Checker.
-
Select File > Info.
-
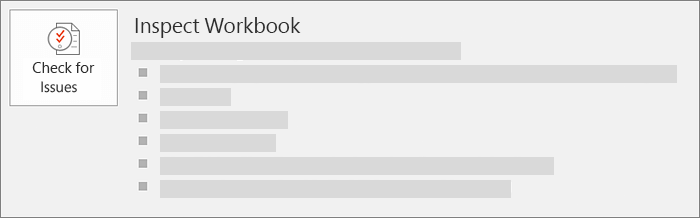
Select the Check for Issues button.
Tip: To the right of the Check Accessibility button, under the Inspect heading, is a list of any potential issues.
-
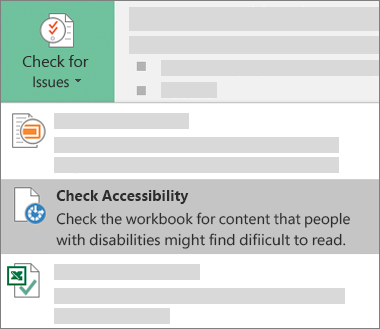
In the Check for Issues drop-down menu, select Check for Issues.
-
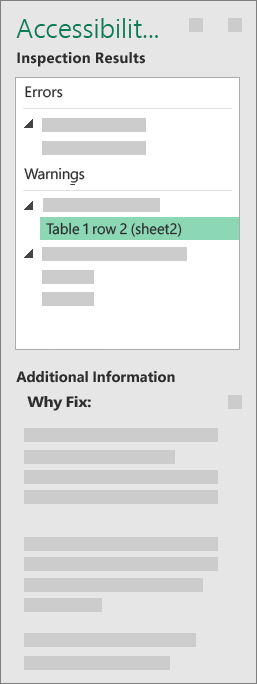
The Accessibility Checker task pane appears next to your content and shows the inspection results.

-
To see information on why and how to fix an issue, under Inspection Results, select an issue. Results appear under Additional Information, and you're directed to the inaccessible content in your file.
See also
Check accessibility while you work in Office apps
Everything you need to know to write effective alt text
Use a screen reader with the Accessibility Checker
Make your content accessible to everyone with the Accessibility Checker
Before sending your email message or sharing your document or spreadsheet, run the Accessibility Checker to make sure your Office for Mac content is easy for people with disabilities to read and edit.
Use the Accessibility Checker
On the ribbon, select one of the following options, depending on which app you are using:
-
In Word, Excel, and PowerPoint, select Review > Check Accessibility.

In OneNote, select View > Check Accessibility.

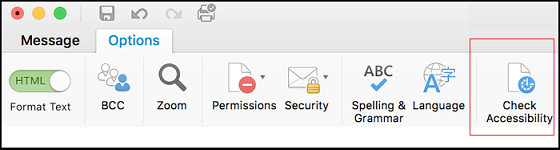
In Outlook, while writing or replying to an email message, select Options > Check Accessibility.
Tip: In Outlook, you can also access the Accessibility Checker from a MailTip at the top of the message window. The accessibility MailTip appears if one of your message recipients has set up a preference for receiving accessible email.
-
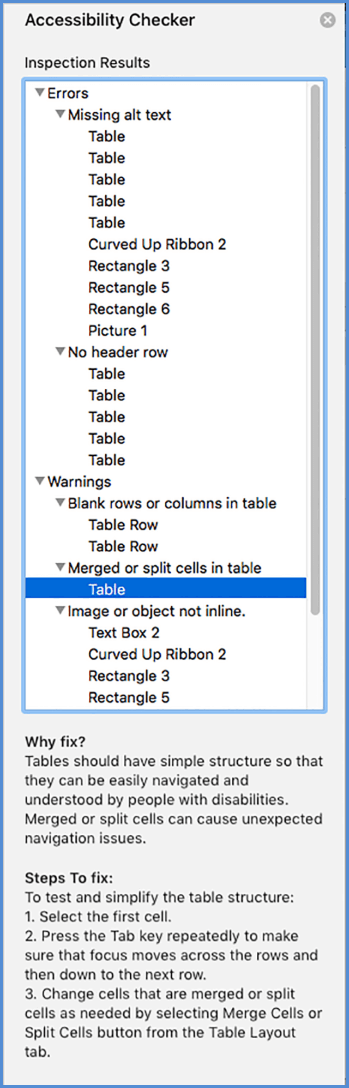
Review your results. You'll see a list of errors, warnings, and tips with how-to-fix recommendations for each. See Rules for the Accessibility Checker for more information.
-
Select a specific issue to see why you should fix the issue and steps to take to change the content.
See also
Everything you need to know to write effective alt text
Use a screen reader with the Accessibility Checker
Make your content accessible to everyone with the Accessibility Checker
Before sending your email message or sharing your document or spreadsheet, run the Accessibility Checker to make sure your Office for the web content is easy for people with disabilities to read and edit.
Use the Accessibility Checker
-
On the ribbon, select the Review tab.
-
Select Check Accessibility.
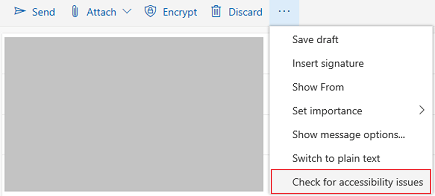
In Outlook Online, the Check for accessibility issues button is located in the ... (More options) menu, which is available on the top and bottom toolbars when writing or replying to messages.
Tip: In Outlook Online, you can also access the Accessibility Checker from a MailTip at the top of the message window. The accessibility MailTip appears if one of your message recipients has set up a preference for receiving accessible email.
-
Review your results. You'll see a list of errors, warnings, and tips. See Rules for the Accessibility Checker for more information.
-
Click on an entry in the accessibility issues list to highlight the corresponding part of your document.
See also
Everything you need to know to write effective alt text
Use a screen reader with the Accessibility Checker
Make your content accessible to everyone with the Accessibility Checker
Technical support for customers with disabilities
Microsoft wants to provide the best possible experience for all our customers. If you have a disability or questions related to accessibility, please contact the Microsoft Disability Answer Desk for technical assistance. The Disability Answer Desk support team is trained in using many popular assistive technologies and can offer assistance in English, Spanish, French, and American Sign Language. Please go to the Microsoft Disability Answer Desk site to find out the contact details for your region.
If you are a government, commercial, or enterprise user, please contact the enterprise Disability Answer Desk.
No comments:
Post a Comment