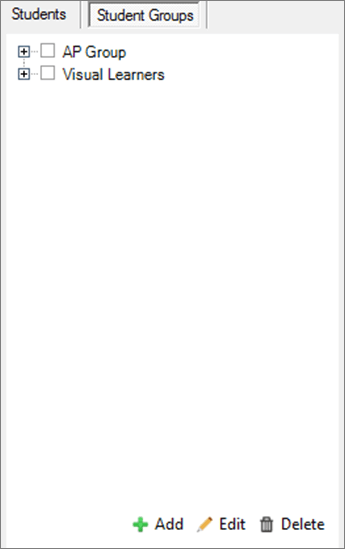
To distribute content to small groups within your classroom, create student groups.
-
Open OneNote 2016 or 2013.
-
Select the Class Notebook tab, then Distribute Page.

-
Select Individual and Group Distribution, then Student Groups.

-
Select Add, then name your group and choose its student members.
-
Return to the Student Groups section and use the checkboxes to Edit group members or Delete a group. Edits are saved as you make them.
No comments:
Post a Comment