Each staff member you add to Staff Notebook shares access to the notebook's Content Library and Collaboration Space. Their notebook also contains a section group that only that staff member and the notebook owners can see.
Staff members need an Microsoft 365 account from your school or district before you can add them.
-
Sign in to Office.com using your school email and password.
-
Select the App menu (a square containing 9 squares), then select All apps to see your full app list.
-
Select Staff Notebook. The Staff Notebook Wizard will automatically open in your web browser.
-
Select Add or remove staff members, then select the notebook you're updating.
-
Add staff members by name or email address.
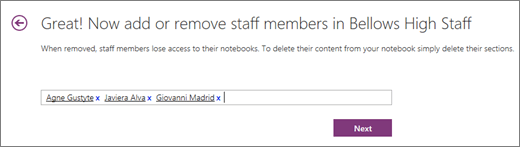
Remove staff members by selecting their name.
-
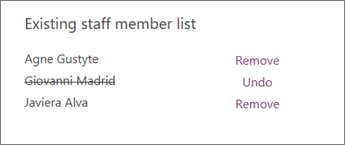
Confirm the list of staff members with access to the Staff Notebook.
-
Select Update.
The staff members you added will receive an email with a link to their notebook.
Staff members you removed will no longer have access to this Staff Notebook. To remove their section group from the Staff Notebook, right click the group and select Delete. Deleting their section group will also delete their work.
Notes:
-
When using a OneNote Class/Staff Notebook created via Microsoft Teams, you cannot add/remove Students or members using the Class Notebook Wizard online.
-
Notebook members must be added/removed via Microsoft Teams.
No comments:
Post a Comment