When you export your contacts from Outlook, a copy of your contacts is saved to a CSV file, or other file type. You can then use this file to import your contacts to another email account.
-
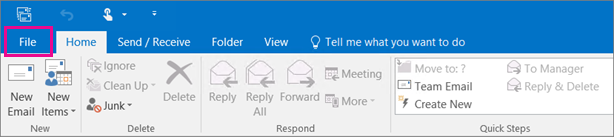
In Outlook on a PC, choose File.
If your ribbon doesn't have a File option in the top left corner, you're not using Outlook on a PC. See What version of Outlook do I have? to get to the export instructions for your version of Outlook.
-
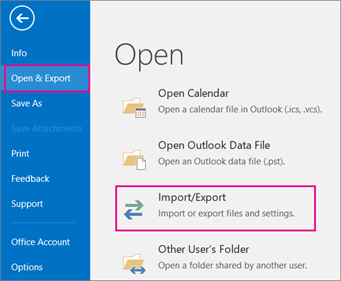
Choose Open & Export > Import/Export.
-
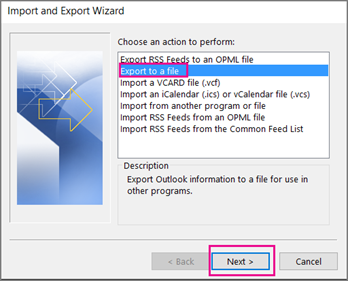
Choose Export to a file.
-
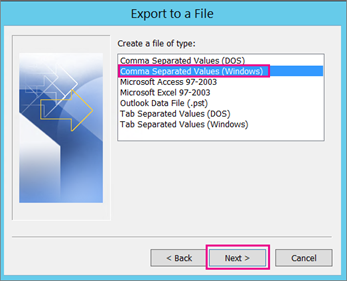
Choose Comma Separated Values.
-
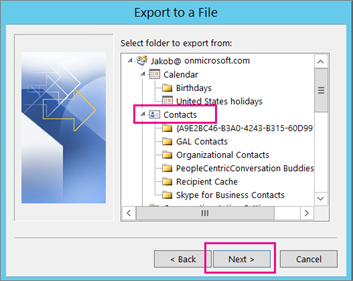
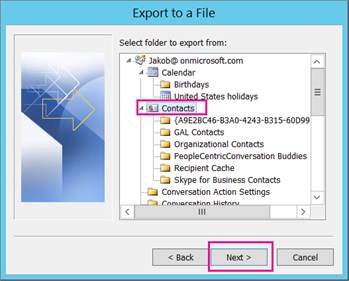
THIS STEP IS KEY especially if you're borrowing a friend's computer: In the Select folder to export from box, scroll to the top if needed and select the Contacts folder that's under your account. Choose Next.
-
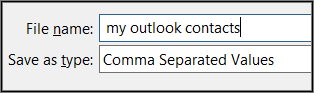
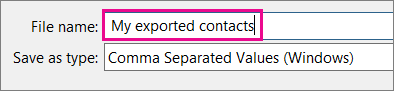
Choose Browse, name your file, and choose OK.
-
Confirm where your new contacts file will be saved on your computer, and choose Next.
-
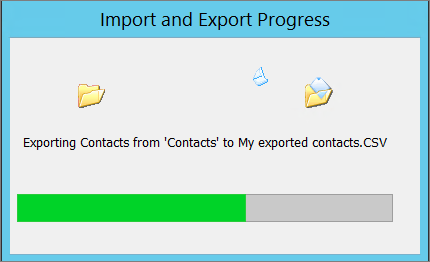
Choose Finish to start exporting your contacts immediately. Outlook doesn't display any message when the export process is complete but the Import and Export Progress box goes away.
-
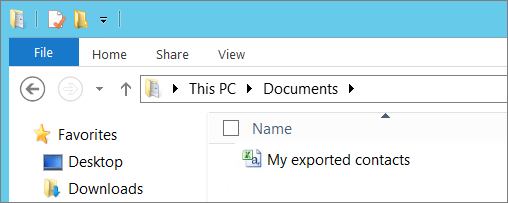
Locate the new .csv file on your computer and open it with Excel to verify your contacts are there. You'll likely have a lot of empty cells. That's normal.

-
Generally we recommend closing the file without saving any changes; otherwise the file might get messed up and you won't be able to use it for importing. If that happens you can always run the export process again and create a new file.
You can use Excel to update the information in your .csv file. For tips about working with a list of contacts in Excel, see Create or edit .csv files.
-
If you borrowed a friend's computer with Outlook on it, you can now remove your account from his version of Outlook. Here's how:
-
In Outlook on the desktop, choose File > Account Settings > Account Settings.
-
Choose the account you want to delete, and then choose Remove.
-
Choose Close.
-
-
Now that your contacts are copied to a .csv file, you can import them to another computer with Outlook for Windows on it, or import them to another email service.
-
At the bottom of the page, select
 to go to the People page.
 -
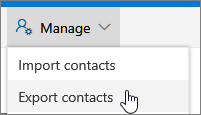
On the toolbar, select Manage > Export contacts.
-
Choose to export all contacts or only contacts from a specific folder, and then select Export.
-
At the bottom of the page, select Save to save "contacts.csv" in your default Downloads folder. Or, select the arrow next to Save and select Save as.
-
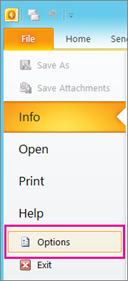
At the top of your Outlook 2010 ribbon, choose the File tab.
If your ribbon doesn't have a File option in the top left corner, you're not using Outlook 2010. See What version of Outlook do I have? to get to the import instructions for your version of Outlook.

-
Choose Options.
-
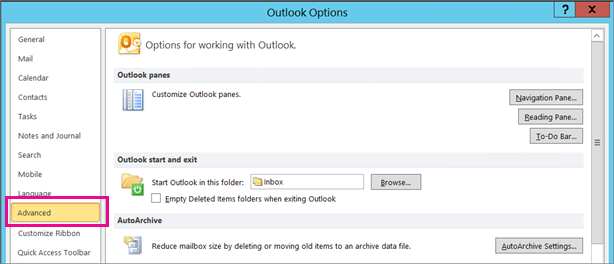
In the Outlook Options box, choose Advanced.
-
Under the Export section, choose Export.

-
In the Import and Export Wizard, select Export to a file, and then choose Next.
-
Under Create a file of type, choose the type of export that you want. The most common is Comma Separated Values (Windows), also known as a .csv file. Then click Next.
If you are exporting contacts for use in another copy of Outlook, choose an Outlook Data File (.pst).
-
Under Select folder to export from, you may need to scroll up, and then select the contact folder that you want to export. Choose Next when you're done.
Note: Unless you chose to export to an Outlook Data File (.pst), you can only export one folder at a time.
-
Under Save exported file as, click Browse, select a destination folder, and in the File name box, type a name for the file.
-
Click OK.
-
In the Export to a File dialog box, click Next.
-
Choose Finish to start exporting your contacts immediately. Outlook doesn't display any message when the export process is complete but the Import and Export Progress box goes away.
-
When the export is finished, choose OK to exit the Outlook Options box.
-
Go to the location on your computer where you saved your contacts, for example, in the Documents folder.
-
If you exported your contacts as a .csv file, you can use Excel to see what was exported from Outlook. You'll likely have a lot of empty cells. That's normal.
-
Generally we recommend closing the file without saving any changes; otherwise the file might get messed up and you won't be able to use it for importing. If that happens you can always run the export process again and create a new file.
You can use Excel to update the information in your .csv file. For tips about working with a list of contacts in Excel, see Create or edit .csv files.
To import your contacts into Outlook 2016, see Import contacts to Outlook.
No comments:
Post a Comment