Create a custom map in 3D Maps
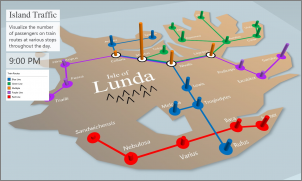
You can use 3D Maps to explore data with any type of map by creating or importing a custom map. For example, you might want to create a custom map to show traffic for transportation routes, like the ones on this fictional island.

To do this, you need to have:
-
A picture in .jpg, .bmp, or .png file format. For example, a picture of a floor plan or a public transit routes map.
-
Data that relates to the picture that 3D Maps can plot on your custom map by using an XY coordinate system.
Tip: If you don't have X and Y data yet, try using Microsoft Paint to record the pixel position of items in your picture and enter them in X and Y columns on your worksheet.
Here's how you can use those items to create your custom map:
-
In Excel, open the workbook that has the X and Y coordinates data for your image.
-
Click Insert > 3D Map.

-
Click New Tour.

-
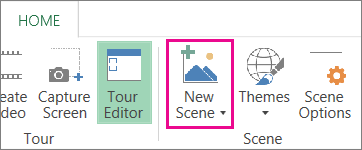
In 3D Maps, click Home > New Scene.

-
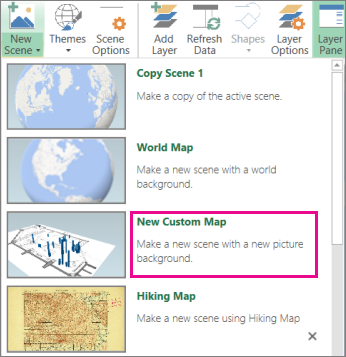
Pick New Custom Map.

-
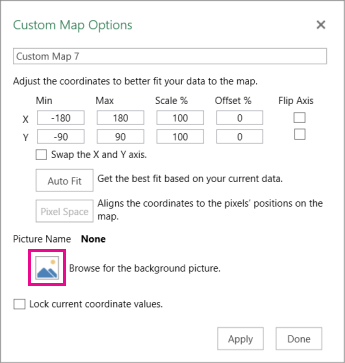
In the Custom Maps Options box, click Browse for the background picture
 , locate the picture you want to use, select it, and click Open.
-
Adjust the X and Y coordinates as needed.
You can also:
-
Flip the axes by checking the Swap the X and Y axis box.
-
Click AutoFit to get the best fit.
-
Check the Lock current coordinate values box if you don't want the values to be changed.
-
-
Click Apply to accept the selections you made, and click Next in the Layer Pane.
You're now ready to use 3D Maps as you would with any other geographical data.
No comments:
Post a Comment