Before you begin Make sure your PC meets the system requirements.
The steps below are for the subscription versions of Project Online, and the non-subscription versions of Project 2019, 2016, or 2013. (For Project 2010 or 2007, follow the steps in Office 2010 or Office 2007.) Project is sold as a stand-alone application so if you don't have it yet, Buy or try Project.
Project Online Professional or Project Online Premium:
If you have a subscription to one of the cloud-based solutions of Project you won't see an option to install it unless you have an assigned license. If you're the Microsoft 365 admin responsible for assigning licenses, see Assign licenses to users.
Note: Project Online Essentials doesn't include a desktop version of Project so no installation is required.
Project Standard or Project Professional:
If you have one of these non-subscription versions you should have a received a product key with your purchase. Before installing Project the first time, sign in with an existing or new Microsoft Account and enter your product key* at office.com/setup. Redeeming your key links your account with the Project app and you only have to do this once.
Note: *Some versions of Project don't have an associated Microsoft account, or work or school account, or you need to redeem your product key in a different way. See the following if this is how you got your version of Project Professional 2019 or Project Standard 2019:
Microsoft HUP: You bought Project for personal use through your company HUP benefit and have a product key, see Install Office through HUP. (The same Office install steps apply to stand-alone versions of Project purchased through HUP.)
Volume license versions: IT departments might use a different method to install volume license editions of Project throughout their organization. Talk to your IT department for installation help.
Third-party seller: You bought Project from a third-party and you're having problems with the product key.
Step 1: Sign in to download Project
-
Go to www.office.com and if you're not already signed in, select Sign in.
-
Sign in with the account you associated with this version of Project. This account can be a Microsoft account (used with non-subscription versions), or work or school account (used with subscription versions).
Forgot your account details? See I forgot the account I use with Office.
-
After signing in, follow the steps below for your subscription or non-subscription version of Project.
Project (Standard or Professional)
Non-subscription version

-
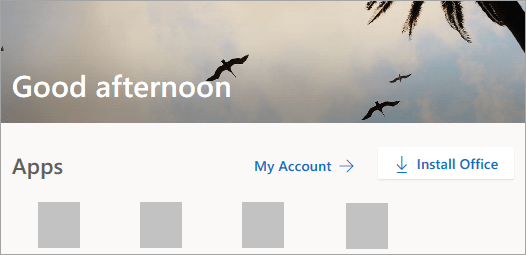
From the Office home page select Install Office.

-
If you have multiple Office products you may have to scroll through the list of your owned products, or if you have an Microsoft 365 subscription, in the header, select Services and subscriptions which lists all the Microsoft products you own.
Locate the version of Project you want to install and select Install.
Tip: To install Project in a different language, or to install the 64-bit version, select the link Other options. Choose the language and bit version you want, and then select Install.
Project Online (Professional or Premium)
Subscription version

-
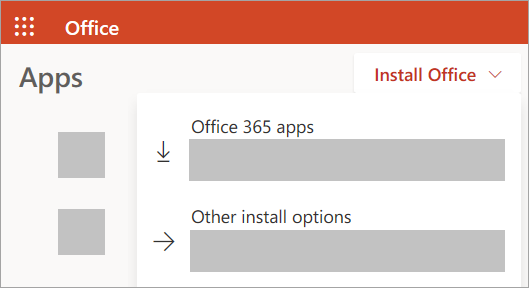
From the Office home page select Install Office apps > Other install options. (If you set a different start page, go to admin.microsoft.com/OLS/MySoftware.aspx.)

-
Under Software, select Project. Choose the language and the bit version you want, then select Install. (To install 64-bit, under Version, select Advanced, choose 64-bit, and then select Install.)
-
Tip: If Project isn't listed under the Software navigation heading on the left-side of your page, it probably means you don't have a license. Check if you have a license and if you don't, contact your admin and ask to have one assigned to you.
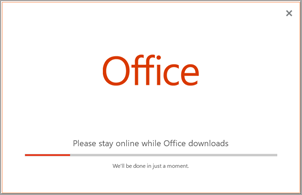
Project should now begin downloading. Follow the prompts in Step 2 to complete the installation.
-
Step 2: Install Project
-
Depending on your browser, select Run (in Edge or Internet Explorer), Setup (in Chrome), or Save File (in Firefox).
If you see the User Account Control prompt that says, Do you want to allow this app to make changes to your device? select Yes.
The install begins.

-
Your install is finished when you see the phrase, "You're all set! Project is installed now" and an animation plays to show you where to find the Project app on your computer.
Follow the instructions in the window to find Project, for example depending on your version of Windows, select Start and then scroll to find Project from your list of apps.

Need more help?
If you're still not finding the answers you need, try searching for content on support.office.com, or browsing through the list of topics on the Project Help Center.
You may also find it helpful to post your questions and issues on a discussion forum. The Project discussion forums tend to be very active, which make them a great resource for finding others who may have worked through similar issues, or encountered the same situation.

No comments:
Post a Comment