This article discusses how you can move the position that a column appears in a list or library.
To learn about managing lists or libraries with a large number of list items, see Manage large lists and libraries in SharePoint.
Change the order of how columns are displayed
-
Go to the library or list that you want to move one or more column positions.
-
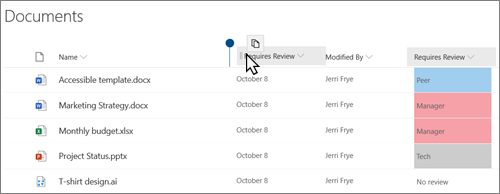
Select the heading of the column that you want to move, then drag and drop it to the appropriate location.

-
Or you can select the down arrow
 at the top of any column, then select Column Settings > Move Left or Move Right.
Change the order of how the columns appear
-
If the list or library is not already open, select its name on the page or in the Quick Launch.
If the name of your list or library does not appear on a page, select Settings
 , select Site Contents, and then select the name of your list or library.
 -
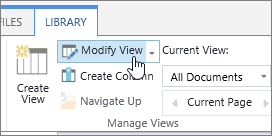
In the ribbon, select the List or Library tab.
-
In the Manage Views group, select Modify View.

-
For the column name you want to change, select the down arrow under Position from Left in the columns section of the Modify View page.

-
Repeat step 4 to change the order of all columns you want, and then click OK.
No comments:
Post a Comment