The OneNote Class Notebook app lets a teacher quickly set up a personal workspace for every student, a content library for handouts, and a collaboration space for lessons and creative activities, all within one powerful notebook. OneNote, along with online versions of Word, Excel and PowerPoint are now available to educators at eligible institutions for free. Educators also receive 1 TB of OneDrive to store all of their documents.
This guide helps you get a free Microsoft 365 account and OneNote Class Notebooks in a couple easy steps.
Step 1. Sign up for a free Microsoft 365 account
-
Go to OneNote.com/classnotebook.
-
Click Sign up for a free Office 365 account.

-
On the Office in Education page, enter your school email address and press Get Started.
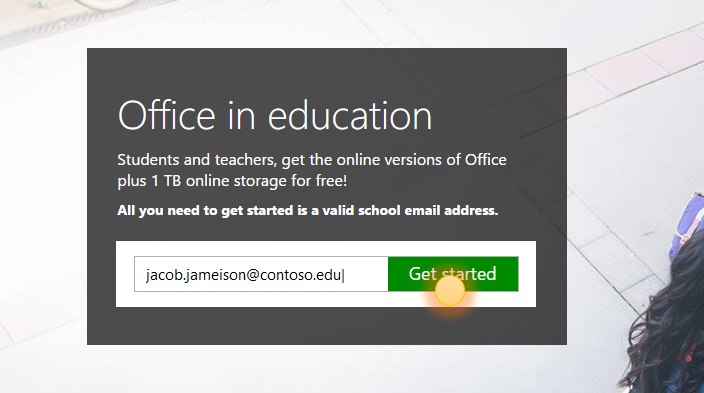
We'll first check if your school already has a Microsoft 365 account and direct you to sign in. If not, we'll check if your school is eligible and take you through a sign-up process.
-
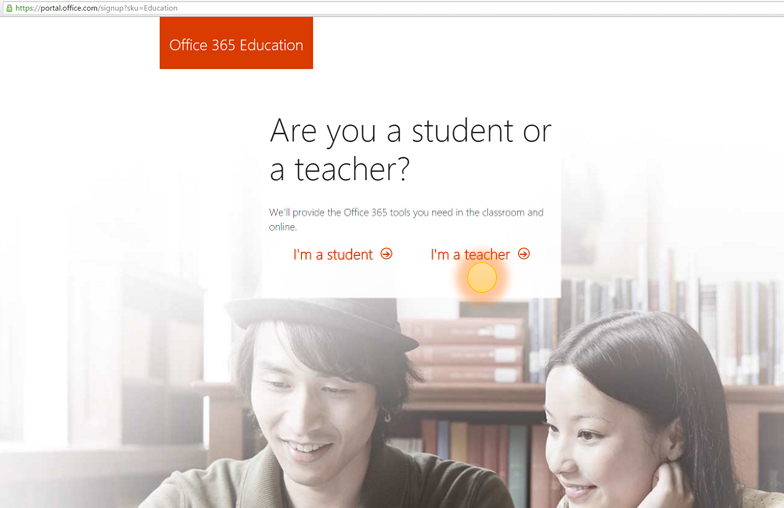
On the next page, choose I'm a teacher so that you can get a teacher account. You'll need a teacher account to use OneNote Class Notebooks.
-
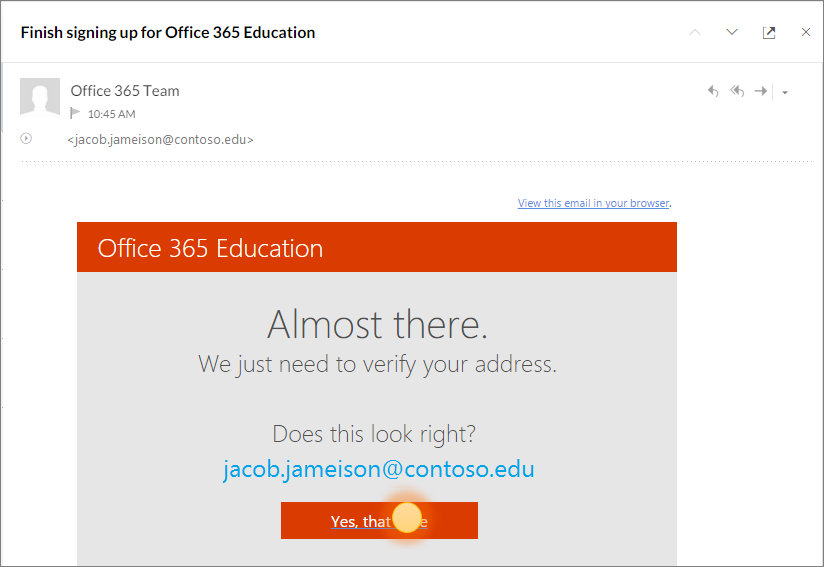
We will then send you an email to verify your identity. When you receive the email asking you to verify your identity, click Yes that's me.
-
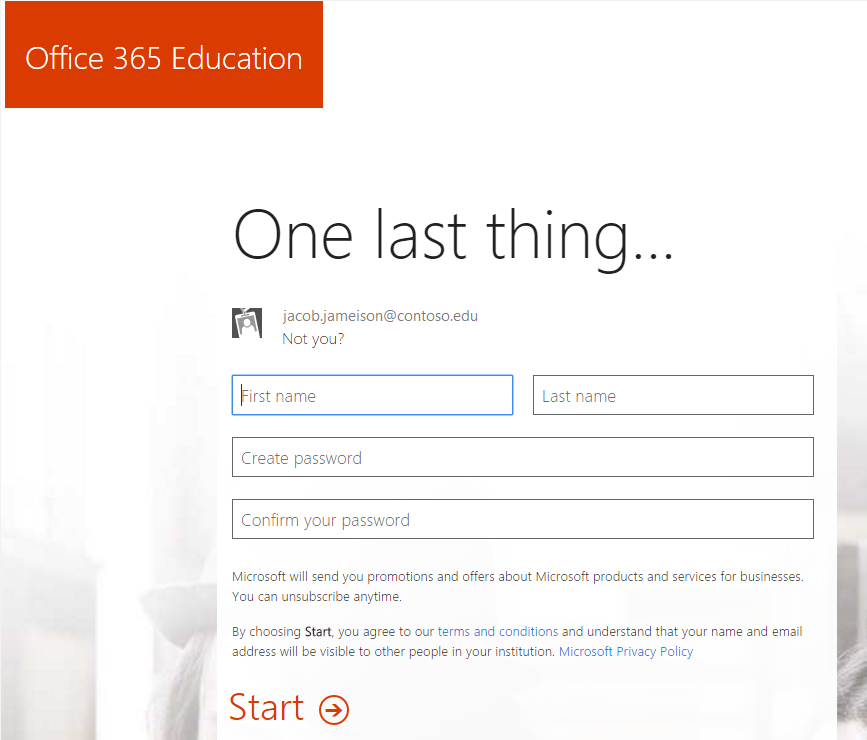
You'll be asked to provide your name and a password for your account in the next step.
-
On the account setup page that appears, enter your details and select a password (You'll use your school email and this password to sign into Microsoft 365 in the future).
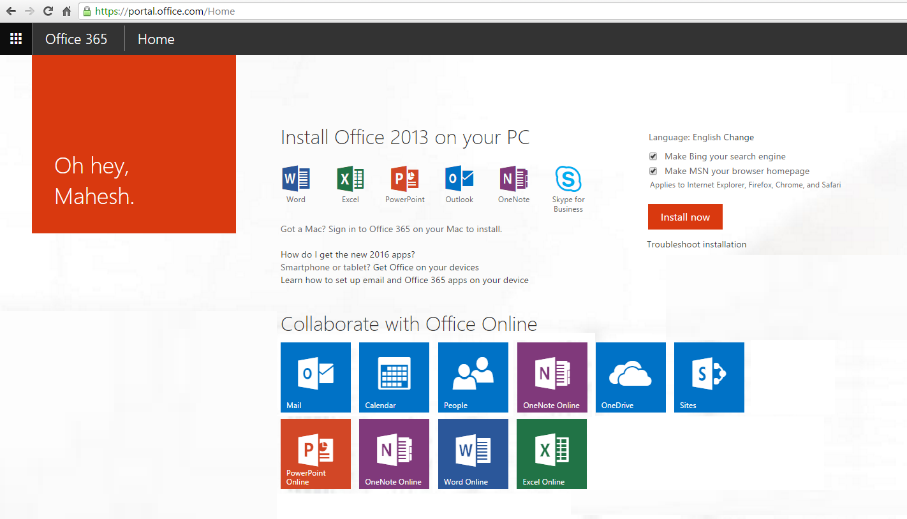
Your apps will begin to be set up on the Microsoft 365 Portal. You should see the following screen as soon as setup is complete.
Step 2. Create a new OneNote Class Notebook
-
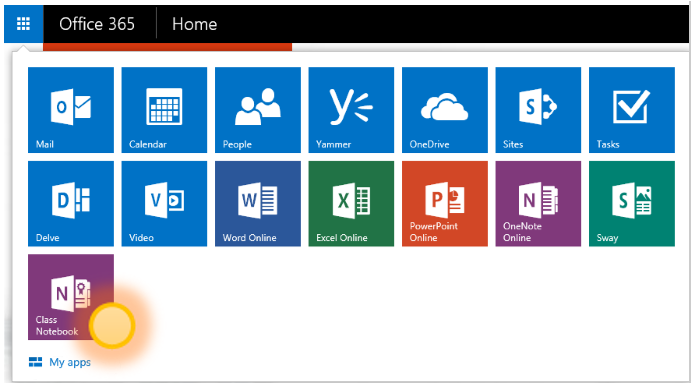
Click the app launcher in the upper left.
-
In the list of apps that appears, click the Class Notebook app.
-
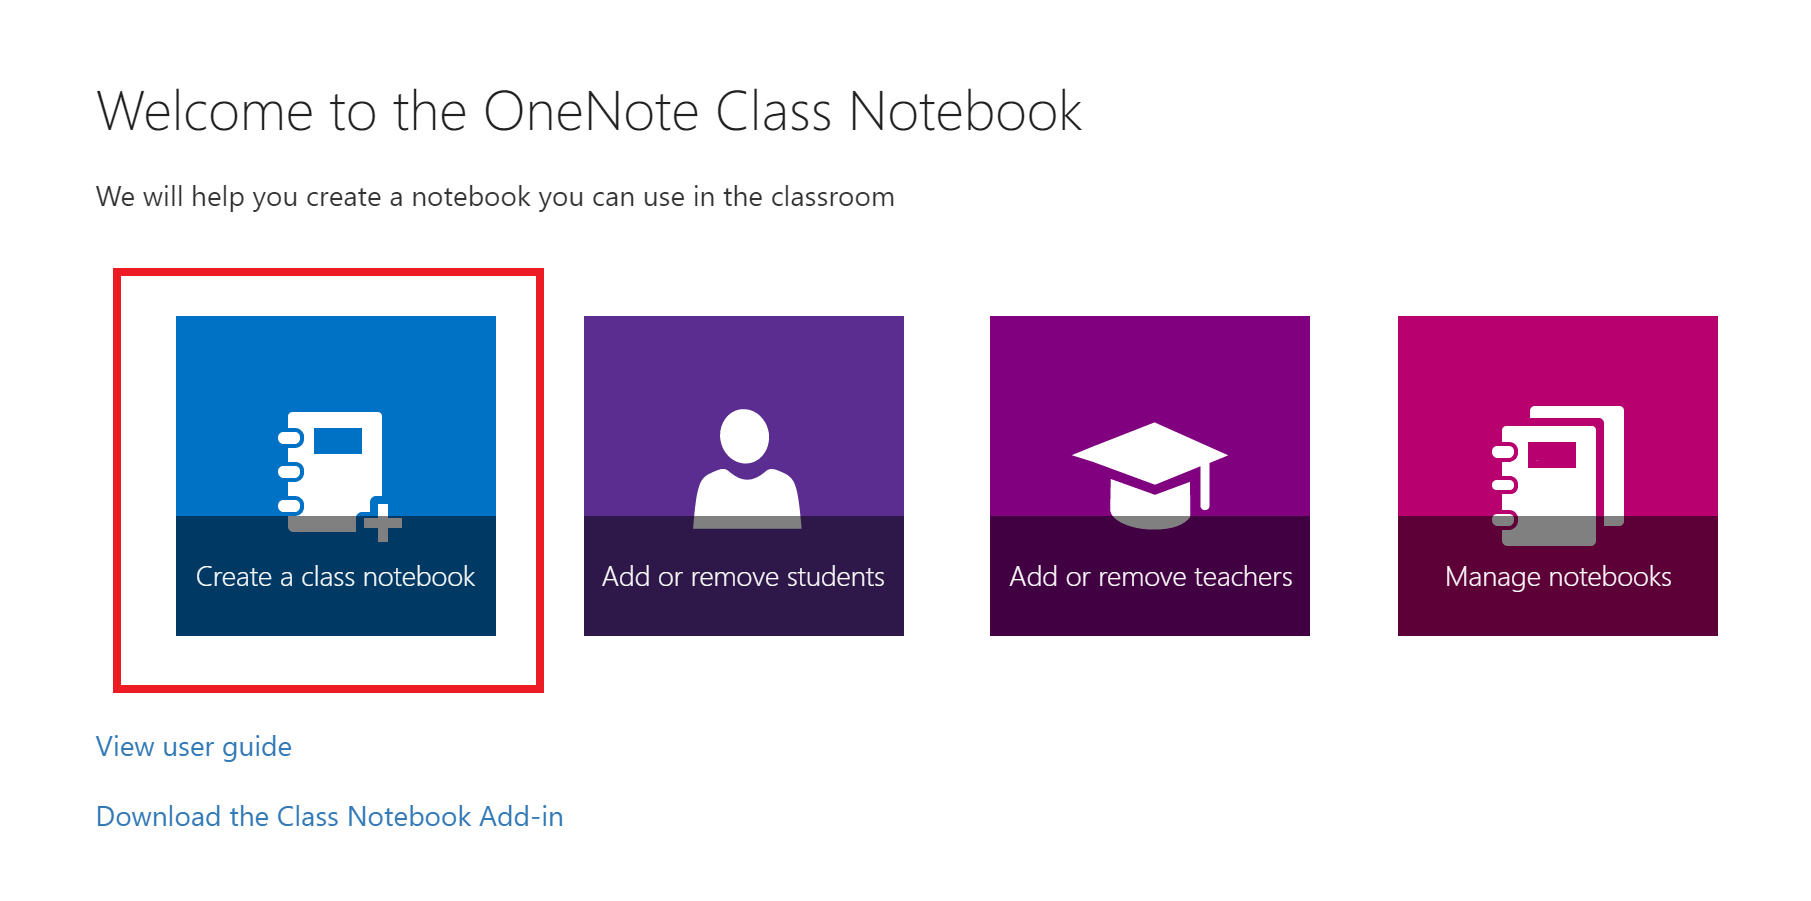
Click Create a class notebook from the available options.
-
Name your new notebook, and then click Next.
-
(Optional) Add another teacher to your class notebook, and click Next.
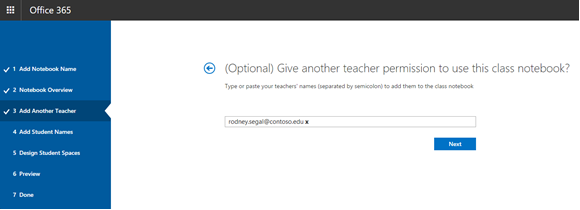
Note: You can invite other teachers to co-own your OneNote Class Notebook. Simply add their school email addresses and we will send them invites to sign up for a free Microsoft 365 account. After signup, they will have the same level of access to your notebook.
-
To add your students to your class notebook, type their school email addresses on the Add Student Names view, and click Next.
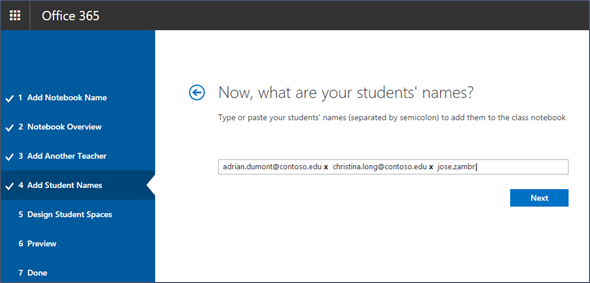
We'll email an invitation to your students asking them to join your Class Notebook.
-
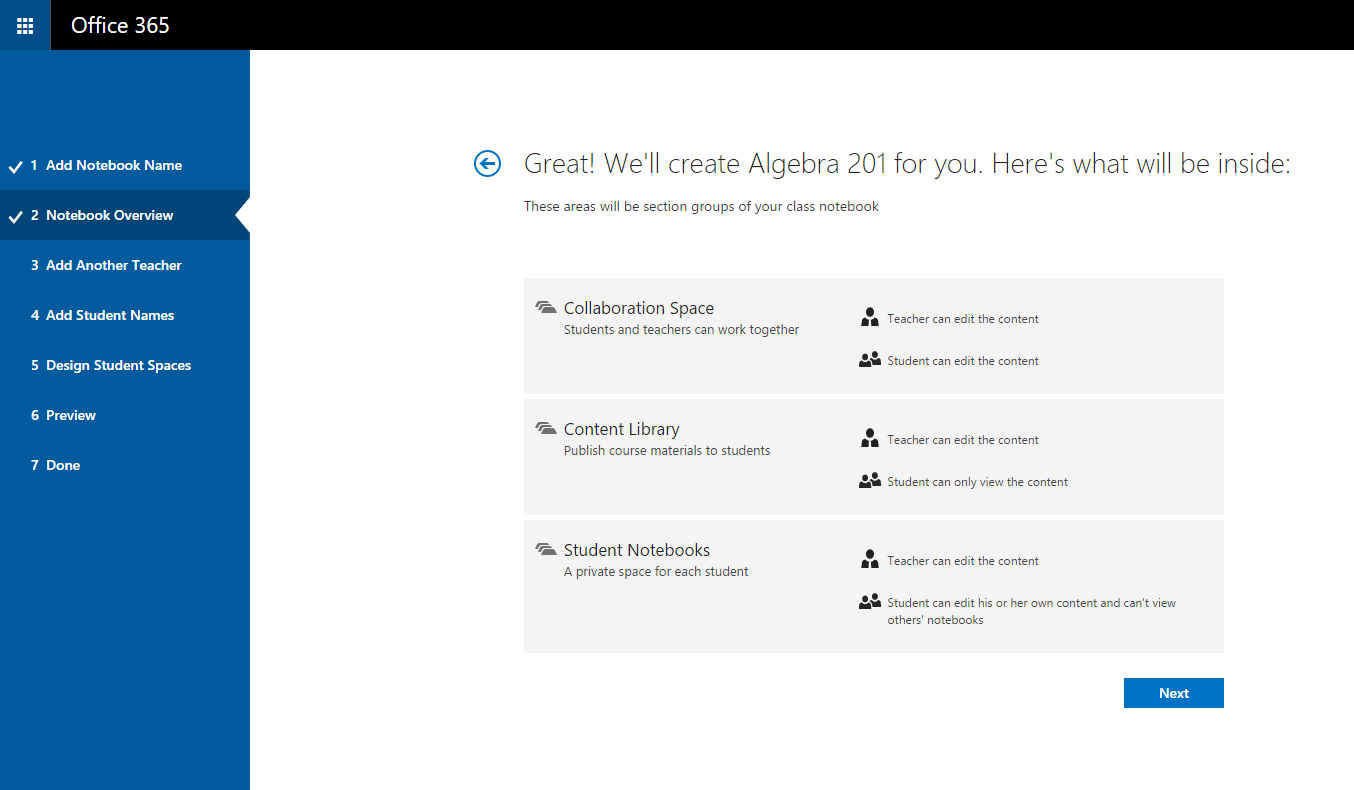
Choose which sections should be included in each student's notebook. Keep the boxes checked next to the default sections that you'd like created in each student's notebook.
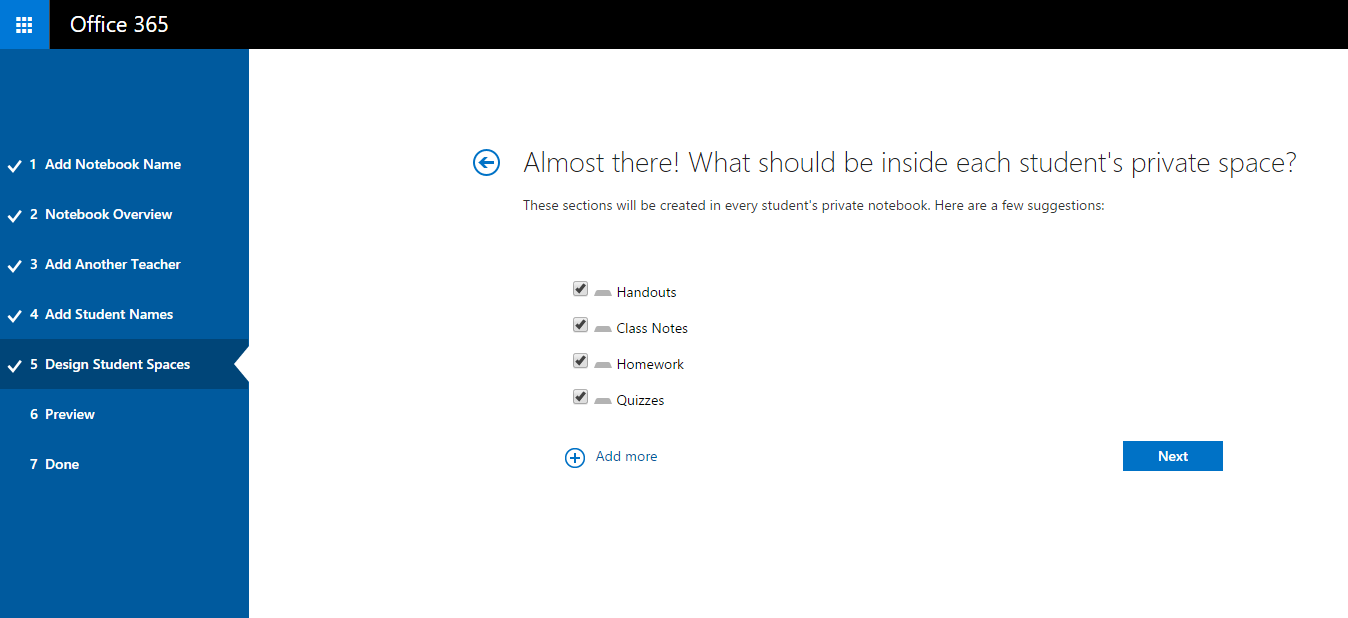
Note: We recommend that you create section names that correspond to activities, not units. For example, use activities such as Handouts, Class Notes, and Quizzes. The reason for this is that students work in one unit at a time; it will take longer to find items of interest in a unit section.
-
Confirm a preview of your Class Notebook, and click Create.
-
Click Teacher's notebook, and Student's notebook to verify how the sub-notebooks and sections will be created for the class.
-
Click
 to go back to add or remove sections, or click Create to have the app create your class notebook.
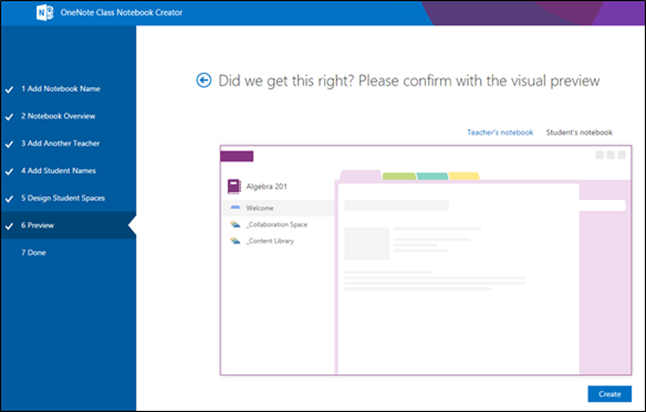
-
On the final Done view, you'll see a link to the notebook, in case you'd like to email to your students or post it up on a shared page. Click the notebook name link to open your class notebook in OneNote. Your students will receive an email asking them to accept your invitation to join the Class Notebook. Make sure they accept it so that they can access your notebook.
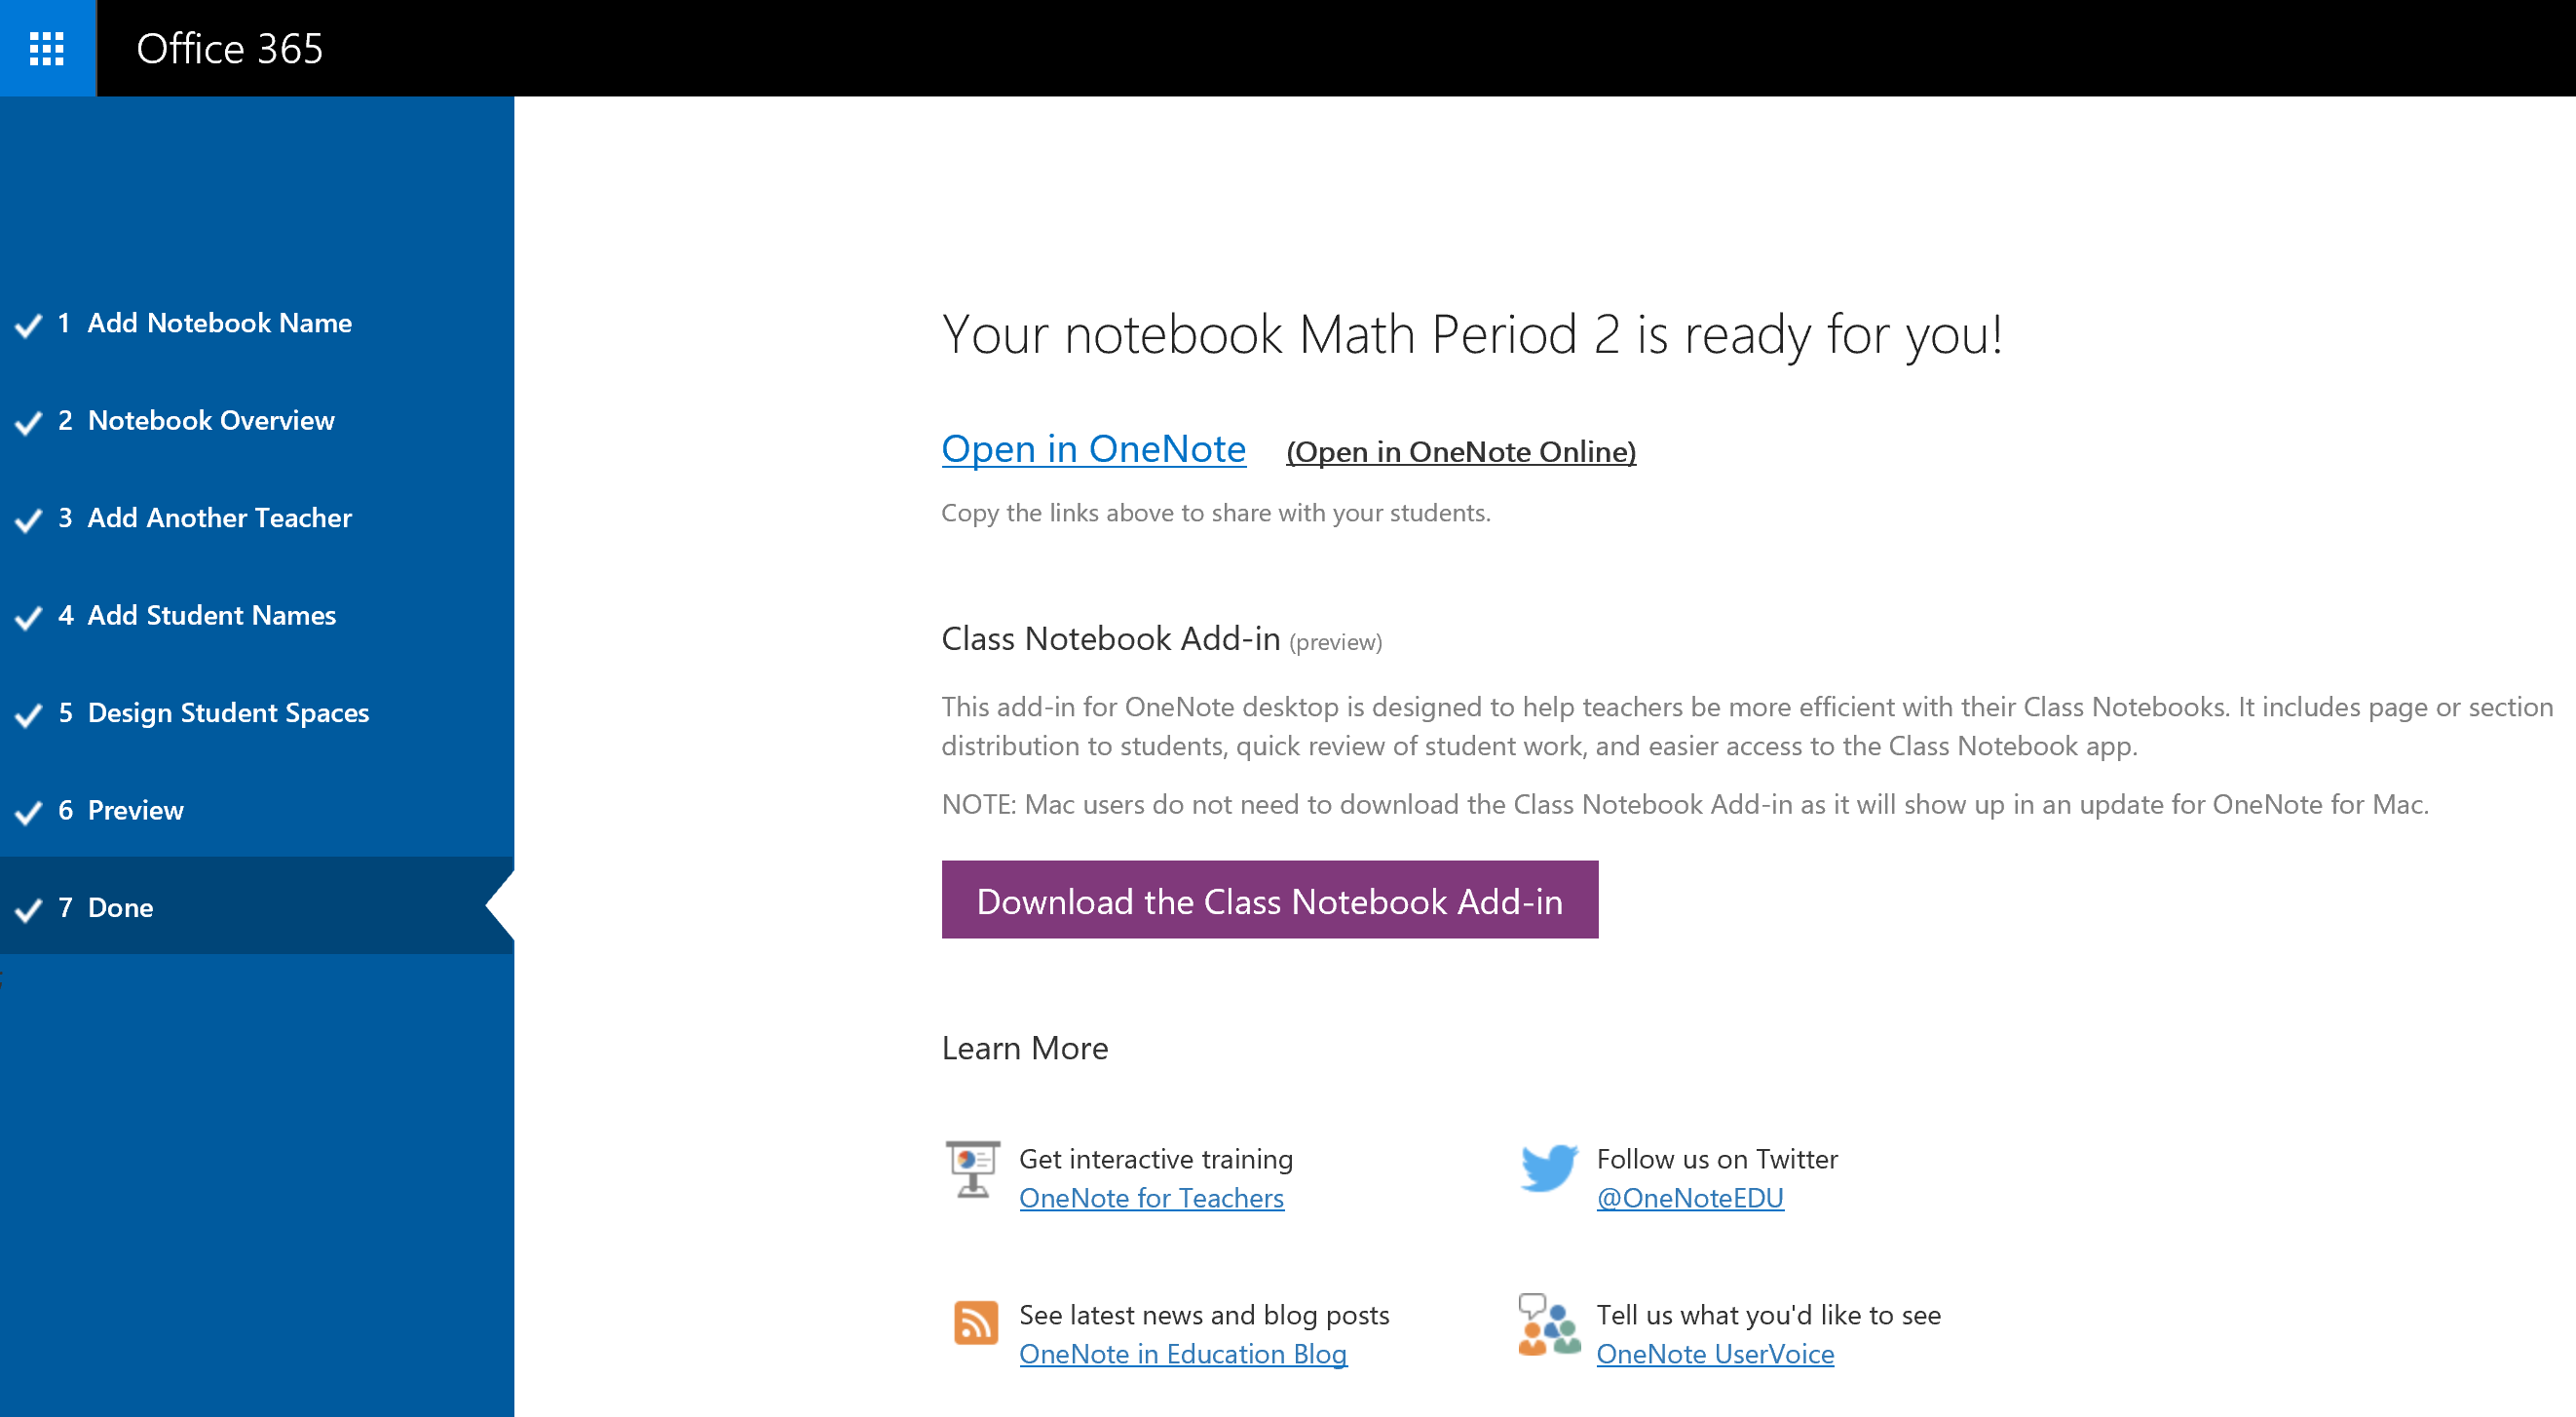
Tip: The same link is used by everyone in one class to access the class notebook. If you make notebooks for several classes, each link will be different.
Frequently Asked Questions
How do I access OneNote Class Notebooks after I have signed up for Microsoft 365?
-
Sign-in to Microsoft 365 at https://portal.office.com/Home.
-
Click the app launcher in the upper left.
-
You'll see the OneNote Class Notebook app in the list of apps available to you.
For more details, check out the OneNote Class Notebook FAQs here.
Where can I learn more about using the OneNote Class Notebook?
-
To learn more about how to use OneNote Class Notebooks in your class, check out our interactive guides at onenoteineducation.com.
I am not sure if I have a Microsoft 365 account. How can I check?
-
Go to OneNote.com/classnotebook.
-
Click Sign up for a free Office 365 account.
-
On the Office in Education page, enter your school email address and press Get Started. We'll first check if your school already has a Microsoft 365 account. If you do, you'll be directed to Microsoft 365 sign-in page where you can sign-in or try to recover your password.
I didn't receive an invitation to join Microsoft 365. What should I do?
-
Check your junk/spam folder to see if the email got filtered.
-
Go through Step 1: Sign up for a free Microsoft 365 account shown above to try again. Make sure you enter your school email address correctly.
My student didn't receive an invitation to join Microsoft 365. What should I do?
-
Ask the student to check their junk/spam folder to see if the invitation got filtered.
-
If the student didn't receive your invite, check to see if you entered their correct school email addresses when adding them to the notebook. If you aren't sure, simply try adding their email addresses again by going to the Class Notebook app and clicking on the Add or Remove Students tile.
My students get an error when joining my Class Notebook after signing up for Microsoft 365. What should I do?
-
First, make sure that the students got added you your notebook.
-
Sign-in to Microsoft 365 at https://portal.office.com. Click the app launcher in the upper left.
-
Click the OneNote Class Notebook app.
-
Now, click the Add or Remove Students tile. In the list of notebooks that appear, choose the notebook that the student is not be able join.
-
Check if the student is in the list of students in the notebook.
-
-
If the student is not there, add the student again and proceed to update the notebook. If the student is there, it might be because the app hasn't been able to add the student just yet. Please ask the student to try again after some time.
When can students and co-teachers find all of their notebooks?
-
Students and co-teachers should sign in to Microsoft 365 at https://portal.office.com.
-
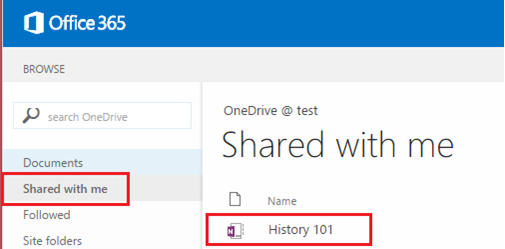
From there, they can click the app launcher in the upper left, and then click OneDrive.
-
In the left navigation of the OneDrive folder, they can go to Shared with me. Here they'll find all of their Class Notebooks.
I need help. Who can I reach out to for questions?
-
If your questions are not answered on this page, you can reach out to our team at onenoteedu@microsoft.com.
I would like to make updates to the notebook I just created. What should I do?
-
Check out our Frequently Asked Questions page for OneNote Class Notebooks here.
No comments:
Post a Comment