Format borders in Word 2016 for Mac
Borders make attractive frames for text, pictures, or entire pages. You can customize borders to complement your document by experimenting with Word's built-in styles.
Format text borders
First you add the text border, then you format it.
Note: To add a border to text, select the text. On the Home tab, click the small down arrow next to the Borders button, and choose an option. To learn more, see Add a border to some text.
-
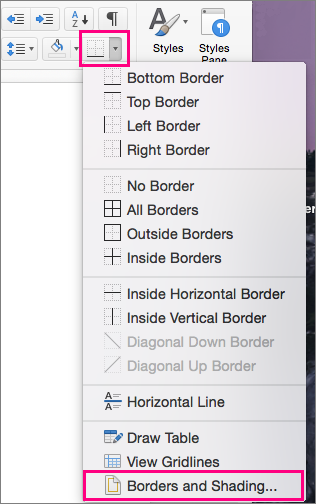
On the Home tab, click the arrow next to Borders , and then click Borders and Shading.

-
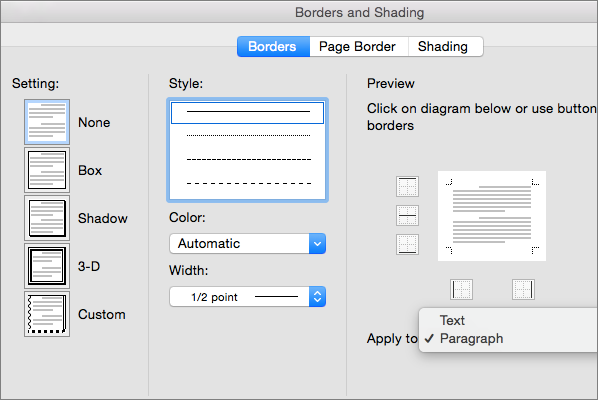
In the Borders and Shading box (on the Borders tab), choose a border style, color, and line width.

Note: Make sure the Apply to box is set to Text, which adds a border around lines of text, or Paragraph, which creates a border that outlines the paragraph.
-
Also on the Borders tab, under Setting, make sure Box or another option is selected.
-
Click OK when finished.
You can change the border around your text at any time.
Format picture borders
For a quick preformatted border, click the picture, and then on the Picture Format tab, pick a border from the Picture Styles gallery.

Use the left and right arrows to move through the picture styles gallery.
To customize a gallery border or add a new custom border, follow these steps.
-
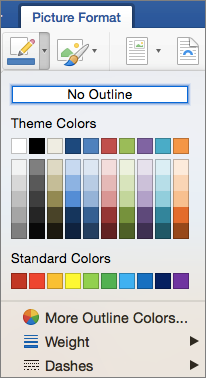
Click the picture, and then click the arrow next to Picture Border.

-
Choose the line color, weight, and line style for the new or existing border.

Format page borders
-
Click Design > Page Borders

-
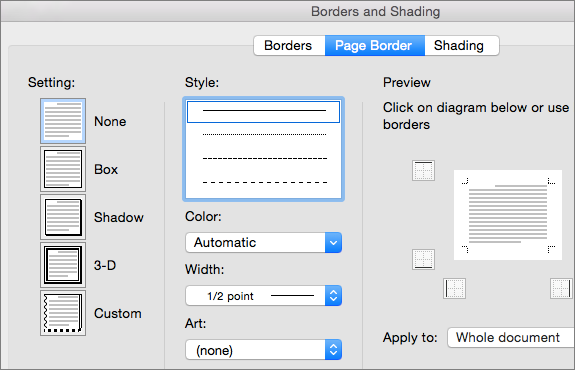
In the Borders and Shading box (on the Page Border tab), choose a style, color, and line width for your border, or use art such as trees, stars, or cats for the page border.

Under Apply to, choose what page (or pages) to add a border to.
You always have the option to remove page borders from one or more pages.
-
Click OK to close the dialog box.
No comments:
Post a Comment