Note: Connectors for your inbox are not available in the new Outlook on the web.
When you connect apps to your inbox, you can stay on top of current events, track projects, monitor your Twitter feed, and more without ever leaving Outlook on the web or Outlook 2016 on Windows.
Connectors bring content and data from services, such as Twitter, Trello, or Yammer, to your inbox. You're able to configure and customize the information received and frequency of delivery to suit your needs. Connectors have been available for your inbox with Outlook on the web for some time but they are now integrated with Outlook 2016 for Windows and take just minutes to hook up.
The list of Connectors is always changing as new services and tools are added.
How connectors work
When you connect a tool or service to your inbox, you can keep current with content and updates from that service and other services that you frequently use. For example, let's say you want to follow news reports about your company's new product that's hitting the market. You could add the Bing News connector, configure it to send you links to topics of interest, and specify the frequency of delivery. When news headlines are sent to you, you will be able to read and share them with colleagues, just like you would with email.
Actionable messages
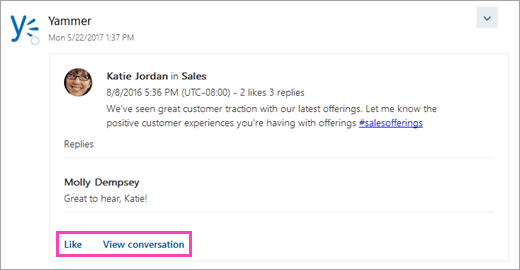
The information from your connected services is delivered on rich connector cards. Some cards (Trello, Asana, GitHub, BitBucket, Twitter, and Wunderlist) include action buttons, such as Like, Comment, or Due Date, which allow you to take quick actions from Outlook rather than switching to other apps or logging in to other services. Here's an example of a card with action buttons:
These actionable messages are also available in connectors for Microsoft 365 Groups.
Add a connector
To add a connector in Outlook on the web
-
In Outlook on the web, select
 > Manage integrations > Connectors.
 -
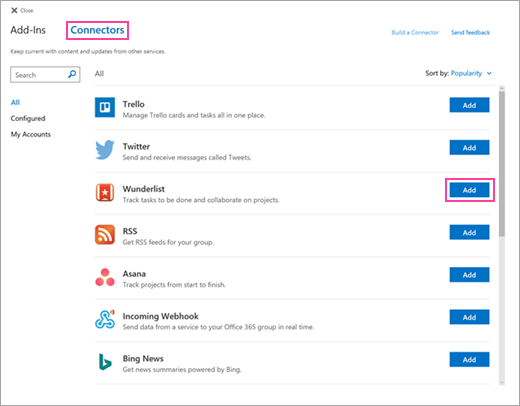
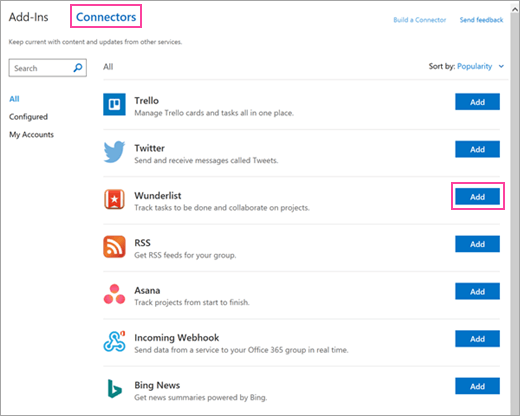
Browse the list of connectors. When you find the one you want, select Add.
-
Follow the instructions on the screen to set up the connector. (Not all connectors are integrated in the same way. Some can be configured entirely from within the Outlook user interface, while others require some set up on the service provider's site. Each connector includes set-up instructions to walk you through the process.)
To add a connector in Outlook 2016
-
On the ribbon, select Home > Store.

-
Select Connectors.
-
Browse the list of connectors. When you find the one you want to add, select Add.
-
Follow the instructions on the screen to set up the connector. (Not all connectors are integrated in the same way. Some can be configured entirely from within the Outlook user interface, while others require some set up on the service provider's site. Each connector includes set-up instructions to walk you through the process.)
Remove a connector
To remove a connector in Outlook on the web
-
In Outlook on the web, select
> Manage integrations > Connectors. -
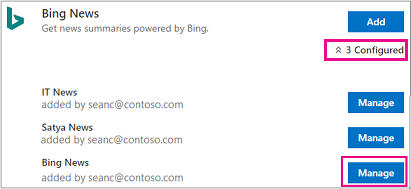
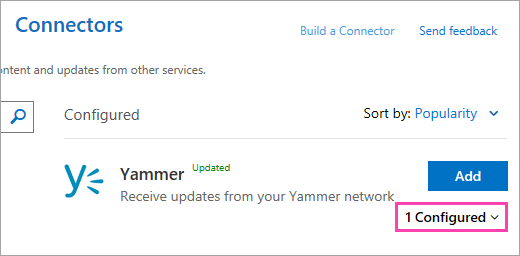
Browse to the connector you want to remove and click Configured (the number on the button indicates how many instances of this connector are configured for your account).
-
Locate the specific instance of the connector to be removed and select Manage.
-
Select Remove.
-
Select Remove again to confirm.
To remove a connector in Outlook 2016
-
On the ribbon, select Home > Store.
-
Select Connectors > Configured.
-
Under Add, select Configured.
-
Select Manage > Remove.
-
Select Remove again to confirm.
Manage your connected accounts
Most connectors require a user account in order to hook them up. Once hooked up, they're known as connected accounts and are listed on the My Accounts page. The My Accounts page enables you to manage all of your connected accounts from one location.
Note: The username or password for the connected account are not stored in Microsoft 365.
To view and remove connected accounts
-
In Outlook on the web, select
> Manage integrations > Connectors. -
Select My accounts.
-
Browse the list of connected accounts. When you find the one you want, select Manage.
-
Confirm that you want to remove the account by selecting Remove. You'll no longer be able to use action buttons on connector messages.
Frequently asked questions
-
Can I use connectors on Outlook for iPhone, Android, or Windows Phone?
You can receive connector messages on Outlook for iPhone, Android, or Windows Phone but won't be able to use the action buttons on the connector cards from those devices. You can only set up connectors from Outlook on the web.
-
If I already subscribe to the services through Microsoft 365 Groups, will I get the notifications from those services in my inbox?
Yes, if you have set up your group membership to send group messages to your inbox. See Follow a group in Outlook for more information.
-
How can I add a new connector to the list?
Follow these instructions to add your connector to the list.
No comments:
Post a Comment