There are many ways to edit a list view in a list. You can present data with different styles, subgroups, columns, sorts, and filters. Note that you need Contribute permission level or higher to edit a view.

Note: Does your screen look different than the examples here? Your administrator may have classic experience set on the list, or you're using an earlier version. If so, see Edit a list view in SharePoint Server.
-
Open the list that you want to edit.
-
Modify the list view by doing one or more of the following:
-
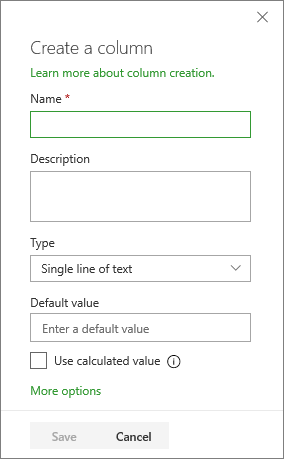
To add a column, select the header of any existing column, and from the dropdown menu, select Column Settings > Add a Column. (You can also select + Add column or + to the right of the last column name at the top of the list.)
-
In the Create a column pane, enter the column information, then select Save.
-
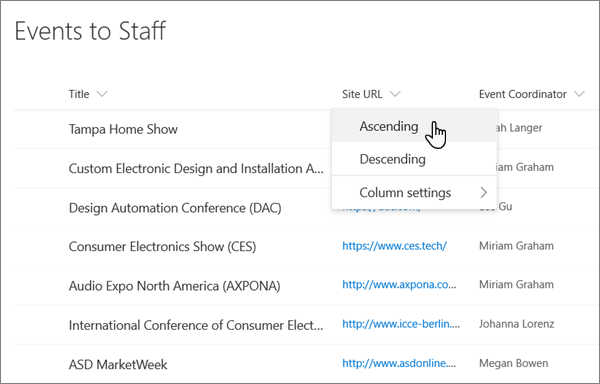
To sort a column, select the column header, and from the dropdown menu, your first two options will be the sort methods (such as A to Z or Descending). The options are based on the column type and will vary accordingly.
-
To filter a column, select the Filter icon
 . When the pane options, you'll see all the filter options for all columns that can be filtered. Select the checkbox or checkboxes accordingly.
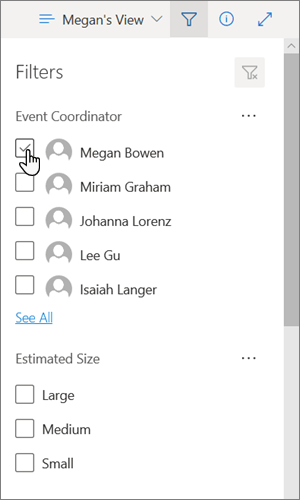
(You can also select the column header, and from the dropdown menu, select Filter by. When the pane opens, select the option or options you want to use to filter the column, then select Apply.)
-
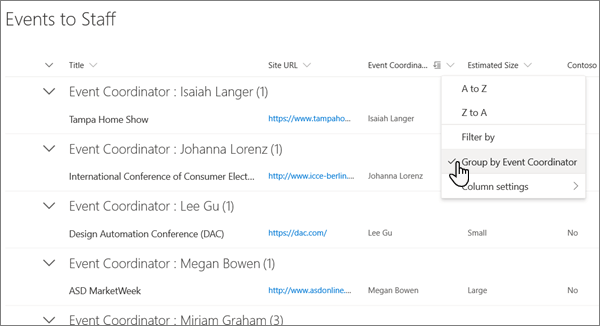
To group items in the list together, select the column header, then from the dropdown menu, select Group by. (In the example below, items in the list are grouped by Event Coordinator.)
-
To modify column settings, select the column header, then from the dropdown menu, select Column settings, and then Edit.
Saving the list view
Once you have your view the way you like it, you can save it.
-
From the top navigation, select All Items*.
-
From the dropdown menu, select Save view as, then in the dialog box, enter the name you want to give this view.
-
If you want the view to be shared publicly as well, check the Make this a public view box.
-
Select Save.
You can change the default view to any public view for that list. But you cannot set a personal view as the default view. To delete a view that is the default view, you must first make another public view the default for that list. If Make this the default view is not displayed on the create or edit view pages, you do not have the permission to create a public view, or the view is a personal view.
Leave us a comment
Was this article helpful? If so, please let us know at the bottom of this page. If it wasn't helpful, let us know what was confusing or missing. We'll use your feedback to double-check the facts, add info, and update this article.
No comments:
Post a Comment