Create DNS records at Freeparking.co.nz for Office 365
Contributors: 
Check the Domains FAQ if you don't find what you're looking for.
If FreeParking.co.nz is your DNS hosting provider, follow the steps in this article to verify your domain and set up DNS records for email, Skype for Business Online, and so on.
These are the main records to add. (Need more help? Get support.)
After you add these records at FreeParking.co.nz, your domain will be set up to work with Office 365 services.
To learn about webhosting and DNS for websites with Office 365, see Use a public website with Office 365.
Note: Typically it takes about 15 minutes for DNS changes to take effect. However, it can occasionally take longer for a change you've made to update across the Internet's DNS system. If you're having trouble with mail flow or other issues after adding DNS records, see Troubleshoot issues after changing your domain name or DNS records.
Add a TXT record for verification
Before you use your domain with Office 365, we have to make sure that you own it. Your ability to log in to your account at your domain registrar and create the DNS record proves to Office 365 that you own the domain.
Note: This record is used only to verify that you own your domain; it doesn't affect anything else. You can delete it later, if you like.
-
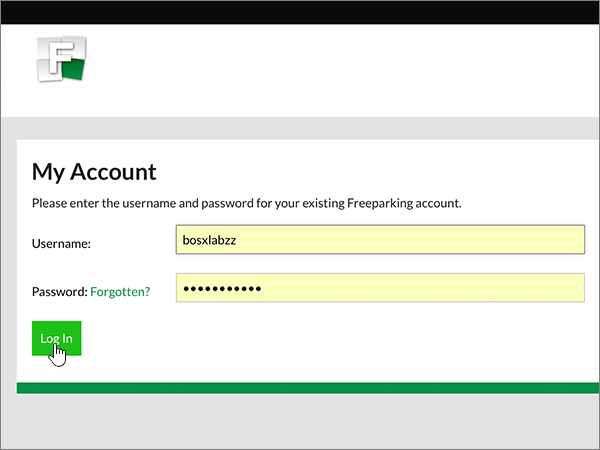
To get started, go to your domains page at Freeparking.co.nz by using this link. You'll be prompted to log in first.
-
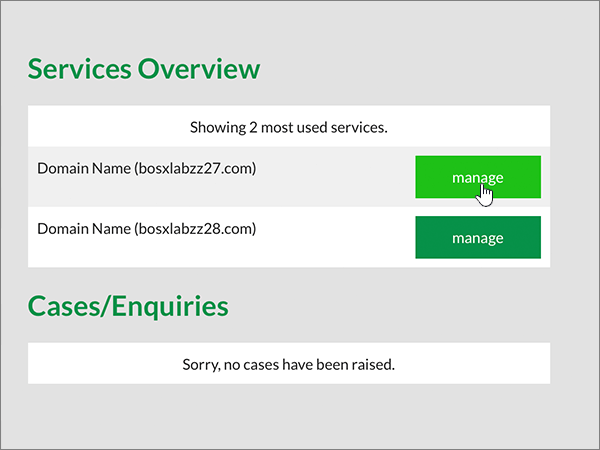
On the Dashboard page, in the Services Overview area, find the name of the domain you want to update, and then choose manage for that domain.
-
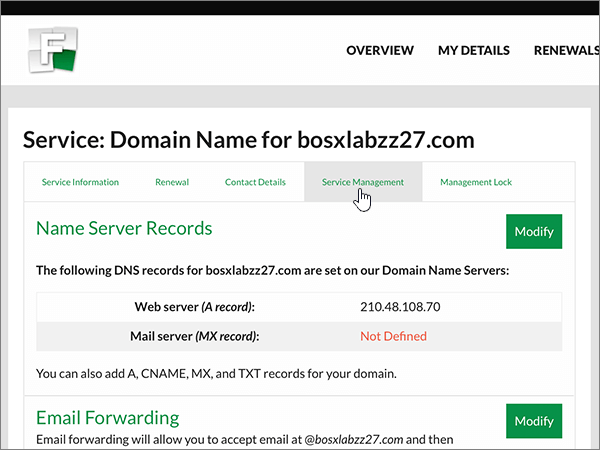
On the Service page for your domain, choose the Service Management tab.
-
In the Name Server Records section, choose Modify.

-
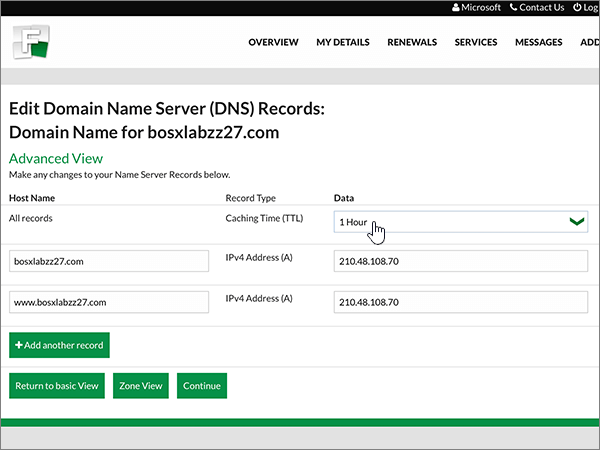
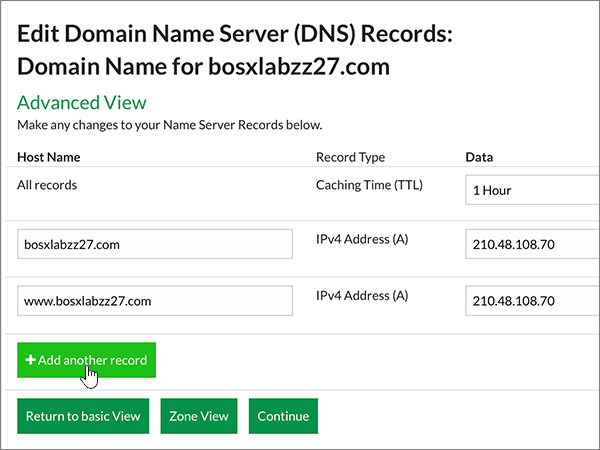
Choose Advanced View.

-
Set the Time to Live (TTL) value for all records by selecting the Data value specified in the following table.
(Select the Data value from the drop-down list.)
Host Name
Record Type
Data
All records
Caching Time (TTL)
1 Hour
-
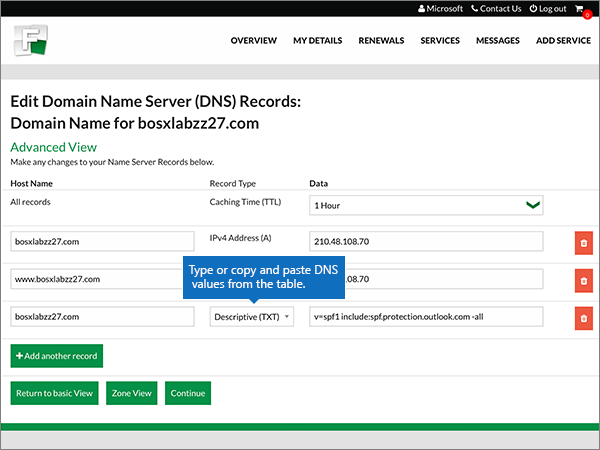
Choose Add another record.
-
In the boxes for the new record, type or copy and paste the values from the following table.
(Select the Record Type value from the drop-down list.)
Host Name
Record Type
Data
Use your domain name (for example, fourthcoffee.com)
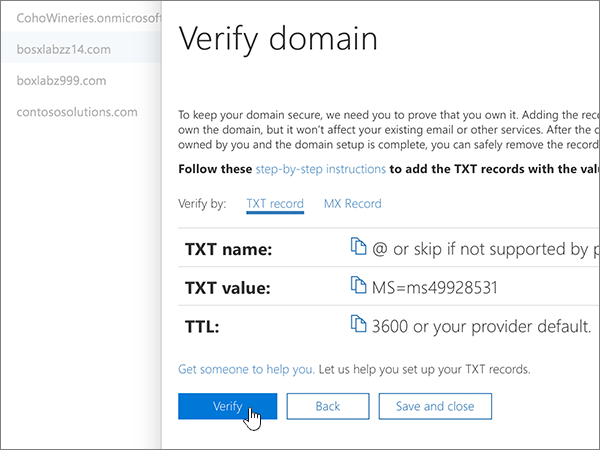
Descriptive (TXT)
MS=msXXXXXXXX
Note: This is an example. Use your specific Destination or Points to Address value here, from the table in Office 365.
How do I find this?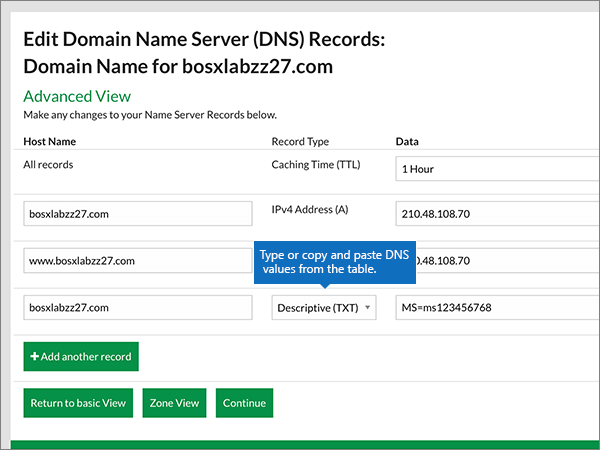
-
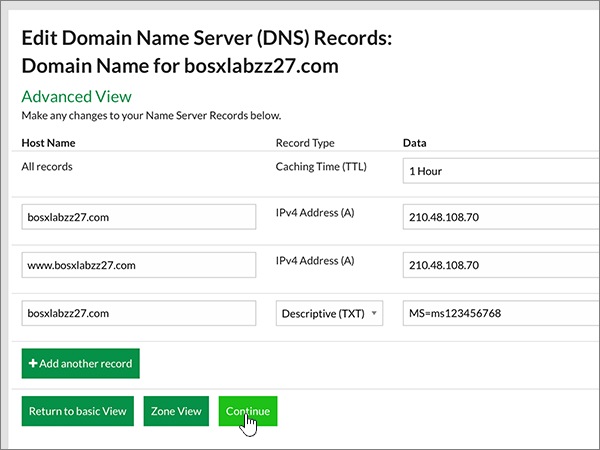
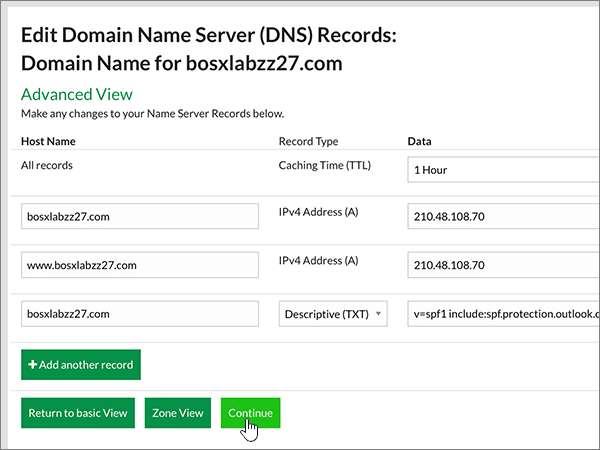
Choose Continue.
-
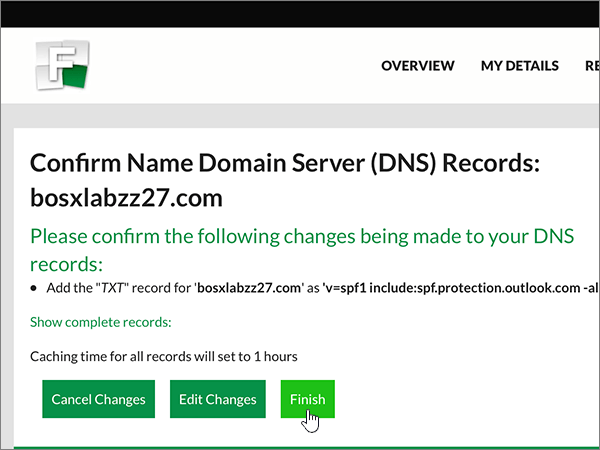
Choose Finish.
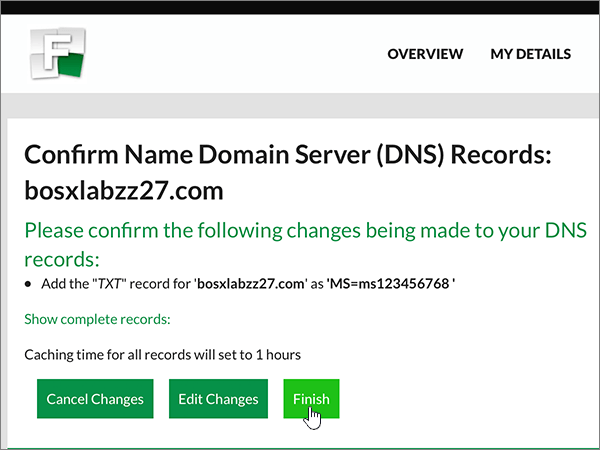
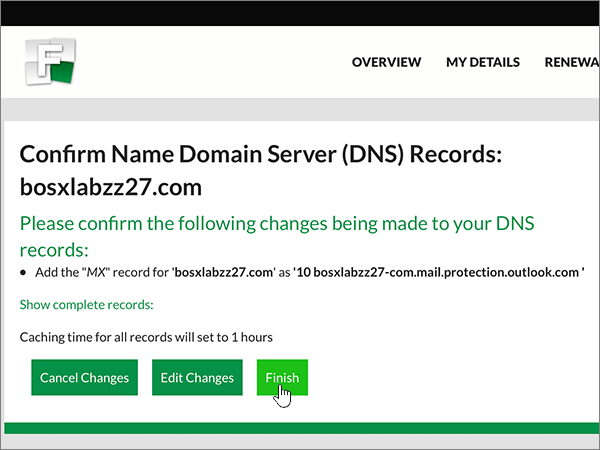
Now that you've added the record at your domain registrar's site, you'll go back to Office 365 and request Office 365 to look for the record.
When Office 365 finds the correct TXT record, your domain is verified.
-
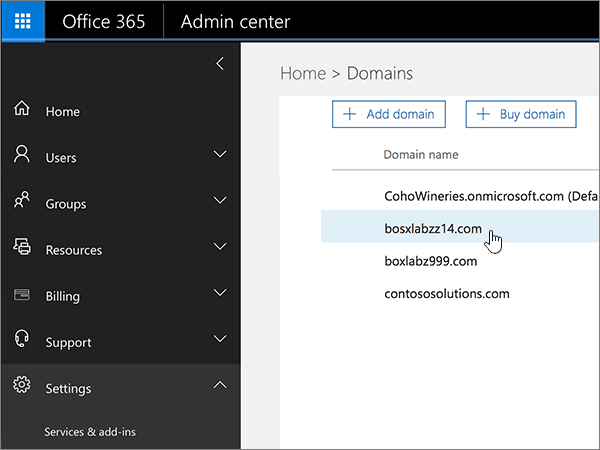
Choose Setup > Domains.
-
On the Domains page, choose the domain that you are verifying.
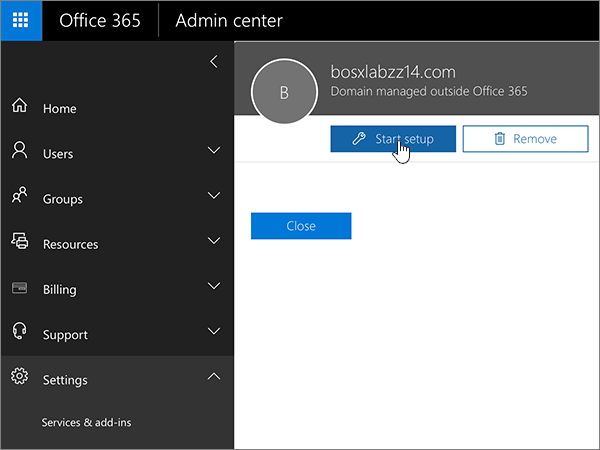
-
On the Setup page, choose Start setup.
-
On the Verify domain page, choose Verify.
Note: Typically it takes about 15 minutes for DNS changes to take effect. However, it can occasionally take longer for a change you've made to update across the Internet's DNS system. If you're having trouble with mail flow or other issues after adding DNS records, see Troubleshoot issues after changing your domain name or DNS records.
Add an MX record so email for your domain will come to Office 365
-
To get started, go to your domains page at Freeparking.co.nz by using this link. You'll be prompted to log in first.
-
On the Dashboard page, in the Services Overview area, find the name of the domain you want to update, and then choose manage for that domain.
-
On the Service page for your domain, choose the Service Management tab.
-
In the Name Server Records section, choose Modify.
-
Choose Advanced View.
-
Set the Time to Live (TTL) value for all records by selecting the Data value specified in the following table.
(Select the Data value from the drop-down list.)
Host Name
Record Type
Data
All records
Caching Time (TTL)
1 Hour
-
Choose Add another record.
-
In the Mail Servers ("MX" Records) section, in the boxes for the new record, type or copy and paste the values from the following table.
(Select the Record Type value from the drop-down list. To view the names of the fields under Data, point to each field.)
(You may have to scroll down.)
Host Name
Record Type
First Data Field (Preference)
Second Data Field (Target)
Use your domain name (for example, fourthcoffee.com)
Mail Server (MX)
10
For more information about priority, see What is MX priority?
<domain-key>.mail.protection.outlook.com
The 10 is the MX priority value. Add it to the beginning of the MX value, separated from the remainder of the value by a space.
Note: Get your <domain-key> from your Office 365 portal account.
How do I find this?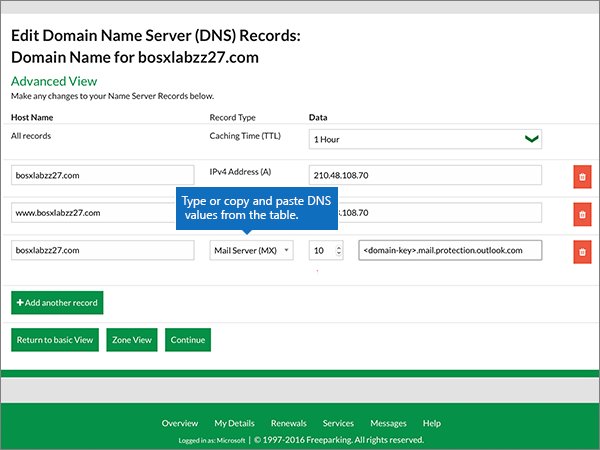
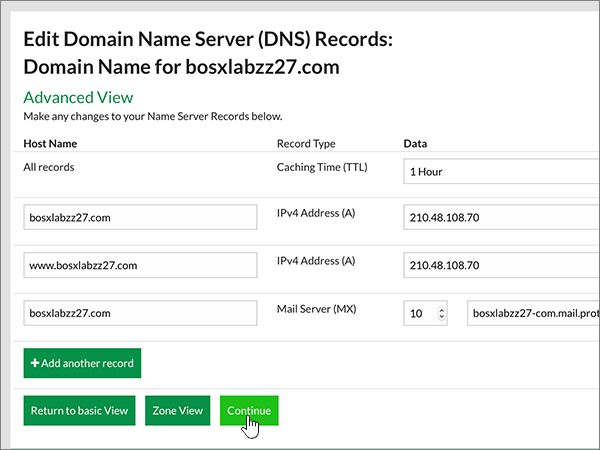
-
Choose Continue.
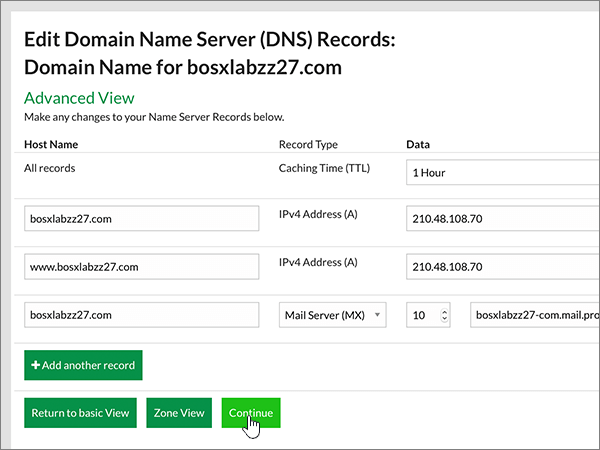
-
Choose Finish.
-
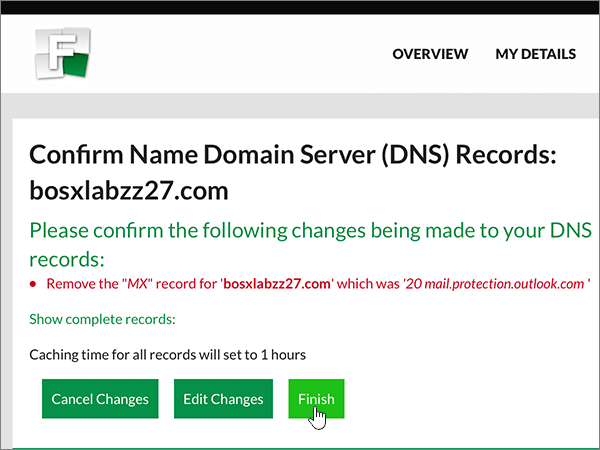
If there are any other MX records in the Mail Servers ("MX" Record) section, delete each one by selecting the Delete control (trash can).
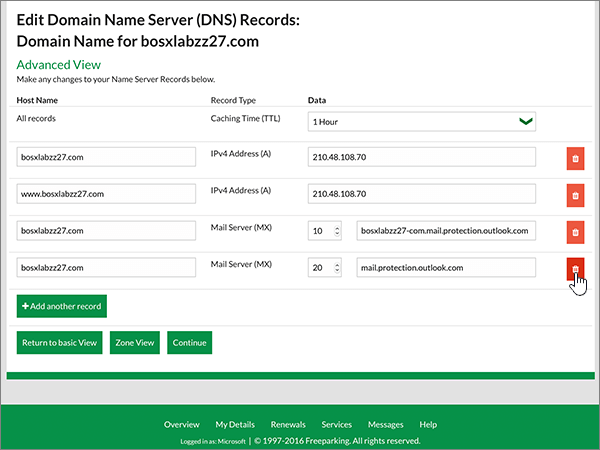
-
Choose Continue.
-
Choose Finish.
Add the six CNAME records that are required for Office 365
-
To get started, go to your domains page at Freeparking.co.nz by using this link. You'll be prompted to log in first.
-
On the Dashboard page, in the Services Overview area, find the name of the domain you want to update, and then choose manage for that domain.
-
On the Service page for your domain, choose the Service Management tab.
-
In the Name Server Records section, choose Modify.
-
Choose Advanced View.
-
Set the Time to Live (TTL) value for all records by selecting the Data value specified in the following table.
(Select the Data value from the drop-down list.)
Host Name
Record Type
Data
All records
Caching Time (TTL)
1 Hour
-
Choose Add another record, and then add six new rows.
-
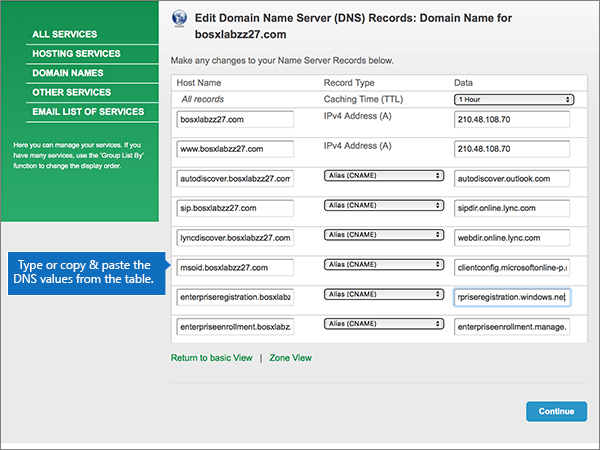
In the Alias ("CNAME" Record) section, in the boxes for the new records, type or copy and paste the values from the following table.
(You may have to scroll down.)
Host Name
Record Type
Data
autodiscover.domain_name
The autodiscover value must be added as a single string to the beginning of your domain_name.
Use a period (.) to separate values (for example, autodiscover.fourthcoffee.com)
Alias (CNAME)
autodiscover.outlook.com
sip.domain_name
The sip value must be added as a single string to the beginning of your domain_name.
Use a period (.) to separate values (for example, sip.fourthcoffee.com)
Alias (CNAME)
sipdir.online.lync.com
lyncdiscover.domain_name
The lyncdiscover value must be added as a single string to the beginning of your domain_name.
Use a period (.) to separate values (for example, lyncdiscover.fourthcoffee.com)
Alias (CNAME)
webdir.online.lync.com
msoid.domain_name
The msoid value must be added as a single string to the beginning of your domain_name.
Use a period (.) to separate values (for example, msoid.fourthcoffee.com)
Alias (CNAME)
clientconfig.microsoftonline-p.net
enterpriseregistration.domain_name
The enterpriseregistration value must be added as a single string to the beginning of your domain_name.
Use a period (.) to separate values (for example, enterpriseregistration.fourthcoffee.com)
Alias (CNAME)
enterpriseregistration.windows.net
enterpriseenrollment.domain_name
The enterpriseenrollment value must be added as a single string to the beginning of your domain_name.
Use a period (.) to separate values (for example, enterpriseenrollment.fourthcoffee.com)
Alias (CNAME)
enterpriseenrollment.manage.microsoft.com
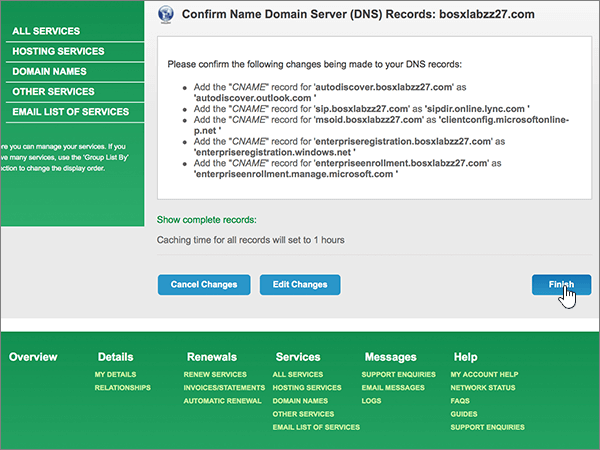
-
Choose Continue.
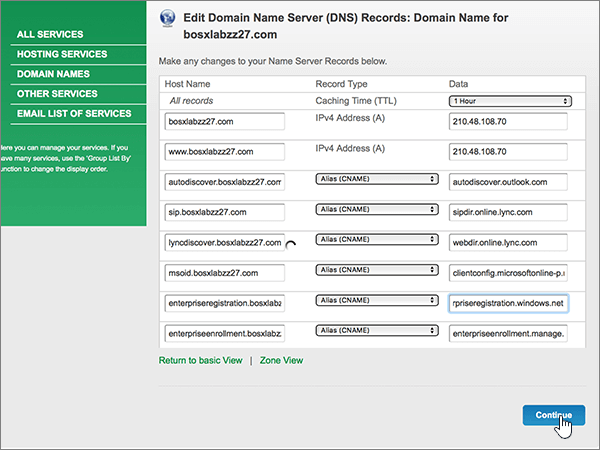
-
Choose Finish.
Add a TXT record for SPF to help prevent email spam
Important: You cannot have more than one TXT record for SPF for a domain. If your domain has more than one SPF record, you'll get email errors, as well as delivery and spam classification issues. If you already have an SPF record for your domain, don't create a new one for Office 365. Instead, add the required Office 365 values to the current record so that you have a single SPF record that includes both sets of values. Need examples? Check out these details and sample SPF records. To validate your SPF record, you can use one of these SPF validation tools.
-
To get started, go to your domains page at Freeparking.co.nz by using this link. You'll be prompted to log in first.
-
On the Dashboard page, in the Services Overview area, find the name of the domain you want to update, and then choose manage for that domain.
-
On the Service page for your domain, choose the Service Management tab.
-
In the Name Server Records section, choose Modify.
-
Choose Advanced View.
-
Set the Time to Live (TTL) value for all records by selecting the Data value specified in the following table.
(Select the Data value from the drop-down list.)
Host Name
Record Type
Data
All records
Caching Time (TTL)
1 Hour
-
Choose Add another record.
-
In the boxes for the new record, type or copy and paste the values from the following table.
(Select the Record Type value from the drop-down list.)
Host Name
Record Type
Data
Use your domain name (for example, fourthcoffee.com)
Descriptive (TXT)
v=spf1 include:spf.protection.outlook.com -all
Note: We recommend copying and pasting this entry, so that all of the spacing stays correct.
-
Choose Continue.
-
Choose Finish.
Add the two SRV records that are required for Office 365
-
To get started, go to your domains page at Freeparking.co.nz by using this link. You'll be prompted to log in first.
-
On the Dashboard page, in the Services Overview area, find the name of the domain you want to update, and then choose manage for that domain.
-
On the Service page for your domain, choose the Service Management tab.
-
In the Name Server Records section, choose Modify.
-
Choose Advanced View.
-
Set the Time to Live (TTL) value for all records by selecting the Data value specified in the following table.
(Select the Data value from the drop-down list.)
Host Name
Record Type
Data
All records
Caching Time (TTL)
1 Hour
-
Choose Add another record.
-
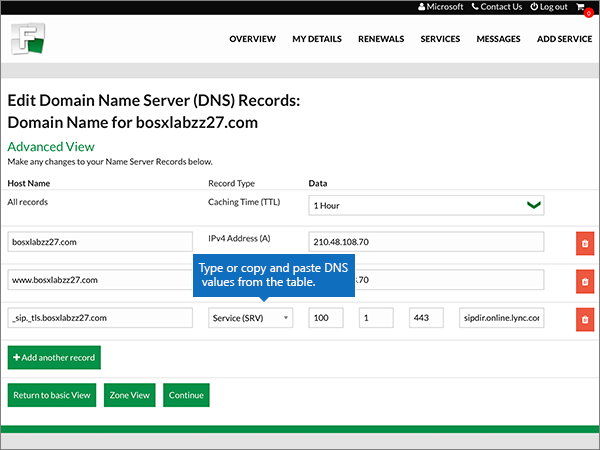
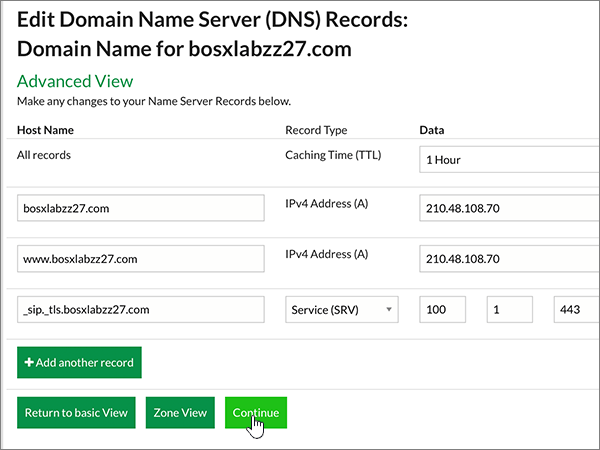
In the boxes for the new records, type or copy and paste the values from the following table.
(Select the Record Type value from the drop-down list. To view the names of the fields under Data, point to each field.)
Host Name
Record Type
First Data Field (Priority)
Second Data Field (Weight)
Third Data Field (Port)
Fourth Data Field (Target)
_sip._tls.domain_name
The _sip._tls value must be added as a single string to the beginning of your domain_name.
Use a period (.) to separate values (for example, _sip._tls.fourthcoffee.com)
Service (SRV)
100
1
443
sipdir.online.lync.com
_sipfederationtls._tcp.domain_name
The _sipfederationtls._tcp value must be added as a single string to the beginning of your domain_name.
Use a period (.) to separate values (for example, _sipfederationtls._tcp.fourthcoffee.com)
Service (SRV)
100
1
5061
sipfed.online.lync.com
-
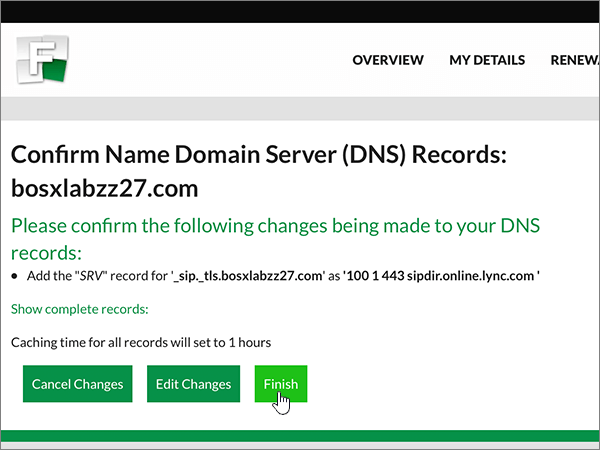
Choose Continue.
-
Choose Finish.
Note: Typically it takes about 15 minutes for DNS changes to take effect. However, it can occasionally take longer for a change you've made to update across the Internet's DNS system. If you're having trouble with mail flow or other issues after adding DNS records, see Troubleshoot issues after changing your domain name or DNS records.
Still need help?


No comments:
Post a Comment