Create a basic network diagram
Basic network diagrams show the primary pieces of your network and how those pieces are connected. This article describes how to quickly create a basic network diagram in either Microsoft Office Visio Standard or Microsoft Office Visio Professional. If you have Visio Professional installed, you can create a more detailed network diagram by using the Detailed Network Diagram template. The difference between the basic and detailed network diagram templates is that the Detailed Network Diagram template has more network shapes.
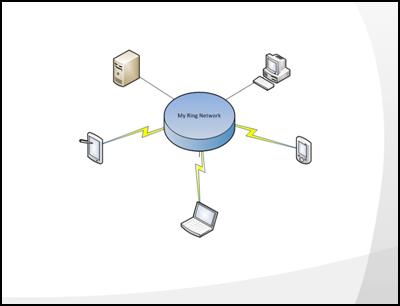
The following illustration shows a basic network diagram.
-
Click the File tab.
-
Click New.
-
Under Available Templates, click Network, and then click Basic Network Diagram.
-
Click Create
 .
. -
From Network and Peripherals, drag a Ring network or Ethernet shape onto the drawing page.
-
From Computers and Monitors or Network and Peripherals, drag network device shapes onto the drawing page.
-
Attach devices to the Ring network or Ethernet shape by using the shape's built-in connectors:
-
Click the Ring network or Ethernet shape.
-
Place the pointer over a control handle
 . When the pointer changes to a four-headed arrow, drag it to a connection point
  on one of the device shapes.
-
When the device shape correctly connects to the Ring network or Ethernet shape, the connection point turns red to indicate that it is glued.
-
Tip: To hide an unused connector, drag the control handle
back to the Ring network or Ethernet shape.
-
-
-
To add text to a network shape, click the shape and type. To move the text, drag the control handle
. -
To store data with a shape, on the View tab, in the Show group, click Task Panes, and then click Shape Data. In the Shape Data window, type values for the data that you want to store.
Notes:
-
To number the shapes in your diagram, on the View tab, in the Macros group, click Add-Ons, point to Visio Extras, and then click Number Shapes. In the Number Shapes dialog box, choose the options that you want, click OK, and then select the shapes that you want to number.
-
To change the line weight and line pattern on network shapes, you must ungroup the network shapes and modify the line shapes from the ShapeSheet. For more information about how to open the ShapeSheet, see What happened to the ShapeSheet?.
-
No comments:
Post a Comment