Change nameservers to set up Office 365 with Aabaco Small Business
Follow these instructions if you want Office 365 to manage your Office 365 DNS records for you.
Here's what you need to do. (Need more help? Get support.)
Add a TXT record for verification
Before you use your domain with Office 365, we have to make sure that you own it. Your ability to log in to your account at your domain registrar and create the DNS record proves to Office 365 that you own the domain.
Note: This record is used only to verify that you own your domain; it doesn't affect anything else. You can delete it later, if you like.
-
Important: Before you begin this procedure, make sure that you are logged out of any other Aabaco accounts that you may have.
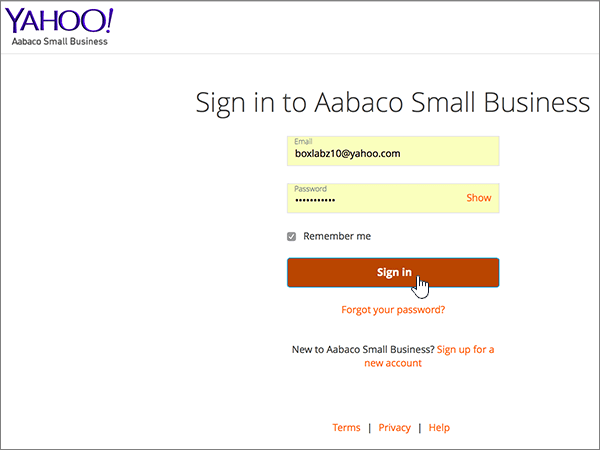
To get started, go to your domains page at Aabaco Small Business by using this link. You'll be prompted to sign in first.
-
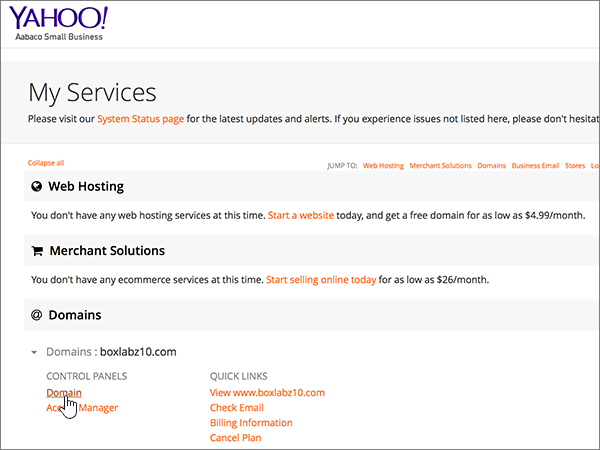
On the My Services page, in the section for the domain you're working with, choose Domain(s).
-
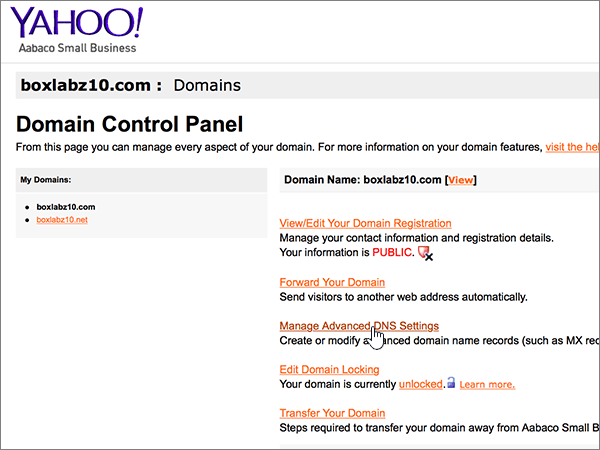
On the Domain Control Panel page, choose Manage Advanced DNS Settings.
-
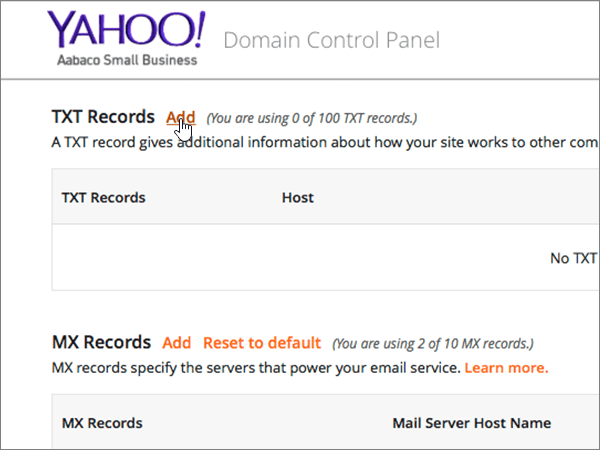
On the Advanced DNS Settings page, in the TXT Records section, choose Manage TXT Records.
(You may need to scroll down.)
-
In the Text Records section, in the Text column, choose click here.
-
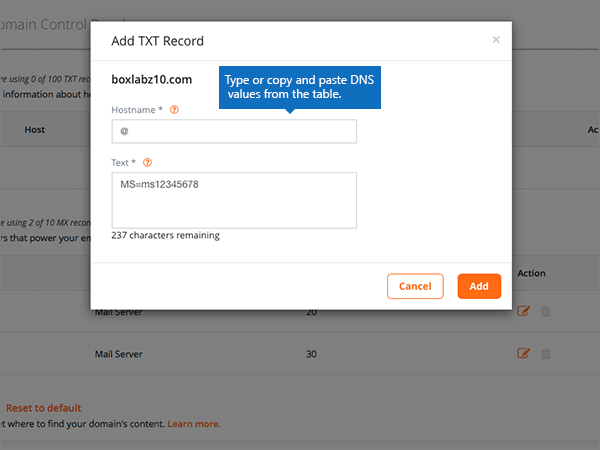
On the Domain Control Panel page, in the boxes for the new record, type or copy and paste the values from the following table.
Enter Hostname:
Enter Text:
(Leave this field empty.)
MS=msXXXXXXXX
Note: You must use the new admin center to get this value. How do I find this?
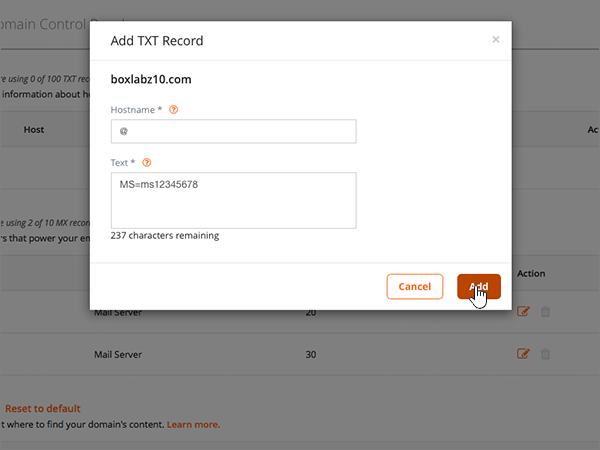
-
Choose Add.
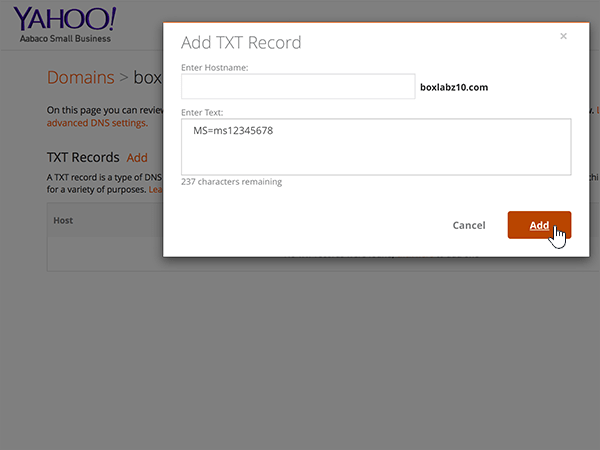
Now that you've added the record at your domain registrar's site, you'll go back to Office 365 and request Office 365 to look for the record.
When Office 365 finds the correct MX record, your domain is verified.
-
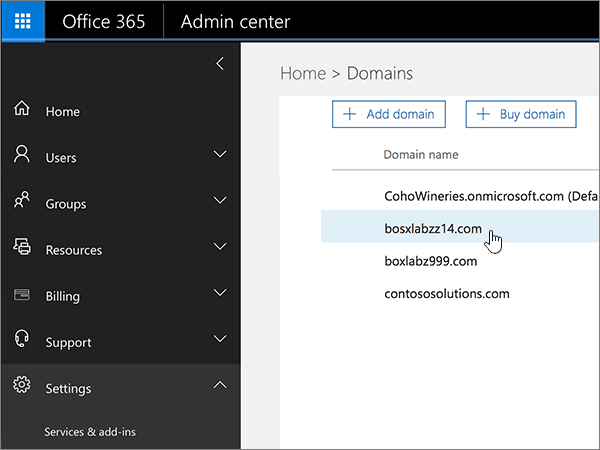
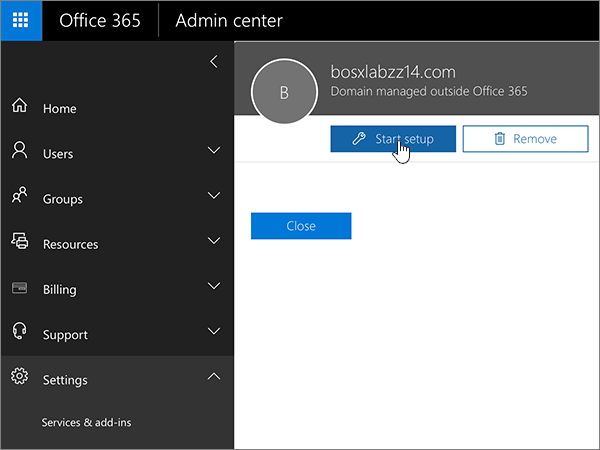
On the Manage domains page, select the domain that you are verifying and then, in the Action column for that domain, choose Start setup.
-
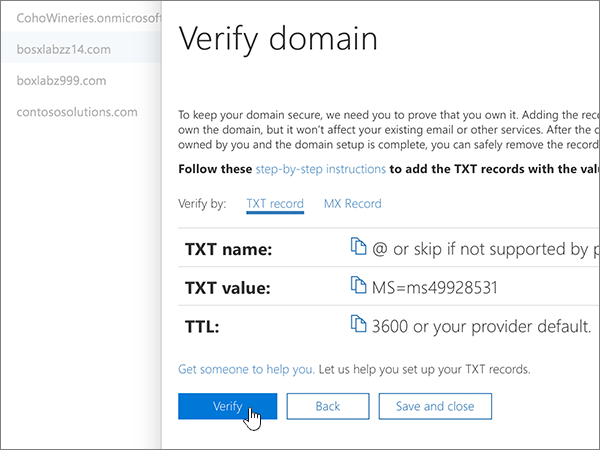
On the Add this TXT record to show you own domain_name page, choose Okay, I've added the record.
-
Choose Next.
Note: Typically it takes about 15 minutes for DNS changes to take effect. However, it can occasionally take longer for a change you've made to update across the Internet's DNS system. If you're having trouble with mail flow or other issues after adding DNS records, see Troubleshoot issues after changing your domain name or DNS records.
Change your domain's nameserver (NS) records
To complete setting up your domain with Office 365, you change your domain's NS records at your domain registrar to point to the Office 365 primary and secondary name servers. This sets up Office 365 to update the domain's DNS records for you. We'll add all records so that email, Skype for Business Online, and your public website work with your domain, and you'll be all set.
Caution: When you change your domain's NS records to point to the Office 365 name servers, all the services that are currently associated with your domain are affected. For example, all email sent to your domain (like rob@your_domain.com) will start coming to Office 365 after you make this change.
Ready to change your NS records so Office 365 can set up your domain?
Important: When you have completed the steps in this section, the only nameservers that should be listed are these four:
-
ns1.bdm.microsoftonline.com
-
ns2.bdm.microsoftonline.com
-
ns3.bdm.microsoftonline.com
-
ns4.bdm.microsoftonline.com
The following procedure will show you how to delete any other, unwanted nameservers from the list, and also how to add the correct nameservers if they are not already in the list.
-
Important: Before you begin this procedure, make sure that you are logged out of any other Aabaco accounts that you may have.
To get started, go to your domains page at Aabaco Small Business by using this link. You'll be prompted to sign in first.

-
On the My Services page, in the section for the domain you're working with, choose Domain(s).

-
On the Domain Control Panel page, choose Manage Advanced DNS Settings.

-
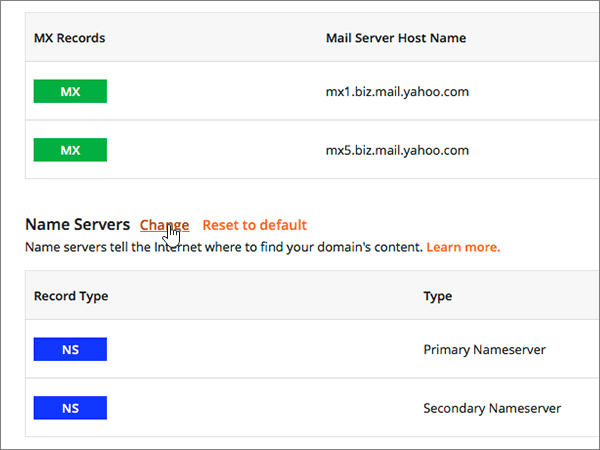
On the Advanced DNS Settings page, in the Name Servers section, choose Change Nameservers.
(You may need to scroll down.)
-
On the Domain Control Panel page, in the Change Your Nameserver section, delete each of the nameservers currently listed by selecting it and then pressing the Delete key on your keyboard.
Caution: Perform these deletions only if you have existing nameservers that do not point to Office 365. (For example, you would delete nameservers named yns1.yahoo.com or ns1.contoso.com, but not delete nameservers named ns1.bdm.microsoftonline.com or ns2.bdm.microsoftonline.com).

-
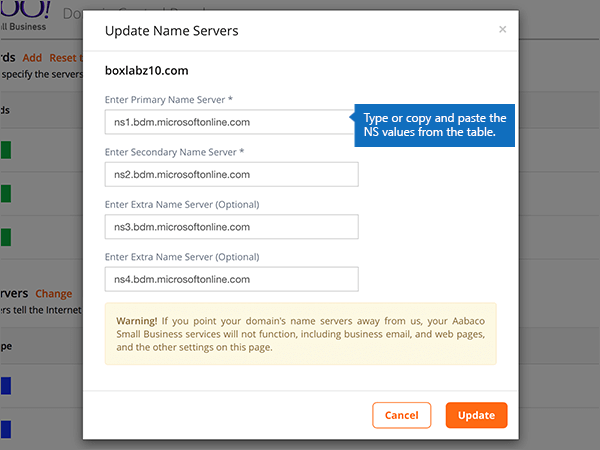
In the 1. Primary and 2. Secondary boxes, type or copy and paste the values from the following table.
1. Primary
ns1.bdm.microsoftonline.com
2. Secondary
ns2.bdm.microsoftonline.com
-
Choose Submit.
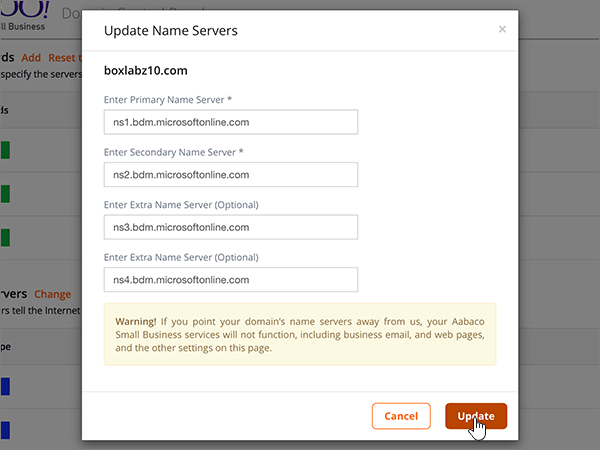
Note: Your nameserver record updates may take up to several hours to update across the Internet's DNS system. Then your Office 365 email and other services will be all set to work with your domain.
Still need help?


No comments:
Post a Comment