Add an annotation to my 3D Map
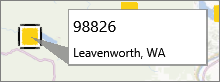
Use an annotation to highlight a data point and provide context to your visualization.
-
Right-click the data point and click Add Annotation.
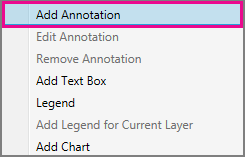
Tip: To add multiple annotations at once, click the first data point, press and hold Ctrl while clicking the other data points, and then right-click the last data point.
-
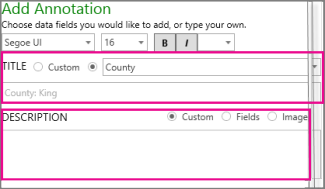
To use a data field as the title, pick a field from the list box, or click Custom to enter your own text in the Title box.
-
To add an explanation in the Description box, do one of these:
-
To use a data field, click Fields, and check the field that you want in the Description box.
-
To write your own text, click Custom, and type the text in the Description box.
-
To use a picture for the description, click Image, pick an Image Size, and click Load Image to insert your picture.
-
-
If you want, use the formatting options at the top of the box to change the look of your text.
Tip: You can see a preview of your annotation in the Content Preview box, located to the right of the Title and Description boxes.
Your annotation is now associated with the selected data point. 3D Maps will automatically adjust the orientation of the annotation so it's always visible. If you want text that displays only when a specific area of the map is shown, add a text boxinstead.
Note: If you change the Time Settings options or the chart type, you'll need to recreate the annotations.
No comments:
Post a Comment