Create a Network Diagram
A Network Diagram is a graphical way to view tasks, dependencies, and the critical path of your project. Boxes (or nodes) represent tasks, and dependencies show up as lines that connect those boxes. After you've switched views, you can add a legend, customize how your boxes appear, and print your Network Diagram.
-
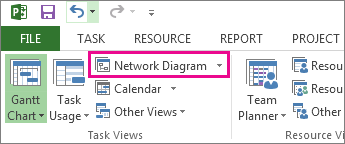
To find the Network diagram view, click View > Network Diagram.
Add a legend
-
Click File > Print > Page Setup.
-
Click the Legend tab, and then decide how you want your legend to look, which pages it should show up on, and then labels you want.
-
Click OK.
Automatically change the way the boxes are laid out
-
Click View > Network Diagram.
-
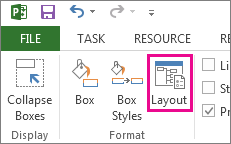
Click Format > Layout.
-
Under Box Layout, choose the box arrangement, alignment, spacing, height, and width that work best for you. To space boxes evenly, click Fixed in the Height and Width boxes.
Keep in mind that grouped tasks are positioned automatically. You'll need to undo grouping if you want to change them.
Manually change the way boxes are laid out
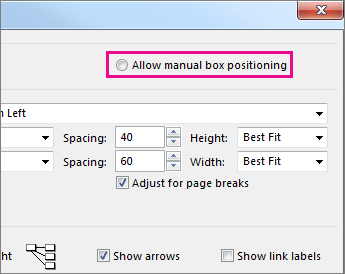
If you've gotten this far and still don't like how your boxes are positioned, click Format > Layout, click Allow manual box positioning, click OK, and then drag the boxes to the spot you want.
If you manually reposition a task, you can change the layout of any linked tasks or subtasks associated with it by right-clicking on the task and clicking Layout Related Tasks Now.
Change the line style between boxes
If you have a lot of tasks that you've linked to predecessor or successor tasks, the links between boxes can be really hard to follow. Try changing the line style, and then arranging them in way that's easier to see.
-
Click View > Network Diagram.
-
Click Format > Layout.
-
Under Link style, click Rectlinear or Straight. Rectilinear links look like this
 , and straight links look like this
  .
. -
Click Show arrows to add arrows that point to predecessor and successor tasks. Click Show link labels to add dependency and lead or lag time to the link line.
Choose what kind of task information to show
If things are looking cluttered (or you start to experience information overload), try changing the task information in each box so you only see what's most important.
-
Click View > Network Diagram.
-
Click Format > Box Styles.
-
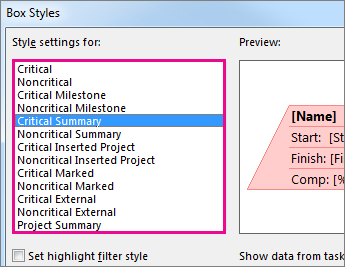
In the Style settings for list, click the task that you want to change.
-
Under Border, choose the shape, color, width, and gridline options to create the look you want.
-
Click a name under Data template to apply your changes to an existing template. To create a new template that will use your changes, click More Templates, and then click New (to create a new template), Copy (to base the new template on an existing one), Edit (to change a template), or Import (to import a template from another project).
-
Click OK.
No comments:
Post a Comment