Control text wrapping around objects in Word for Mac
Configure how text in a document wraps around a table, a picture, or a drawing object.
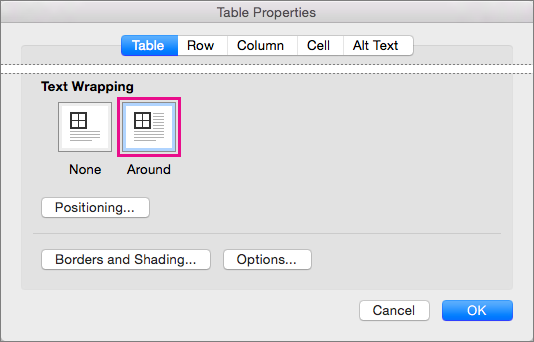
Configure text wrapping around a table
-
Control + Click the table, and then click Table Properties.
If you don't see Table Properties on the shortcut menu, Control + Click in a different part of the table.
-
In Table Properties, under Text Wrapping, click Around.
-
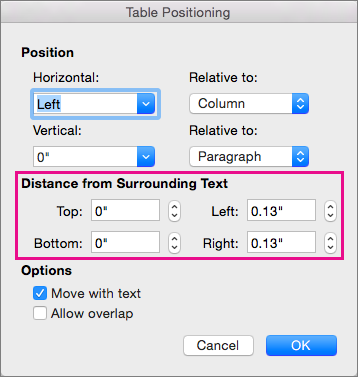
To change the distance of the table from surrounding text, click Positioning, and then in Table Positioning, set measurements under Distance from Surrounding Text.
Configure text wrapping around a picture or drawing object
-
Select the picture or object.
-
On the Picture Format tab, click Arrange, and then click Wrap Text.

If the window is wide enough, Word displays Wrap Text directly on the Picture Format tab.
-
Click the wrapping options that you want to apply.
For example, In Line with Text, Top and Bottom, and Behind Text.
Change the position of a picture or drawing object relative to the text
-
Select the picture or drawing object.
-
On the Picture Format tab, click Arrange, and then click Position.
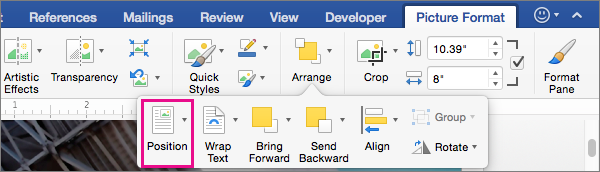
If the window is wide enough, Word displays Position directly on the Picture Format tab.
-
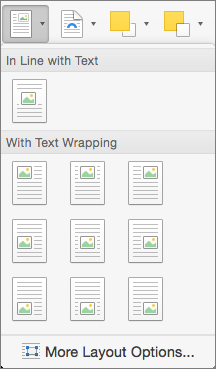
On the Position menu, click the type of positioning that you want, or click More Layout Options to choose advanced layout options.
Wrap text around a picture or drawing object
-
Select the picture or object.
-
Click the Format tab, and then under Arrange, click Wrap Text.
-
Click the wrapping option that you want to apply.
Tip: To change a picture or drawing object's position on the page relative to the text, select the picture or object, click the Format tab. Under Arrange, click Position, and then select the position that you want.
Wrap text around a table
-
Click the table.
-
Click the Table Layout tab, and then under Settings, click Properties.
-
Under Text Wrapping, click Around.
-
To set the horizontal and vertical position of the table, the distance from surrounding text, and other options, under Text Wrapping, click Positioning, and then choose the options that you want.
Tip: When you use the Draw tool to create a table (located on the Tables tab, under Draw Borders), you can automatically apply text wrapping by holding down OPTION while you draw the table.
No comments:
Post a Comment