You can add a question-and-answer session to your Skype Meeting Broadcast. By adding a Q&A session to your meeting, you enable attendees to participate by asking questions, posting comments, and getting replies from the moderator. Presenters and other participants can read the posts as they come in and respond to them in real time. This also allows for dynamic meeting content because a presenter can be alerted whether more elaboration or clarification is needed.
Add a Q&A session
-
Browse to the Skype Meeting Broadcast portal.
-
Sign in with your work or school account (e.g., seanc@contoso.com).
-
Select the meeting or event to which you'll add the Q&A session.
-
Click Customize.
-
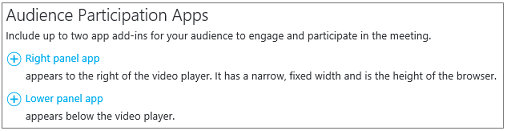
Determine where you want the Q&A session to be displayed, either to the right of the video player (click Right panel app) or underneath it (click Lower panel app).
-
In Select an app, click Q&A.

-
In the upper right corner of the page, click Done.
Distribute the link to the Q&A panel to the moderators
Currently there is no automated function to distribute the link to the Q&A panel to the moderators. Use this method to provide moderators access to the Q&A moderator panel.
-
On the Meeting details page, in the Attendee page settings section, right-click Open Q&A.

-
Choose Copy shortcut to copy the link to the clipboard.
-
Send the link to the moderators for this meeting via email.
Open the Q&A moderator panel
The Q&A moderator panel is a separate application that launches within in the browser. It can be started independently from the Skype Meeting Broadcast.
-
On the Meeting details page, in the Attendee page settings section, click Open Q&A.
Note: The organizer might send you a link to the Q&A moderator panel in email, in which case you can just click the link in the email to access the panel.
-
The Q&A moderator panel opens as a separate application in the browser.
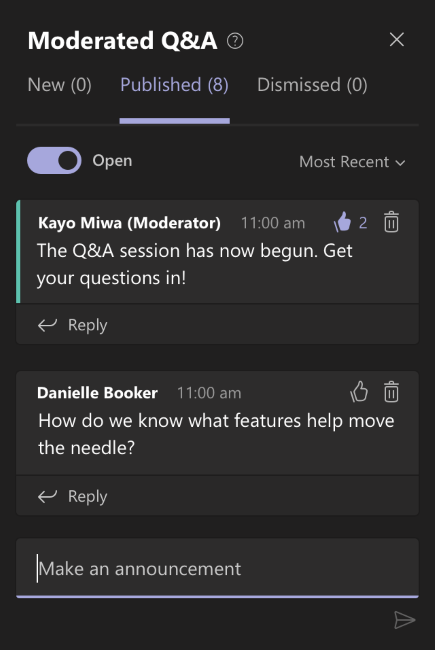
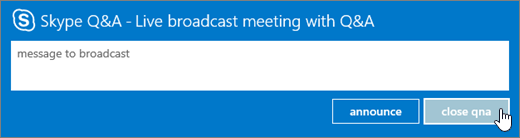
Make an announcement
The moderator has the option to make announcements that are visible for all attendees.
-
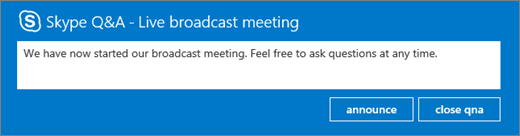
In the Q&A moderator panel, type a welcome message or an announcement.
-
Click announce to invite attendees to use the Q&A feature.
The announcement will be visible for all attendees that have joined the broadcast meeting.
Broadcast questions and answers to all attendees
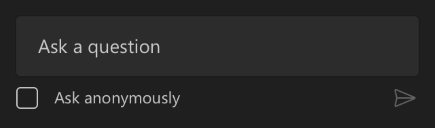
Users can ask questions by typing a question in the Q&A meeting panel and clicking ask. The moderator has the option to make any question and answer visible to all meeting attendees.
-
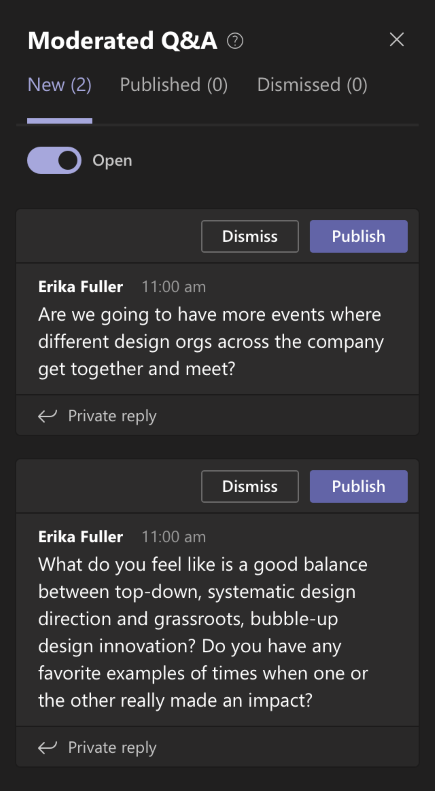
Attendee questions are visible in the Q&A moderator panel.

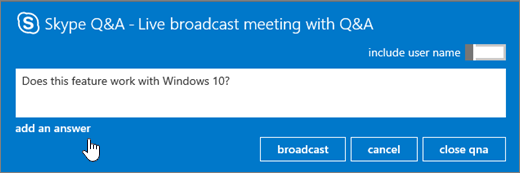
Click broadcast to make the question visible for all attendees.
-
Click add an answer to include an answer to the question that will be visible to all attendees.
-
Type the answer to the question, and then click broadcast to make both the question and the answer visible to all attendees.
Answer questions in private
Users can ask questions without revealing their identity by clicking ask anonymously in the Q&A panel. Attendee questions are not visible to other attendees, they can only be seen by Q&A moderators. By default, a reply from the moderator will be visible only to the attendee who asked the question (in-private question).
-
To answer a question directly to the attendee, click reply, type the answer, and then click send.
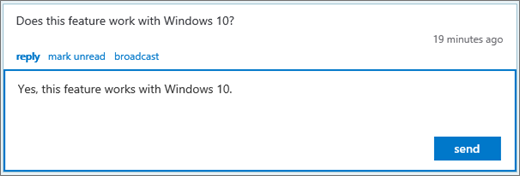
The answer will be visible only to the attendee.
-
The question is marked as read and the answer is shown in the moderator overview.
Work a Q&A session with more than one moderator
If more than one moderator is fielding questions, it's important to pay careful to which questions have been read or not read. Questions that are unread can be seen by all moderators, and it's possible two moderators will pick up the same question. If a question has not been manually tagged as read, the question will remain unread until the response is sent (either private reply or broadcast). Therefore, moderators should first mark an item they want to answer as read. They can always put it back in the queue by marking it as unread.
To field questions with multiple moderators
-
Find a question you want to answer, and click read.
-
Select either broadcast or reply.
-
Compose the response, and then send it.
-
If you decide to not answer a question:
-
Click cancel the broadcast, or click reply again to close the reply message box, depending on type of response they originally selected.
-
Then click mark unread, which puts the question back in the queue.
Use moderator views
There are three moderator views you can use in the Q&A moderator panel.
-
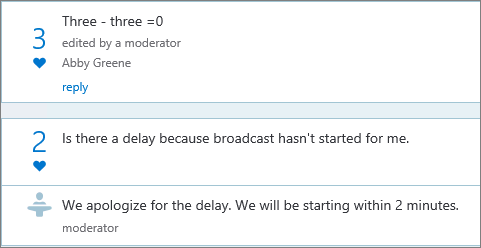
Top Top broadcasted responses are based on votes by attendees and moderators. Broadcasted responses will have a heart button (  ) that can be clicked.
-
All This view shows all questions and answers, and all announcements.
-
Unread This view shows only the unread questions.
Designate top questions
To keep attendees from asking the same questions over and over again (and also have less questions for the moderator to screen through), the moderator can broadcast questions to the attendees without answering them. That way, attendees can see the questions that have been asked and can "like" a question by clicking the heart button ( ) rather than by asking the question again.
-
The moderator gauges the audience interest in a question by monitoring the number of likes.
-
The moderator answers the top questions, or directs the top questions to the presenter.
-
When the moderator receives an answer from the presenter, the moderator can add the response as a reply to the broadcasted question.
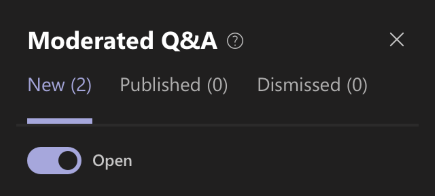
Close the Q&A session
At the end of the broadcast meeting, the moderator can close the Q&A session. It is also possible to temporarily close the Q&A session during the meeting and open it later.
-
Click close qna.
-
The Q&A session is currently closed but can be reopened by clicking open qna.
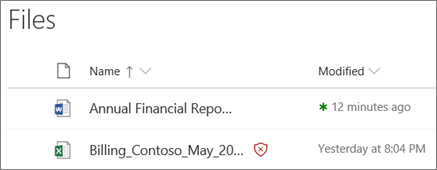
Export the Q&A data to a report in CSV format
All questions and answers are available for download in a CSV format. The Q&A file can be downloaded from the broadcast portal.
-
In the Skype Meeting Broadcast portal, under Ended meetings, click on the meeting.
-
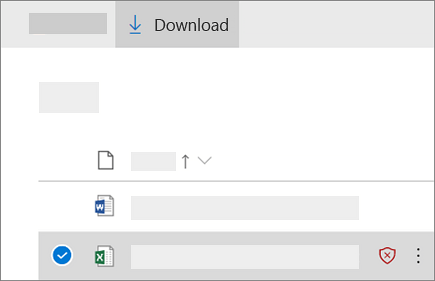
In the reports section, click Download Q&A report.
Click Open to open the CSV file in Microsoft Excel.


 on the right side of the screen.