Use Avery templates in Word
If you use Avery paper products, such as labels, business cards, dividers, and name badges, you can use the Avery templates in Word. All you need is the product number.
Find your Avery product number in Word
-
On the Mailings tab, choose Labels.
-
Click Options.
-
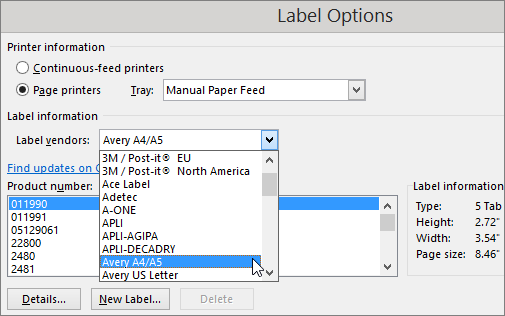
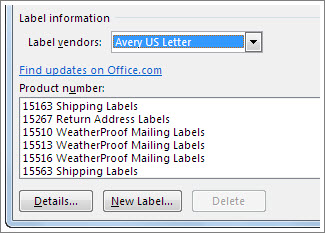
In the Label vendors list, choose one of the Avery options.

-
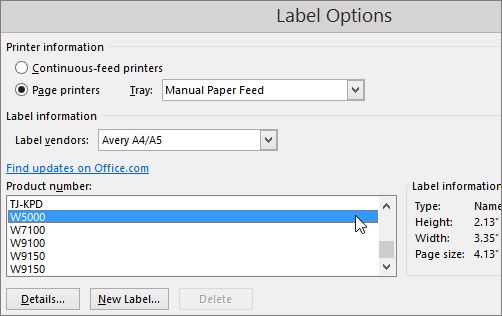
In the Product number list, choose the number that matches the product number on your Avery package.
Note: If your Avery template isn't in the product number list, see Download and use the Avery® Wizard or Customize Word to use your Avery® sheet, later in this topic.

-
Click OK.
-
To print the same address or contents to each label, follow the steps in Print labels with the same address or contents.
-
To print different addresses or contents on each label, follow the steps in Print labels with different addresses or contents.
Print labels with the same address or contents
After you have configured Word to print to your labels, either by selecting the label product as described in Find your Avery product number in Word or by customizing measurements as described in Customize Word to use your Avery® sheet, use the following steps to print the same address or contents on every label.
-
On the Mailings tab, choose Labels to open the Envelopes and Labels dialog box, if it is not already open.
-
In Envelopes and Labels, type the address (or other text) that you want on every label in the Address box.
Note: The address box is for text only.
-
If you want to print a single label, select Single label in Envelopes and Labels, and specify the row and column of the label that you want to print.
-
Choose Print.
Tip: If it is your first time to use the label product that you have selected with your printer, first print your labels to a regular sheet of paper to see if the position of text aligns with an actual sheet of labels.
Print labels with different addresses or contents
After you have configured Word to print to your labels, either by selecting the label product as described in Find your Avery product number in Word or by customizing measurements as described in Customize Word to use your Avery® sheet, use the following steps to create and print labels with varying addresses or content.
-
On the Mailings tab, choose Labels to open the Envelopes and Labels dialog box, if it is not already open.
Word displays the label product that you have selected in the Label area.
-
Click New Document.
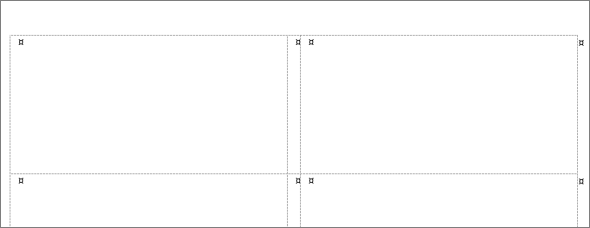
Word opens a new document that contains a table with dimensions that match that label product.

-
If the new document does not display gridlines—and you would like to see them—choose the Layout tab, and then choose View Gridlines to toggle display of gridlines on and off.
-
Choose the File tab, choose the Print tab, and then choose the Print button.
Tip: If it is your first time to use the label product that you have selected with your printer, first print your labels to a regular sheet of paper to see if the position of text aligns with an actual sheet of labels.
Download and use the Avery® Wizard
The Avery Wizard works in Office 2013, 2010 (not including Office Starter), and 2007. Check Avery's website for support of Office 2016.
-
Go to the Avery web site to download the wizard.
-
After you install the wizard, click the Avery tab in the Word ribbon.
-
Double-click the Avery Wizard button, and follow the instructions to find an Avery product number, choose a design, layout, enter your information, and finalize your sheet.

-
On the File tab, click Print, and click the Print button.
Customize Word to use your Avery® sheet
If your Avery template isn't in the Product number list, you can create a custom template in Word.
-
Measure the label, divider, or card and the space between each.
-
Follow steps 1-4 of Find your Avery® product number in Word. In step 4, under Product number, choose a product number that's closest to yours (refer to the measurements shown in the Label information box.

-
Click New Label.
-
Change the numbers in the boxes to match your measurements.
The Preview box shows how the measurements apply to your Avery sheets.
-
After you enter the measurements, click OK three times.
-
To print the same address or contents to each label, follow the steps in Print labels with the same address or contents.
-
To print different addresses or contents on each label, follow the steps in Print labels with different addresses or contents.
Related information
See Mail merge for labels to learn more about printing mailing labels in Word.
No comments:
Post a Comment