Print your handouts, notes, or slides
Whether you want to print handouts, notes pages, or slides, you've come to the right place.
(If you're looking for handout design information, such as how to set up slide layouts and orientation or how to change your headers, footers, or background, see Create or change a presentation's handout.)
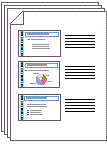
Print slides, notes, or handouts
-
On the File tab, click Print.
-
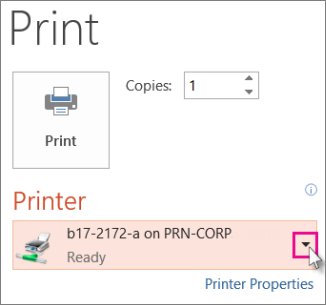
Under Printer, click the down arrow and pick a printer.
-
If you don't see any printers listed: You'll need to add one in the Windows Control Panel (see: 'Add a Device' in Windows Help for details).
-
If you don't have a network or wireless printer: You'll want to make sure your printer is physically connected to your computer. See your printer's documentation for details.
-
-
Under Settings, click the down arrow next to Print All Slides, and then pick the slides you want to print:
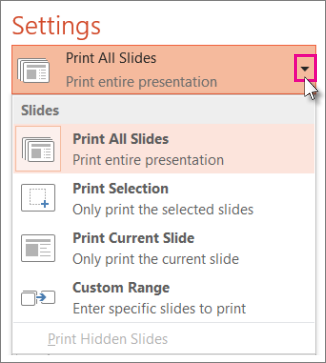
Tip: If you have any hidden slides that you want to print, the Print Hidden Slides option is active, and you can select that.
-
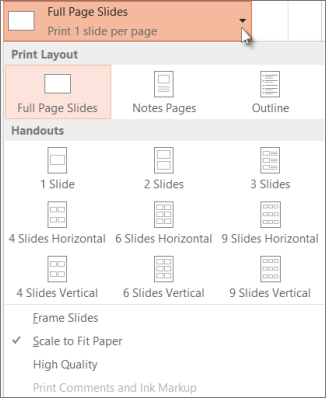
Click the down arrow next to Full Page Slides, and then pick a print layout. The thumbnail images below show a preview of how the pages will look when printed.
Tip: To print slide notes, either for a speaker or as handouts for your audience, select Notes Pages under Print Layout. This option will print one slide per page with all your notes below, and is a good choice for slides that contain too much text to fit neatly on a single slide.
-
Click the down arrow next to Print on Both Sides, and then pick a page format.
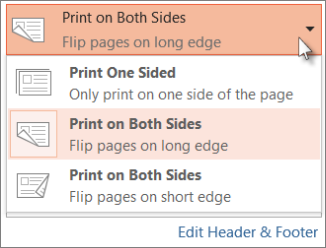
Note: You only see this option if you're sending your slides to a printer that supports two-sided printing.
-
Click Collated, and then pick a preference for organizing your printout. If your printer does not offer collation, this option may be grayed out.
-
Click Staples to pick a preference for stapling your printouts. If your printer does not offer staples, this option may be grayed out.
-
Click Grayscale, and pick a color scheme for your printout.
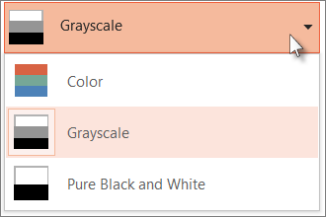
Tips for printing in color, grayscale, or pure black and white:
Color
If you choose the Color option, but don't have a color printer, the printout will be similar to, but not of the same quality as printing in grayscale.
Grayscale
If you don't have a color printer or don't require a color printout, choosing Grayscale will print all objects on the page in shades of gray. In grayscale, objects such as charts and tables will appear crisper and cleaner than if you chose the Color option on a non-color printer.
Pure Black and White
This option prints slides in black and white. There are no shades of gray. As a result, some objects in the design theme of the slide, such as embossing and drop shadows will not print. Text will print as black even if you chose gray as the original color of the text.
-
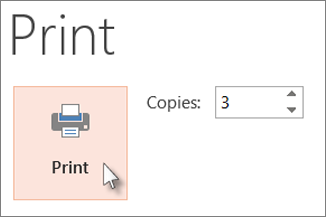
In the Copies box, enter the number of copies you want, and then click Print.
For more information about printing in PowerPoint, check out the following:
Microsoft Office Tutorials: Print Your Handouts, Notes, Or Slides >>>>> Download Now
ReplyDelete>>>>> Download Full
Microsoft Office Tutorials: Print Your Handouts, Notes, Or Slides >>>>> Download LINK
>>>>> Download Now
Microsoft Office Tutorials: Print Your Handouts, Notes, Or Slides >>>>> Download Full
>>>>> Download LINK zd