Work on a presentation at the same time as other people
When you save your presentation to OneDrive or Office 365 SharePoint, you can edit it at the same time as other people.
Note: In order to work on a presentation at the same time, all authors will need to use PowerPoint 2010 or later, or the latest release of PowerPoint Online.

-
Create a draft of the presentation, and then save it to a shared location, such as OneDrive or SharePoint.
Tip: You may need to give permissions to your reviewers so they can access your presentation. See Share files and folder and change permissions.
-
Open and start working on the presentation.
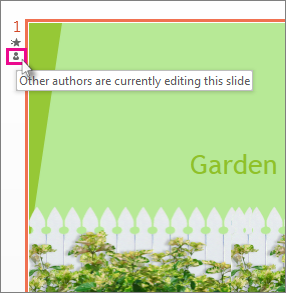
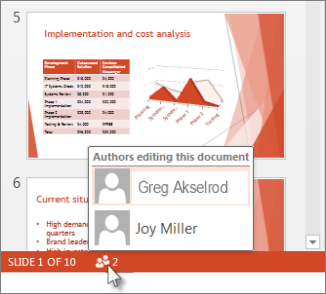
Note: If someone else is working on the presentation, you'll see a Co-authoring icon
 and a number in the status bar that tell you how many people are working on the presentation. Click the Co-authoring icon
  to see who is working on the presentation (as shown below).
-
When you're done working, click File > Save.
If you're the only one working on the presentation, the file will save and you're done. If your updates and other authors' updates do not conflict, they will merge automatically, and you don't need to do anything else.
If others are working on the same presentation, you many encounter one of the following error messages:
-
When other authors have made changes, you'll see the following:

-
If the changes you and other authors have made conflict with one another, this message will appear:

Here's how to resolve changes made by other people.
-
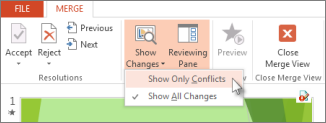
On the Merge tab, click Show Changes, and then do one of the following:
-
To view only conflicting updates, click Show Only Conflicts.

-
To view all changes, click Show All Changes.
-
-
To accept or reject changes, do one or both of the following:
For conflicting changes:
-
To accept a conflicting change, check the box next to the conflicting change icon
 (shown below).

-
To reject a conflicting change, do nothing. Boxes that aren't checked won't be added to the presentation.
For standard changes:
-
To accept a standard change, do nothing.

-
To reject a standard change, clear the box.
-
-
When you're done reviewing changes, select Close Merge View.
After you select Close Merge View, all changes will be applied and uploaded to the server.
Note: After you select Close Merge View, you can't go back and view flagged changes.
No comments:
Post a Comment