You've worked hard on your school projects and it's a good idea to transfer your files before you graduate, so you can use them for your resume, portfolio or even work-related projects. With Microsoft OneDrive, you get 5 GB of free cloud storage - or 1 TB if you have a Microsoft 365 subscription - and can simply move your school files to your personal OneDrive account.
-
Go to Mover Sign In page.
-
If you already have a Microsoft account that you use with services like OneDrive, Microsoft 365, Outlook, or Xbox, use the same account to sign in. If you've forgotten your username or password, or need more information about your Microsoft account, see this article.
-
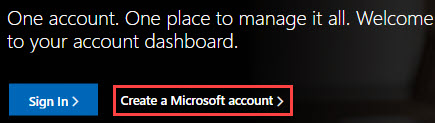
If you don't have a Microsoft account, go to this page, and select Create a Microsoft account. You'll use this new account, which includes 5GB of free OneDrive storage, to sign into Mover and transfer your school files.
-
-
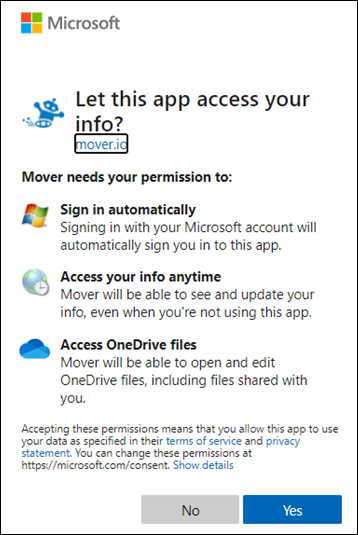
The first time you log in to Mover with your Microsoft account, you'll be asked to give permission to access you files. Select Yes to continue.
-
On the next page, select Authorize New Connector under Step 1: Select Source.
-
Then select Authorize next to OneDrive for work or school (Single User). This allows Mover to access your school files.

-
Log in with your Microsoft 365 school account to authorize it as a source location.
-
Review and select the files and folders that you want to move. Note that all the files and folders in the directory you select, will be moved.
-
To choose the location that your files will move to, click Authorize New Connector under Step 2: Select destination.
-
On the next page, select Authorize next to the Microsoft account that you want to move your files to.

-
Enter the username and password for your personal Microsoft account.
-
Select an existing folder to move your files to, or select Create Folder if you want a new folder for your files.
-
Under Step 3: Start transferring, select Start copy. Mover transfers a copy of your school files over to your Microsoft account OneDrive.
Note: Your original files will remain in your Microsoft 365 school account and will not be removed.
-
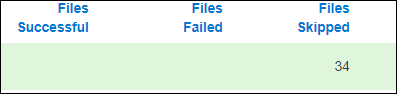
If you want to see more information about the transfer, review the data under Transfer. For example, if you have any Files Skipped, select the number of files in the column and review the files.
Troubleshoot issues
If you run into any issues, get the logs and go to this page to submit a support request.
For example, if files fail to transfer, select the number under Files Failed and then select User Actions > Download Logs, so you can include the logs in your support request. Note that logs are available in Mover for 90 days.
No comments:
Post a Comment