Insert or change the slide numbers, date, or footer for on-screen slides
In PowerPoint you can add or remove automatic slide numbers, hide numbering on the title slide, and move slide numbers. You can also add the date and time to slides.
If you think our slide-numbering feature is too complicated, please go to our suggestion box to vote for improvements.
Select a heading below to open it and see the detailed instructions.
Add slide numbers to your presentation
-
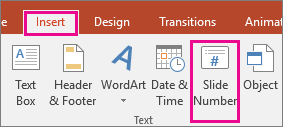
On the Insert tab, select Slide Number.
-
On the Slide tab, check the Slide number box.
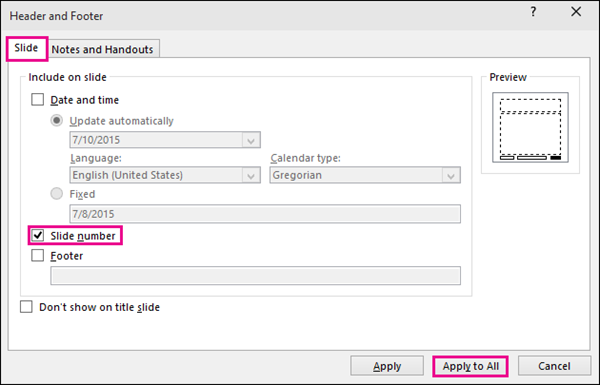
If you don't want a number to appear on the title slide, also check the Don't show on title slide box.
-
Select Apply to All.
The theme applied to your presentation has a standard location for where the numbers appear on your slides, as illustrated by the two themes picture below. To change that location, see "Change where the page numbers appear on your slides" below.


Remove slide numbers from your presentation
-
On the Insert tab, select Slide Number.
-
On the Slide tab, clear the box named Slide number.
-
Select Apply to All.
Hide slide numbers on the title slide
-
On the Insert tab, select Slide Number.
-
On the Slide tab, check the Don't show on title slide box.
-
Click Apply to All.
Re-position the slide numbers
-
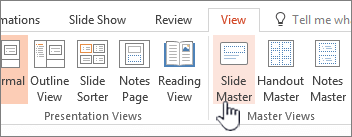
On the View tab, select Slide Master.
-
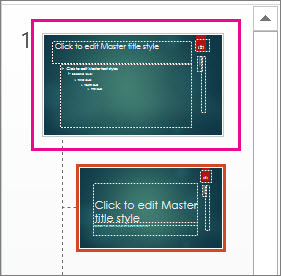
At the top of the thumbnail pane, select the Slide Master thumbnail.
-
In the Slide pane, select and hold the page number placeholder until you see the four-headed arrow, and drag it to a new location.

When you're finished, select Close Master View.
Start your slide numbering with a specific number
-
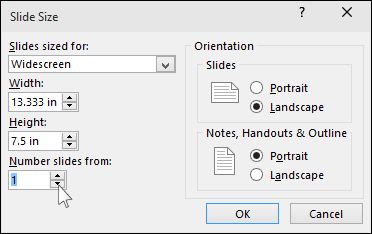
(PowerPoint 2013 or 2016) On the Design tab, select Slide Size, and then Custom Slide Size.

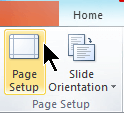
(PowerPoint 2010 or 2007) On the Design tab, select Page Setup.
-
Under Number slides from, click the up or down arrow to switch to the number that you want to start from:
-
Click OK.
Add the date and time
-
On the View tab, in the Presentation Views group, click Normal.
-
On the left of your screen, in the pane that contains the slide thumbnails, click the first slide thumbnail in your presentation.
-
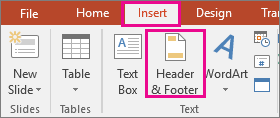
On the Insert tab, in the Text group, click Date & Time.
The Header and Footer dialog box opens.
-
On the Slide tab, select the Date and time check box, and then choose the kind of date you want:
-
If you want the date and time to reflect the current date and time each time you open or print the presentation, click Update automatically, and then select the date and time format that you want.
-
If you want to set the date and time to a specific date, click Fixed, and then, in the Fixed box, type the date that you want.
By setting the date on your presentation so that it is Fixed, you can easily keep track of the last time you made changes to it.
-
-
If you want to add the date and time to all of the slides in your presentation, click Apply to All.
Add text to the footer
-
On the Insert tab, select Header & Footer.
-
On the Slide tab, check the Footer box.
-
In the box below Footer, type the text that you want, such "Company Confidential".

-
To prevent the footer from appearing on the title slide, check the Don't show on title slide box.
-
Select Apply to All to make the footer appear on all slides, or select Apply to make it appear on just the currently selected slide.
Delete a footer
-
On the Insert tab, select Header & Footer.
-
On the Slide tab, clear the Footer box.
-
Select Apply to All to remove the footer from all slides in the presentation. Otherwise, select Apply to only remove the footer from the currently selected slide.
No comments:
Post a Comment