Note: This article has done its job, and will be retiring soon. To prevent "Page not found" woes, we're removing links we know about. If you've created links to this page, please remove them, and together we'll keep the web connected.
The key to applying a drop shadow to a shape or to text in a WordArt is to go to the right place on the Drawing Tools Format tab. For a shape, you go to Shape Effects, and for text you go to Text Effects.
-
Click the shape.
Tip: To add a shadow to multiple shapes, click the first shape, and then press and hold Ctrl while you click the other shapes.
-
On the Drawing Tools Format tab, click Shape Effects > Shadow, and then pick the shadow you want.
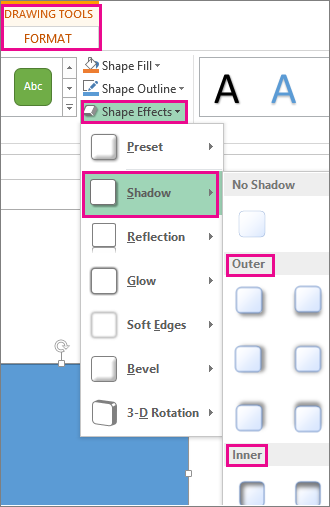
When you rest your pointer on one of the shadow effects, it appears as a preview on the shape.
Tip: To customize the shadow, click Shadow Options at the bottom of the shadow choices.
-
Select the WordArt text you want to add a shadow to.
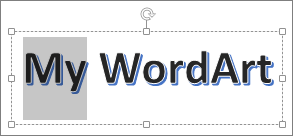
Tip: In PowerPoint, you can also select text that isn't WordArt and apply a drop shadow to it.
-
On the Drawing Tools Format tab, click Text Effects > Shadow and then pick the shadow you want.
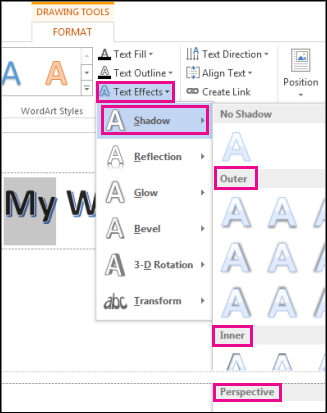
When you rest your pointer on one of the shadow effects, it appears as a preview on the text.
Tip: To customize the shadow, click Shadow Options, at the bottom of the shadow choices.
More about shadows and effects
You can apply a variety of shadow styles to objects, such as shapes, pictures, or text, in Word, Excel, and PowerPoint in Office 2016 for Mac. Shadow options include outer shadows, inner shadows, and perspective shadows (also known as drop shadows). The key is to find the right Format and Effects menus for the type of object you're working with.
-
Click the shape.
Tip: To add a shadow to multiple shapes at once, click the first shape, and then press and hold Shift while you click the other shapes.
-
On the Shape Format tab, click
 (Shape Effects icon), point to Shadow, and then click the shadow you want.
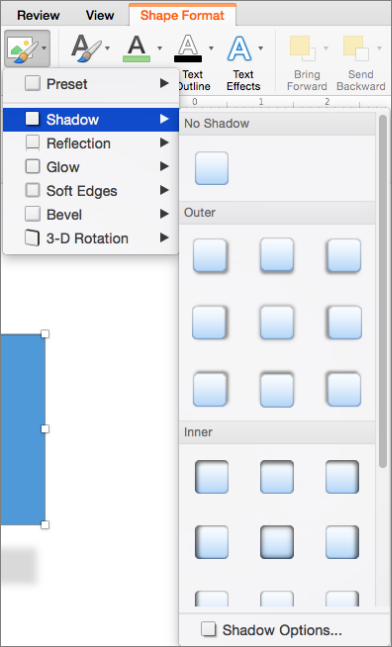
Tip: To customize the shadow (by setting options such as transparency, size, and color), click Shadow Options at the bottom of the shadow menu.
-
Click the picture.
Tip: To add a shadow to multiple pictures at once, click the first picture, and then press and hold Shift while you click the other pictures.
-
In PowerPoint 2016 for Mac and Excel 2016 for Mac: On the Picture Format tab, click Picture Effects, point to Shadow, and then click the shadow you want.
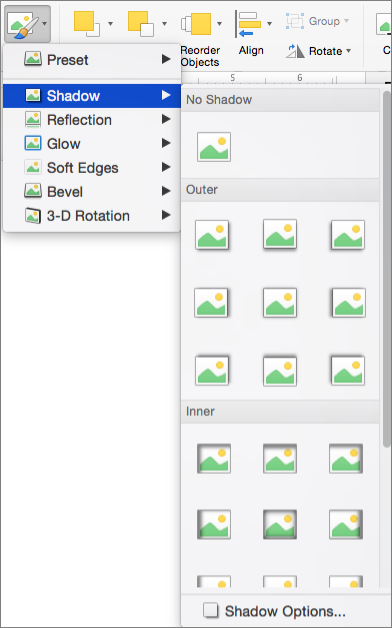
In Word 2016 for Mac: On the Picture Format tab, click
 (Picture Effects icon), point to Shadow, and then click the shadow you want.
Tip: To customize the shadow (by setting options such as transparency, size, and color), click Shadow Options at the bottom of the shadow menu.
-
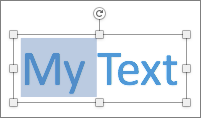
Select the WordArt text that you want to add a shadow to.
-
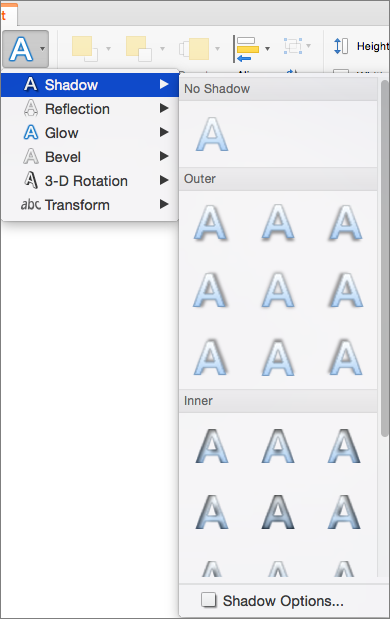
On the Shape Format tab, click
 (Text Effects icon), point to Shadow, and then click the shadow you want.
Tips:
-
To customize the shadow (by setting options such as transparency, size, and color), click Shadow Options at the bottom of the shadow menu.
-
Inner and Outer shadow effects might not be visible with very dark text. Try changing the color of the text or applying a Perspective shadow style.
-
Notes: For Word 2016 for Mac only: If your document was created using an earlier version of Word, you can use the Compatibility mode. Here's how to add a shadow when your document is in Compatibility mode
-
Select the text or WordArt that you want to format.
-
Under Text Effects, select the Text Effects tab and click Shadow.
You can apply a variety of shadow styles to objects, such as shapes, pictures, or text, in Word, Excel, and PowerPoint in Office for Mac 2011. Shadow options include outer shadows, inner shadows, and perspective shadows (also known as drop shadows). The key is to find the right Format and Effects menus for the type of object you're working with.
-
Click the shape that you want to change, and then click the Format tab.
-
Under Shape Styles, click Effects, point to Shadow, and then click the shadow style you want.

-
Click the shape that you want to change, and then click the Format tab.
-
Under Shape Styles, click Effects, point to Shadow, and then click the shadow style you want.

-
Click the shape that you want to change, and then click the Format tab.
-
On the Home tab, under Format, click Quick Styles, point to Shadow, and then click the shadow style you want.

-
Select the text or WordArt that you want to format.
-
On the Format tab, under Text Styles, click Effects , point to Shadow, and then click the shadow style that you want.

If your document was created using an earlier version of Word, you can use the Compatibility mode. Here's how to add a shadow when your document is in Compatibility mode
-
Select the text or WordArt that you want to format.
-
Under Shadow Effects, click Shadow.

Note: Text effects cannot be applied to text in a cell.
-
Select the WordArt that you want to format.
-
On the Format tab, under Text Styles, click Effects , point to Shadow, and then click the shadow style that you want.

-
Select the text or WordArt that you want to format.
-
On the Format tab, under Text Styles, click Effects, point to Shadow, and then click the shadow style that you want.

Shadow effects for text and shapes are not supported in Office for the web.
However, there are Shape Styles you can apply that include a soft shadow effect:
-
Draw a shape and then select it.
-
On the Drawing Tools Format tab, open the Shape Styles gallery by clicking the arrow at the right end, and then select an effect from the bottom row of the gallery.

(Shapes and WordArt are available in PowerPoint for the web and Excel for the web.)
Microsoft Office Tutorials: Add A Shadow To Text Or A Shape >>>>> Download Now
ReplyDelete>>>>> Download Full
Microsoft Office Tutorials: Add A Shadow To Text Or A Shape >>>>> Download LINK
>>>>> Download Now
Microsoft Office Tutorials: Add A Shadow To Text Or A Shape >>>>> Download Full
>>>>> Download LINK wX