You can send a Forms quiz to students using the Assignments feature in Microsoft Teams. Students can take quizzes—and you can grade them—without leaving Teams.
Assign a quiz to students in Teams
-
In Microsoft Teams, select the class team where you want to distribute the quiz.
-
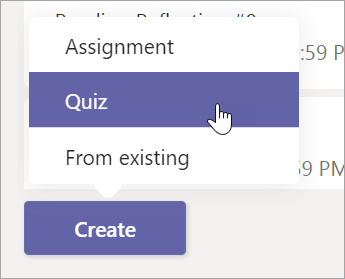
In the General channel, select the Assignments tab. Select the arrow for the Create dropdown menu, then New quiz.
-
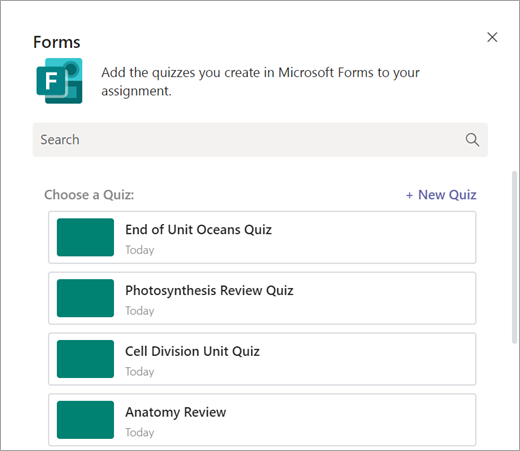
Create a new quiz or select an existing one. Use the search bar if you don't see the quiz you're looking for right away.
Note: If you select +New quiz, a new web browser window will open on your device. Create your quiz in Forms, then return to Teams. Your new quiz will now be available to select and assign to students.
-
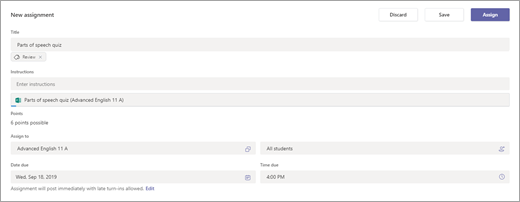
Once you select your desired quiz, it will appear in your assignment under Resources. Enter the rest of your desired assignment settings, then select Assign.
Students will be able to complete the quiz, and you can grade it, right from Teams.Note: Forms automatically calculates points earned for multiple-choice questions. See the Grade a quiz in Teams section of this article for details on reviewing and returning quiz results.
Grade and return feedback to students
-
Select the Assignments tab, then select your quiz.
By default, your quiz will appear in order of due date and show how many students have turned it in.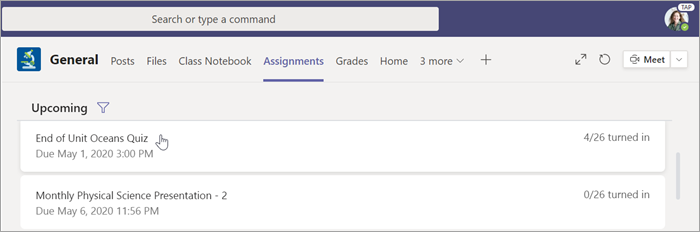
-
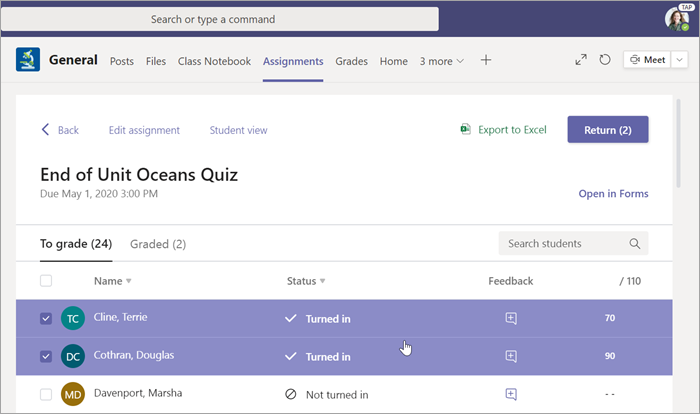
In the To return tab, you can see all students assigned the quiz and the status of their work: Not turned in, Viewed, and Turned in.
Select Turned in next to a student's name to review.

Tip: You can open multiple quizzes to review and grade at a time. In the To return tab, select the Status dropdown to sort students by assignment status. Select the checkboxes for students who have turned in work, then select the highlighted group to open.
-
The assignment grading view will open to a student's quiz results. As you review, you can:
Select Review next to move from question to question as you review a student's quiz.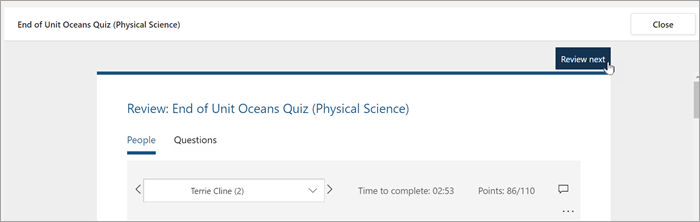
See auto-graded multiple-choice responses. Forms will already have calculated points, but you can edit the score to award partial or extra credit.
Give feedback on a single response.
Review short-answer and essay responses and add points.
Select at the top of the quiz to provide comments for the whole quiz.
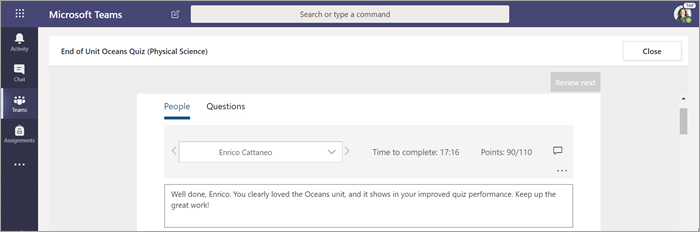
When working with multiple turned-in quizzes at a time, use the dropdown menu in the People tab to move between students. -
To post a student's score and return their graded quiz to them, select More options
 > Post scores.
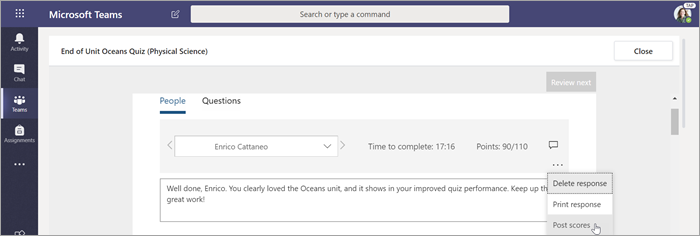
Select Post to submit final feedback and points.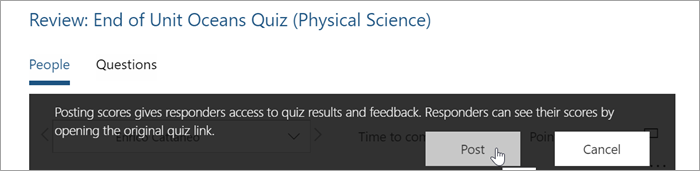
-
Return to and refresh the assigned quiz. Quizzes you've graded and returned will show in the Returned tab.
When you need to collect responses from your students outside of a quiz scenario, you can still use Assignments to distribute a form or survey that you made in Forms.
-
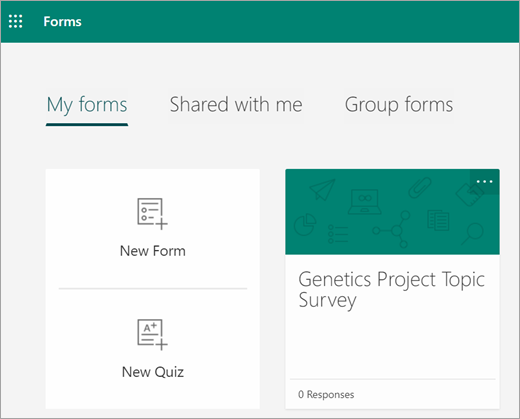
In Forms, select the form or survey you want to assign.
-
In the Share menu dropdown, copy the link to the form.
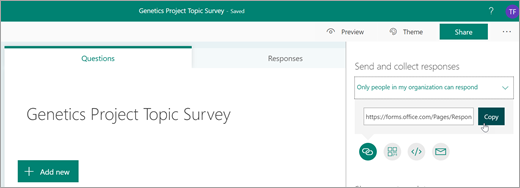
Note: Make sure the viewing permissions are set according to your needs for the scenario—for assigning to students, Only people in my organization can respond ensures privacy within your school or district, while Anyone with the link can respond can be useful for sending forms to families.
-
Open Teams and navigate to the Assignments tab in your class team. Just as you would create a new assignment for an essay, project, select Create > Assignment.
-
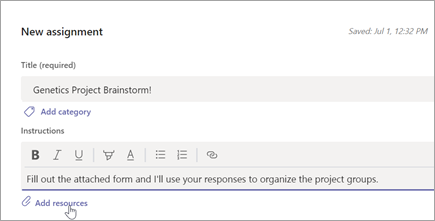
Fill in your assignment instructions and select Add resources.
-
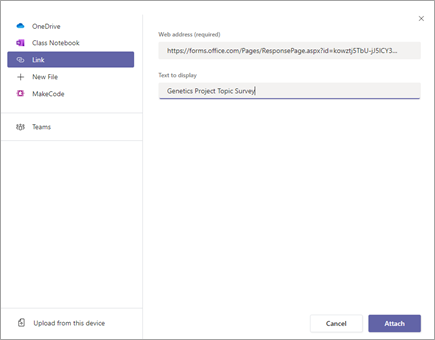
In the Resources menu, select the Link tab, then paste in the Form link you copied earlier and enter display text. Select Attach.
-
Fill out any remaining assignment details, then select Assign.
Learn more
Create a quiz with Microsoft Forms
Create an assignment in Microsoft Teams
It's interesting, thanks!
ReplyDeleteBeing a student, I designed many texts through this program. Recently, we were given the task of writing an essay about our favorite book. I couldn't get my thoughts right into text. On the Internet, I found a site https://www.brillassignment.co.uk/hnd-assignment-help/ and turned to experts for help. I was lucky because I got the job done. I also made conclusions for myself on how to write the text to make it interesting.
ReplyDeleteEssayPro guarantees originality in the essays it delivers by having its essay writers craft all papers from scratch, consulting the client's instructions at all times https://essaypro.com/thesis-writing-service. We have a zero-tolerance policy for plagiarism, and our writers are trained to cite all sources properly and avoid any form of academic dishonesty.
ReplyDelete