This topic gives you step-by-step instructions and best practices on how to make your SharePoint sites accessible to people with disabilities. When your sites are accessible, you unlock your content to everyone and people with differing abilities can read and use your content. You learn, for example, how to choose an accessible look for your site so that people with low vision are able to access your site.
People who are blind or have low vision can use your team or communication sites more easily if you create them with accessibility in mind.
So, your team now has SharePoint 2016. You want to create a site, and you want everyone to be able to use it, including the people with disabilities.
You're in luck. SharePoint 2016 makes it easier for you to get the color contrast right, add alternative text and so on – all the items you see on many accessibility checklists. In addition, SharePoint is tested thoroughly to make sure that, out of the box, people can use the sites without a mouse. You can move around any SharePoint page and use any button or command by using only the keyboard
This article is for people who use SharePoint for ordinary tasks, such as collaboration or a document library. It doesn't assume that you have any special skills, just everyday knowledge about your computer.
Want to create an accessible SharePoint site? Let's get started.
What do you want to do?
First step – create a new site
To create a site, follow these steps.
-
On the navigation bar at the top of the page, click Sites.
-
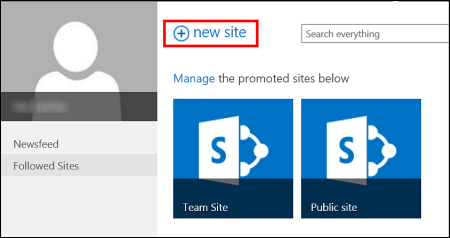
On the Sites page, click new site.
-
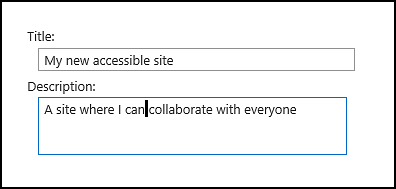
In the Start a new site dialog box, give your site a name, and then click Create.
Tips:
-
The first time you click Sites, you see some site setup screens and instructions while your personal site is being set up. You may have to wait awhile and then click Sites again before continuing to the next step.
-
Depending how your site is set up, you might have to name another person who can also manage your site, and specify how secure the content has to be.
-
Your site is created in a location that your administrator predefined, and the site will appear among the sites you're following. Your site will not inherit any permission or navigation settings from other sites. After you create the site, you can add documents and images, share your site with others, change the look, and make everything accessible.
Brand your site with a title, description and logo
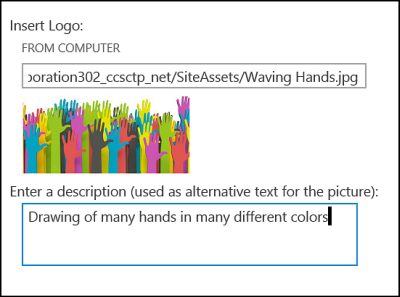
When you create a SharePoint site, one of the first steps is to give it a title, description, and logo. This is the first step toward accessibility because you add a text alternative (alt text) for an image, the image that you use for a logo. Alt text is one of the most important things you can do to make a web site accessible. Assistive technologies like screen readers read alt text aloud for people who can't see the screen.
To make the logo image accessible, just write a description for it. SharePoint uses the description to create alt text in HTML for you.
-
Click Settings
 > Site Settings.
 -
Under Look and Feel, select Title, description, and logo.
-
Enter a title and description.
-
Enter the location for the logo image file, and then create the description.
-
Click OK.
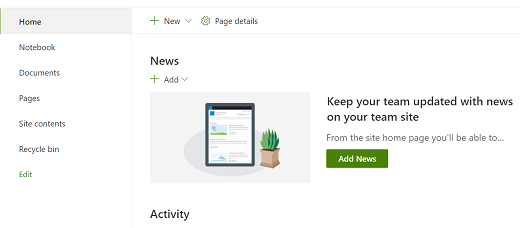
When you go back to your site home page, you'll see the results.
Make your site look great with an accessible theme
The next step toward accessibility is about color and contrast. Color and contrast are important for accessibility. People with low vision, such as those with macular degeneration, need a certain amount of contrast to be able to see what's on the screen. It's also important to be careful with color selection, because colorblind people can't tell the differences between certain colors. For example, someone who has red-green color-blindness sees red and green as the same color.
To make this step easy, SharePoint comes with a collection of themes that are ready to use. If you haven't used themes before, a theme is a collection of color choices, page layout, font, and so on.
Use the built-in accessible theme
-
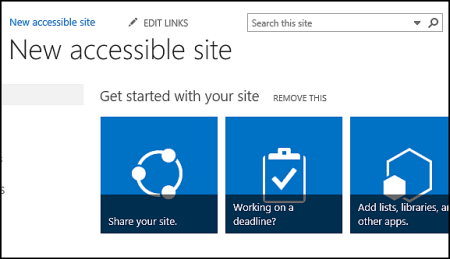
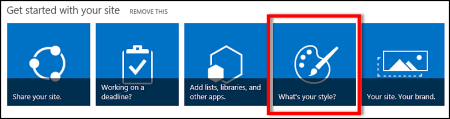
On the newly created site, click the tile with What's your style?
-
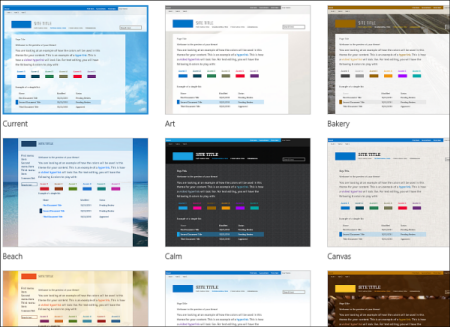
On the Change the look page, scan through the available templates.
-
To choose a fully accessible, tested theme for color and contrast, select the Office theme.
If you choose the Office theme, you don't have to test the color. If you want to use a different theme, see the next section, Customize your own color combination to find information about how to create an accessible color combination. -
The theme you chose appears on the next page. To see more, click Try it out. Or, to pick a different theme, click Start Over.
Customize your own color combination
If you want to use a different theme, it's possible to choose a different color combination that's accessible. You'll have to test it to be sure that it's accessible, but the test tools are easy to use.
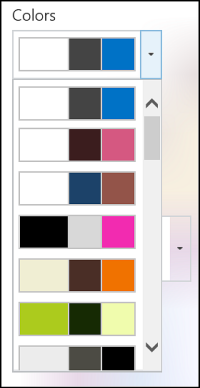
To customize your colors after you choose a theme, just look for the Color menu on the page that shows your theme.
-
Click the down arrow in the color box to see the built-in options:
-
Select one, and then click Try it out to see an image with your chosen colors.
-
If you like it, click Yes, keep it. If you want to change it, click No, not quite there to go back.
Check the accessibility of your choice
To be certain your choice is accessible, you should check to make sure. To check the contrast, you can use one of the free tools from a trusted website. Here are several options that you can use.
-
From Microsoft, the SharePoint Color Palette Tool
-
From Paciello Group, the Color Contrast Analyzer
-
WebAIM Color Contrast Checker
Next steps
To find more resources about accessibility, go to Get ready - Build an accessible SharePoint site
To learn about adding to your new site, go to Add accessible content and images to your site
SharePoint Modern Experience in Microsoft 365 makes it easy to create and build a site that everyone can use, including those with different abilities.
SharePoint Modern Experience makes it easy to choose ideal color contrast, add alternative text (alt text), and so on – all the items on many accessibility checklists. Use SharePoint out-of-the-box without a mouse or using the Narrator screen reader. Move around any SharePoint page, and use any button or command by using only a keyboard.
This article is for people who use SharePoint for tasks such as collaboration or organizing a document library. It is not an administrator guide, and no special skills are necessary.
What do you want to do?
Create a new site
To create a site, follow these steps.
-
Sign in to Microsoft 365.
-
Select SharePoint from the list of available applications.
-
On the site's page, select Create site.
-
In the Create site window, select either Team site or Communication site.
-
Enter the site name and site description, then do one of the following:
-
If you're creating a Communication site, select a site design from the Choose a design drop-down menu, and select Finish. The site is created and opens in your browser. You are done!
-
If you are creating a Team site, continue to the next step.
-
-
Select the site classification for your site.
-
Select the default language for your site, and select Finish. The site is created and opens in your browser.
Note: You cannot change the default language later.
-
To add owners, members, or visitors to your team site, in the top right corner, select Share. Type the name of the person, Microsoft 365 Group, or security group you want to add in the search box and select the right search result.
-
For each added person or group, select the level of access they have from the drop-down menu under their name. The following options are available:
-
Read (the default) makes them site visitors.
-
Edit makes them site members.
-
Full control makes them site owners.
-
-
If you want to send a message along with the invitation, check the Send email checkbox and type your message in the Add a message box.
-
After adding everyone you want, select Share.
Tips:
-
SharePoint checks to see if the site name has already been used. If so, a Not available prompt appears.
-
Depending on site setup, a second site owner may need to be identified. You also need to specify the level of content security when creating a team site.
-
Alt text is one of the most important tools to make your SharePoint site accessible. Clearly written alt text provides thorough descriptions of images and graphics to assistive technologies like Narrator and other screen readers. Vision-impaired users use screen readers instead of vision to interact with SharePoint sites.
Your site is created in a location that your administrator has predefined. Your site does not inherit any permission or navigation settings from other sites. After you create the site, you can add documents and images, share your site with others, change the look, and make everything accessible.
Brand your site with a logo
Team sites use the same logo as the Microsoft 365 Groups to which they are connected. When you change the logo for your SharePoint group-connected team site, the logo for the corresponding group changes as well.
-
Go to your site.
-
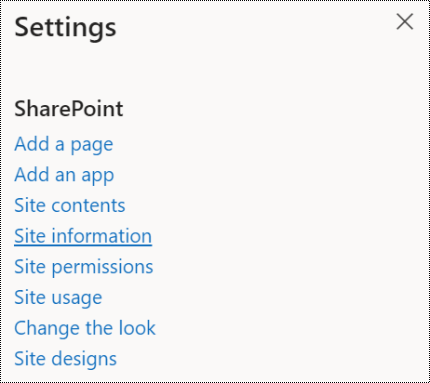
In the top right corner, select
 (Settings).
 -
Select Site information.
-
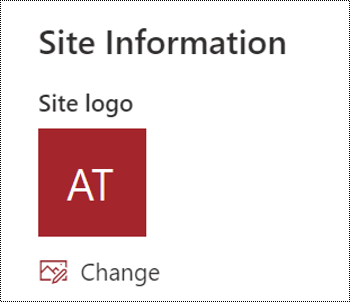
Under the site logo, select Change.
-
In the Open dialog box, browse to and select the new logo, select Open, and then select Save.
Choose an accessible look
Color and contrast are important accessibility features. People with low vision, such as those with macular degeneration, require high contrast to see the screen. SharePoint comes with a collection of looks. Choose a high-contrast look to make your SharePoint site accessible.
-
Go to your site.
-
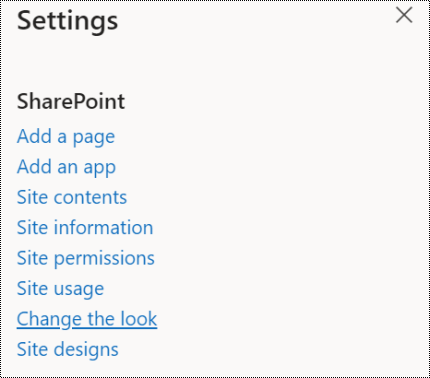
In the top right corner, select
(Settings). -
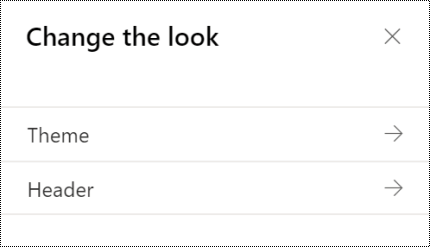
Select Change the look.
-
Select Theme or Header depending on what you want to change.
-
Select the theme or header look you want and then select Save, or, if you don't like what you see and want to revert back to the original scheme, instead select Cancel.
Note: If you don't see Change the look in the Settings menu, it's likely you don't have permission to manage this option. For more information, see Understanding permission levels in SharePoint, or ask your administrator.
Next steps
To find more resources about accessibility, go to Accessibility in Office 365.
Technical support for customers with disabilities
Microsoft wants to provide the best possible experience for all our customers. If you have a disability or questions related to accessibility, please contact the Microsoft Disability Answer Desk for technical assistance. The Disability Answer Desk support team is trained in using many popular assistive technologies and can offer assistance in English, Spanish, French, and American Sign Language. Please go to the Microsoft Disability Answer Desk site to find out the contact details for your region.
If you are a government, commercial, or enterprise user, please contact the enterprise Disability Answer Desk.
No comments:
Post a Comment