Save and publish a project to Project Web App
Saving project changes with Project Web App doesn't mean everyone automatically sees the changes. Publishing allows changes to be shared broadly with team member and makes project data available for reporting.
Save a project to Project Web App
Make sure you're logged on to Project Web App, and that you haven't saved your project yet.
Find out more about logging in at Log on to Project Web App.
-
Click File > Save.
-
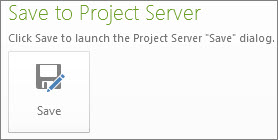
Under Save to Project Server, click Save.
-
Type a name for the project.
Information specified by your organization appears in the Custom Field Name column. -
Click Save.
Publish a project
After you've saved your project to Project Server for the first time, you need to publish the schedule so that your changes are visible to everyone.
-
File > Info.
-
Click Publish.
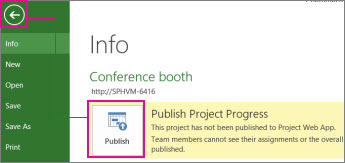
Note: If this is the first time you publish your project, you'll be asked to associate a SharePoint site with the project so you can add documents such as mission statements and other documents to your project , and to monitor project risks and issues.
No comments:
Post a Comment