Create a watermark from a photo or picture in Publisher
Using a photo or a logo as a watermark in Publisher takes two steps: First, you add the picture to a master page, and then you format the picture.
Tip: If you want to convert text, WordArt, or a drawing object to a watermark, first save the object as a picture: Right-click the object, click Save as Picture, select the options you want, and then delete the object and reinsert it into your document as a picture.
Pictures make beautiful watermarks or full-page backgrounds for your publications, or you might want to add a watermark such as a copyright to your photos.
Add a picture to the publication as a watermark
-
Click Page Design > Master Pages > Edit Master Pages.

-
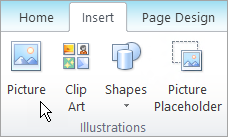
Click Insert > Pictures or Online Pictures.

-
Find a picture, and click Insert.
-
Drag the handles of the picture until the picture is the size of the watermark you want.
Tip: To resize the picture evenly, press the Shift key at the same time as you drag the corner handle of the photo.
Format the picture
To make your publication's text easier to see, adjust the transparency of the picture.
-
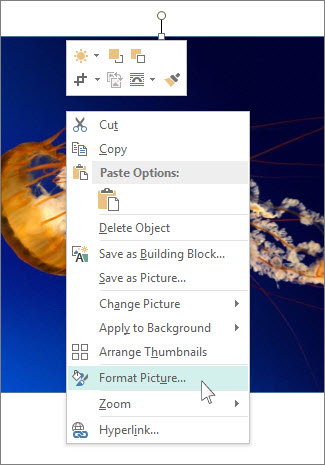
Right-click the picture, and click Format Picture.

-
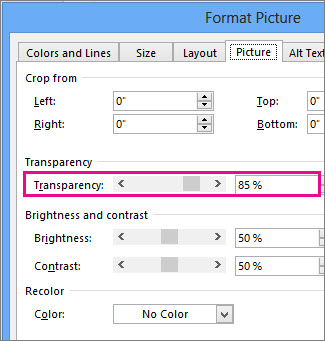
On the Picture tab, under Transparency, start by typing a value (say, 85%) in the transparency box and then move the percentage up or down to make the picture lighter or darker.

-
To return to a publication page, click Close Master Page on the Master Page tab.
Add a picture to the publication as a watermark
-
Click Page Design > Master Pages > Edit Master Pages.

-
Click Insert > Picture.

-
Find a picture, and click Insert.
-
Drag the handles of the picture until the picture is the size of the watermark you want.
Format the picture
-
Right-click the picture, and click Format Picture.
-
On the Picture tab, under Image control, click Washout in the Color list, and then click Recolor.
-
In the Recolor Picture dialog box, select the color you want for the watermark.
-
Click Apply, and then click OK.
-
In the Format Picture dialog box, select any other options you want, and then click OK.
-
On the Arrange menu, point to Order, and then click Send to Back.
No comments:
Post a Comment